
 |  |

|  |
I love making backgrounds and will sometimes just spend some time 'playing' with various products to make backgrounds for unknown projects of the future. These 4 all use 3-D embossing folders and metallic pastes/creams to embellish them.
Putting It Together
I blame these posts on Andrea Norris *laugh* She asked how I made the background of Wonder, a recent card I made with one of her digital stamps. I didn't have pictures of how I made the background because I made it while at a friend's house on a 'play date' for social crafting. I had been showing her the Nuvo Mousse and Glitter Kiss as well as my new 3D embossing folders.
I split this into multiple posts because each is picture heavy.
I split this into multiple posts because each is picture heavy.
Background 1: Glitter Kiss and Nuvo Mousse


I started with a panel of white heavy cardstock that I covered with Glitter Kiss.

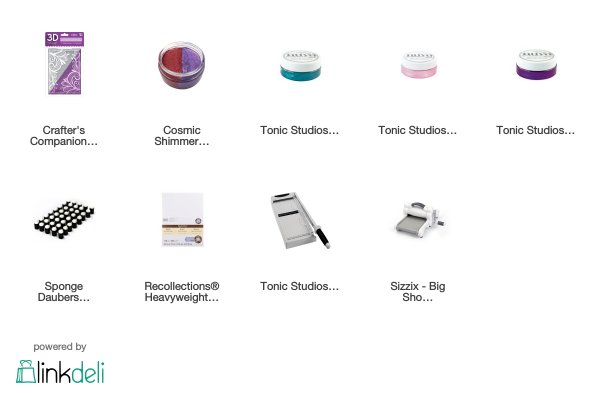
Glitter Kiss, by Creative Expressions, is a gelly-ish glitter paste. The duo has two colours which end up being mixed as it is spread on a surface. NOTE: the price is in Canadian dollars. It's actually a bit cheaper in the US, about $9.50.

All of the Glitter Kiss and Cosmic Shimmer bottles have their own sponge incorporated into the lid. Dampen the sponge and then dip it into the bottle to pick up the paste. Spread it on the panel. The Glitter Kiss doesn't spread as easily or evenly as the other Cosmic Shimmer. It also takes a lot longer to dry.

After letting it dry for at least 10 minutes, I patted the panel all over to see if any area was still sticky and not dry. I continued to let it dry a while more. (I didn't look at the clock but I think it was 30 mins total.) When I thought it was dry enough, I put it into a Crafter's Companion 3-D embossing folder I bought just yesterday at a local scrapbooking store.
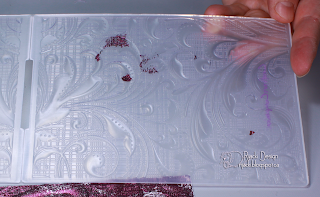
Even though I thought it was dry, there were some spots still damp enough they stuck in the embossing folder with the Bit Shot pressure. It was easy to clean out with a wet wipe and tooth pick.

Only just embossed it looks very cool but the embossing doesn't stand out.

Now for the Nuvo Embellishment Mousse. I started with a dark teal.

When you first open the mousse, it's texture is a lot like a creamy whipped mousse. After it's been opened and used a while, the texture is like a creamy paste, more wax-like. The mousse is water soluble until it dries. Once die it is water-proof. The mousse dries on paper in seconds and can be layered. You can't really blend it on paper since the first is dry before you can add a second. You can, however, mix the mousse with water in a spray bottle or use it as a watercolour paint. A little goes a very long way so I gave my crafty friend a sample. We share a lot of supplies.

I used a finger sponge to add the teal to just the tops of the embossing. The finger sponge has a lot more control than a blender tool for stuff like this. I was skeptical about them until I got some for free to try. Now I'm hooked. So many tools but each has its own use.

With the teal Nuvo mousse and the Glitter Kiss. I could have stopped here, but...

I decided it needed a touch of pink. I used another finger sponge and applied it over the teal even lighter.

The pink looked almost silvery on the teal. I was surprised.

One more colour, a gorgeous purple also added with finger sponge. I went back over with the teal in some spots.

And it is done. The splotchiness of the Glitter Kiss actually looks great in the end, a little distressed.
Wow it looks amazing, thank you so much for sharing. I think I might need some new crafting supplies LOL!
ReplyDeleteAndrea x
this is stunning Rijacki!!! have to find me some of the glitter kiss!! Looks so great!
ReplyDelete