

Magic is the perseverance that lets us achieve what we thought might be impossible. My card features a Lavinia fairy silhouette stamp on a background of alcohol ink and Perfect Pearls accented with 3D impresslits and pearls.
Putting It Together
My first version of this background (sadly spoiled with a double stamping gone askew) reminded me of a sun-dappled forest. So I used the same colours to somewhat recreate it while videoing the process.

The materials for the background are simple. Poster board cut to 5 1/2" x 4 1/4" (Yupo would have a similar result but is more expensive), alcohol ink (Sunshine Yellow, Meadow, and Citrus), Perfect Pearls (Green Patina), Alcohol Blending Solution, 99% isopropyl alcohol in a Mister and eye dropper from the dollar store, a photography poofer, and a dollar store brush.
Real-time creation of the background panel with alcohol ink and Perfect Pearls on poster board.

I did two panels but only recorded one, the one on the left. For the one on the right, same exact supplies, I couldn't find the poofer (which was right by me on the left) until midway. The poofer helps move the ink and gives the tendrily look.

A few days ago I tried out the 3D impresslits I recently acquired with some Nuvo embellishment mousse. I decided to use one of them on this project, along with another made just for the project.

I did a dry fit on a black background with the stamp and border to see how it would look together.

I stamped the silhouette image with Stazon on the alcohol ink. I discovered one substance Stazon doesn't want to stamp on, Perfect Pearls. I accidentally got a bit of a double stamp on this one, too, while I was trying to get the image fully dark, but the double only shows in the vine and isn't a double foot, like on the panel I spoiled. I trimmed the panel after stamping.

I did one last dry fit on the black card base with both side trims. The trim strips are 5 1/4" so I needed to trim off 1/4" from the card base and panel to have the framed panel stretch top to bottom on the card.

After trimming the card and panel, I adhered the panel and framing trim. I also added green pearl accents.

Out of all the sentiments in my collection, a digital one fit the feel of the card. I print the sentiment on pearled white cardstock. I trimmed the sentiment panel and then used a punch to add a knotwork design on the bottom. I slipped some of the scrap from the front panel under the knotwork for a touch of colour.

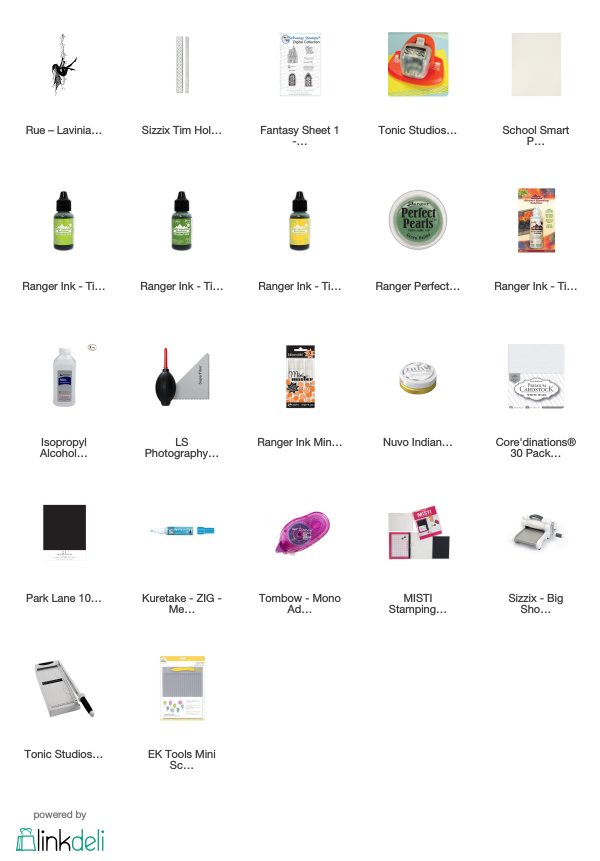
Supplies
Challenges
Addicted to Stamps and More: Make Your Mark
Crafting From the Heart: Anything Goes
Penny's Paper-crafty: Anything Goes
A Bit More Time to Craft: Anything Goes
Creative Moments: Anything Goes
Outlawz Festive Friday: Theme - Anything Goes
Crafty Friends: Anything Goes
A Bit More Time to Craft: Anything Goes
Creative Moments: Anything Goes
Outlawz Festive Friday: Theme - Anything Goes
Crafty Friends: Anything Goes
Great card, gorgeous background. Thanks for sharing your creation with us at Crafty Friends, we hope to see you back again.
ReplyDeleteWow ! Beautiful AI background to highlight this lovely fairy. Thanks so much for sharing and for playing along at ATSM.
ReplyDeleteHello... Thanks for entering your lovely card into our ‘anything goes’ Challenge. Fabulouse inky background. Good luck in the draw and hope you will come back again soon.
ReplyDeleteDiane Louise [Team Leader for Crafty Friends Challenge Blog]