

For the month of September, I am a Guest designer on the Kraftin' Kimmie design team! This means I get to help showcase sneak peeks for the September release! I can't wait to show you the rest of the sneak peeks I have for this week, but this card is all about Elf-tastic!.

For more information about the release sneak peeks and the blog hop, check out my main post for day 3: https://rijacki.blogspot.com/2019/09/elf-tastic-kraftin-kimmie-stamps.html. This post goes into the details about how I made the Elf-tastic card.
Putting It Together
To showcase the Elf-tastic stamp set, I used an interactive die set from Lawn Fawn and lots of Kimmie inks!

Elf-tastic is a super fun stamp set by Neda Sadreddin with three main images, four sentiments, and several accessories.

I decided to use the Double Slider Surprise die set from Lawn Fawn. I fit the images on to the three panels I cut with the die set.

I also stamped masks for the images. When I'm stamping masks, I don't really care if the stamping isn't complete. I just need to be able to fussy cut on the outside lines, any other detail is superfluous.

I used white pearl to emboss snowflakes on the panels around the images.

I covered the images with the masks so I could blend on a background. I'll often colour first and background after, but at this point I was still undecided on what to use for colouring. I used Neenah Solar White for this project and that gave me options since it's alcohol marker friendly. Kraftin' Kimmie hybrid inks are also alcohol marker friendly, so I think I was considering alcohol markers at this point.

I used masking to add a pile of presents under the elf and a stack of presents beside Santa.

I used a blender tool to sponge on Mermaid Melody leaving a snowy white patch at the bottom.

I used a make-up brush to polish the embossing and remove the ink from the resist. I'm not sold on this brush for blending, but for emboss resist wiping ink off the embossing, it's rockstar.

After adding background on all three, I took off the masks. The tins with my Kimmie inks were beside me beaconing me with their vibrant colours.

So, I gave in and used Kimmie inks with a waterbrush. For hybrid inks that dry water impervious, cleaning the brush thoroughly between colours keeps them from getting muddy. I use a bit of stamp cleaner on the synthetic bristles of the waterbrush and that seems to work very well. After cleaning with the stamp cleaner, I rinse the brush with water.

For the slider mechanism, I used a bit of plastic packaging to add an element of recycling.

Santa to the back, the elf and reindeer to the front.

The two panels glide in and out with ease.

I added the enclosure for the slider. I'll confess, I slide the sides in and out a dozen times before I went on.

Before adding the elf on the pile of presents to the front, I stamped on the sentiment and coloured in the "magic" with a Crayola glitter marker.

I added the double slider to a black cardbase with a plaid matting. The slider is popped up with foam mounting tape to make it easier to pull the sides out. I added three Holiday Dots to finish the front.

Inside, I added strips of the plaid to the sides of a white panel that I stamped with another sentiment and a couple accessories. I used Kimmie inks to give each of the accessories a pop of colour.


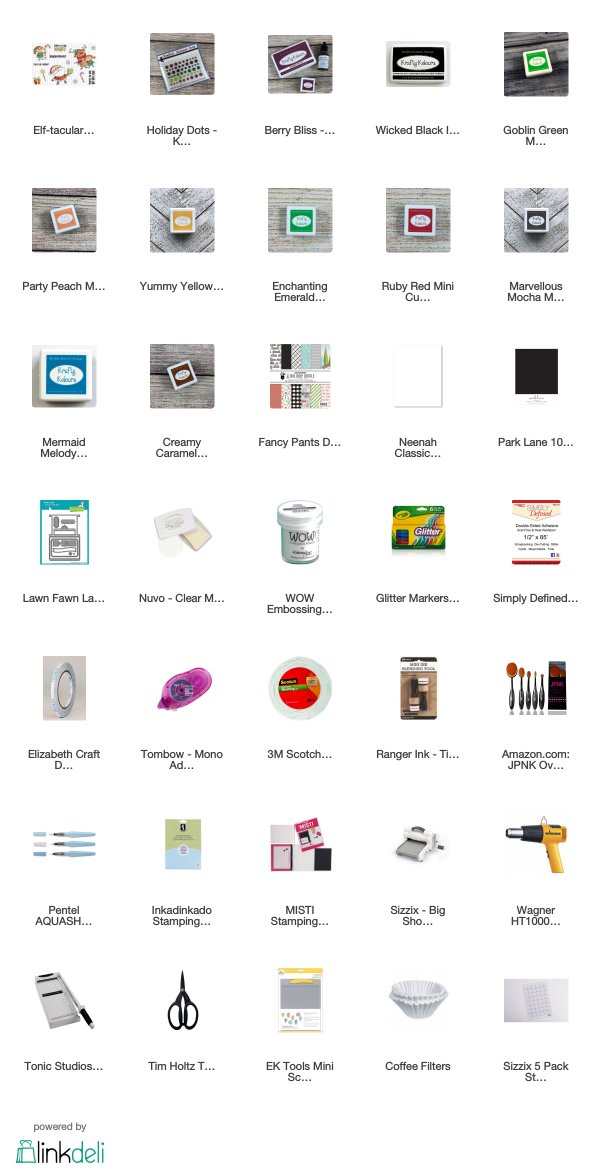
Supplies
The items of the September release will be available on Saturday, 14 September, after the release party.
For more information about the release sneak peeks and the blog hop, check out my main post for day 3: https://rijacki.blogspot.com/2019/09/elf-tastic-kraftin-kimmie-stamps.html.
No comments:
Post a Comment
Thank you for your comments. I do read every one. Your comments help me to grow as an artist. It warms my heart to see wonderful comments and constructive criticism.