

My card today features a reindeer bounding through the winter holiday season with a Magenta stencil and Southern Ridge Trading Company pine cones decorated with Silk microfine glitter.
Putting It Together
I am a stencil hoarder. From the first time I tried using one, I fell in love with them. So, I have amassed a bit of a collection from a wide variety of manufacturers. Also, because I live in Canada, I like looking for Canadian manufacturers. I was happy to use two today, Magenta and Southern Ridge Trading Company.

I used Purple Tape to anchor my cardstock and the stencil on one side before using a blender tool to ink through the stencil. The texture of the white plaid cardstock shows through in the stencilling which looks great.

Having the tape on just one side of the stencil works like a hinge allowing me to lift the stencil, like a door, to check on the coverage. I checked the progress a couple of times while inking.

While the hybrid ink was still wet, I brushed on Perfect Pearls for a very subtle touch of sparkle.

I trimmed the deer with a cross-stitched circle die. I also die cut a shallow scalloped circle of the same size that just barely peeks out on the edges and can also be seen through the tiny crosses. I dry fit them on a brown plaid square with ribbons and cotton twine to decide on the elements for the card.

I had decided to use the Outlawz sketch for the layout. I didn't start out with an intention to make a card for three Outlawz challenges, it just happened as I was putting an idea together.

I decided to add real stitching so I used a Paper Smooches border die to cut holes in the top and bottom of the brown plaid panel. I then used a big eye beading needle to stitch with the cotton twine. I sometimes do a bit of beading, and I love the big eye needles. The whole needle is the eye where you thread through the string or cord. They're great when using a cord or thread that is too large for most other needle types and is infinitely easier to thread, too. The needle is also not sharp which makes it ideal for going through beads or precut holes.

I used pieces of Purple Tape to hold the ribbons and twine in place on the back of the brown plaid panel. Because there are so many chunkier bits on the back of the panel, I used double-sided tape to adhere it to the card base.
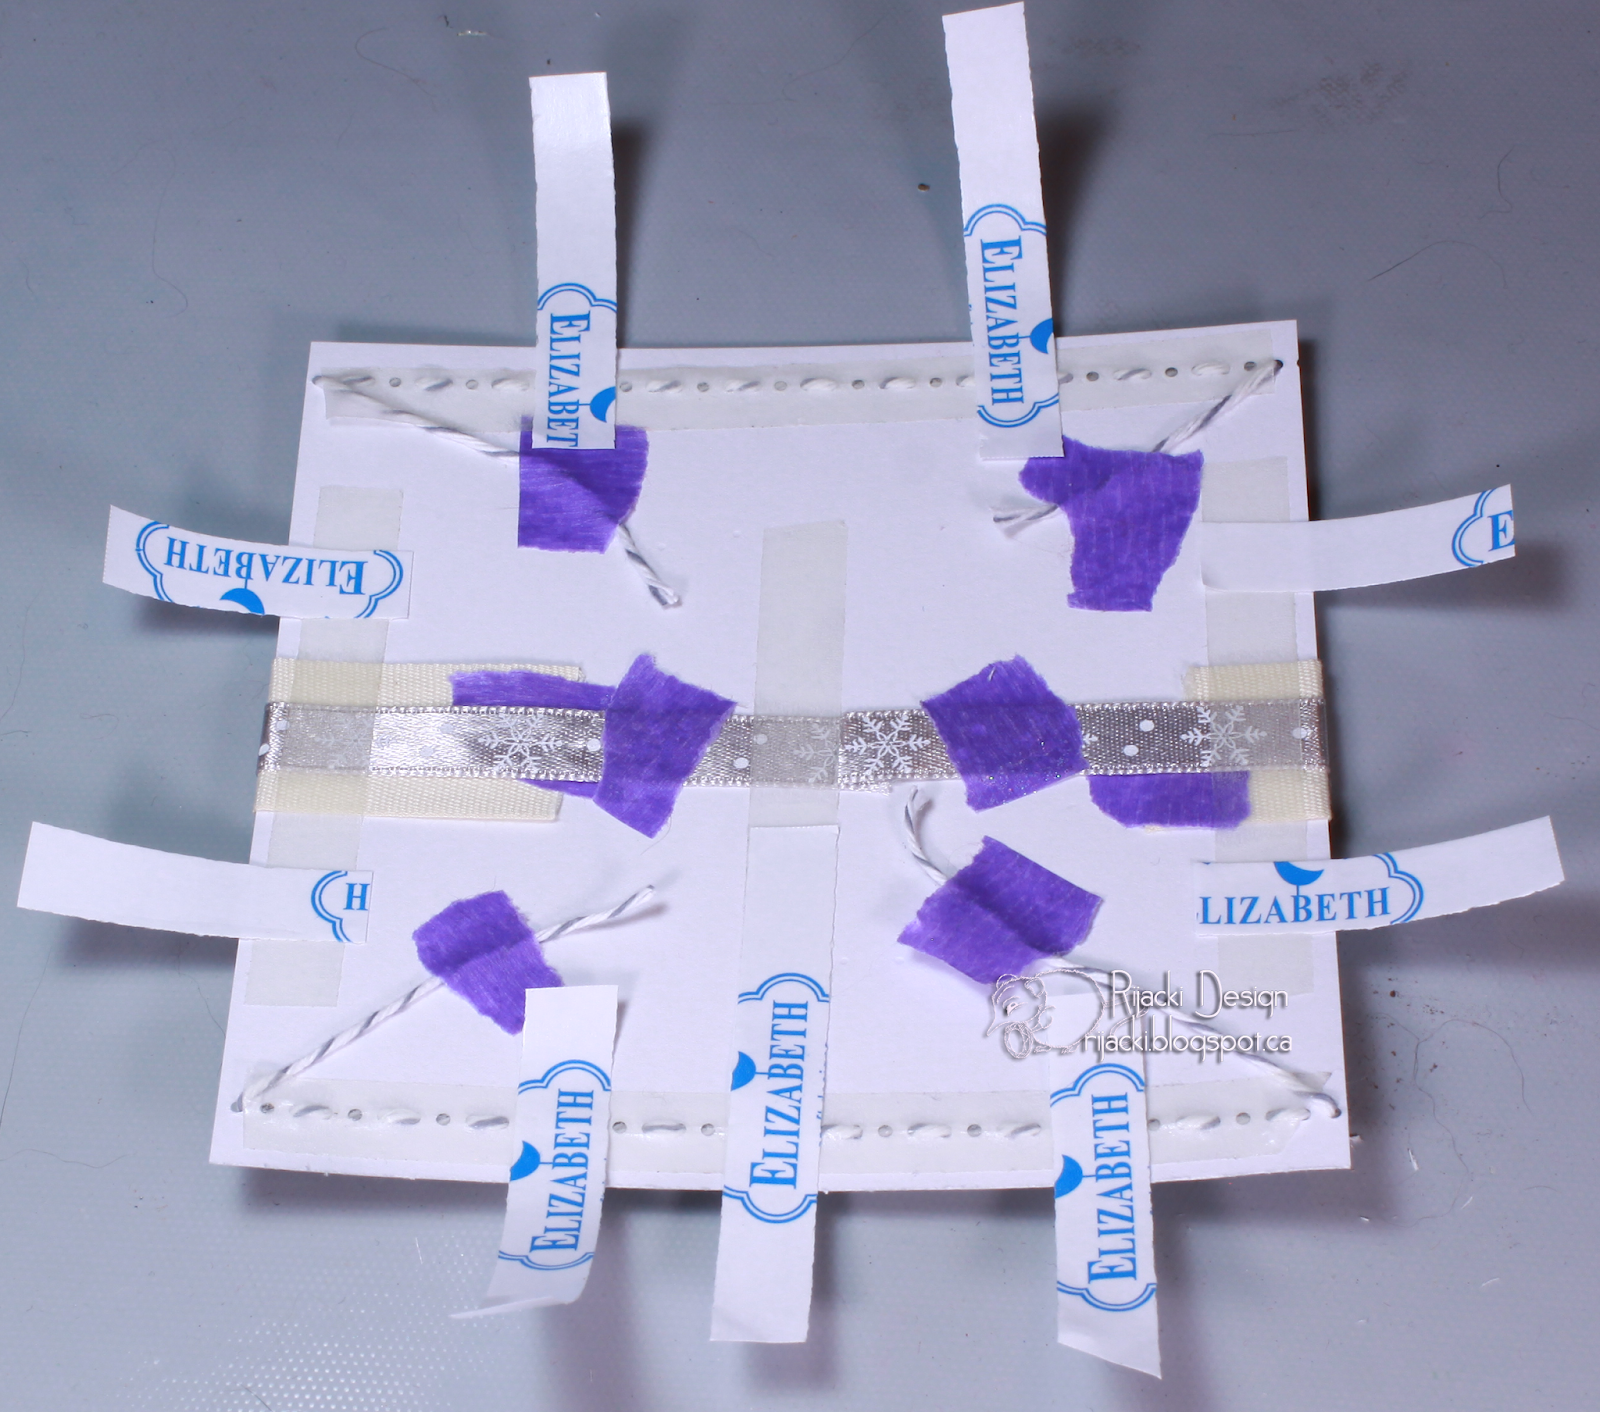
Double-sided tape adheres and bonds when it touches the paper so there's no wiggle room for adjustments. A simple trick to give a bit of reposition time is to use the release paper strips. Put them perpendicular to the exposed tape. This keeps the adhesive from bonding with the paper as soon as you put the panel down.

When you have the panel positioned where you want, lightly press down between the strips then pull the release strips out. Then press firmly all around.

I wanted to add a pop of glitter so decided to use wood cut pine cones from Southern Ridge Trading Company and add some glitter. I simply used a glue pen on the top then cascaded the microfine Silk glitter over the glue.

I added the pine cones with glue dots to finish the card. I left the inside blank mostly because I didn't have any ideas or fitting sentiments for it.

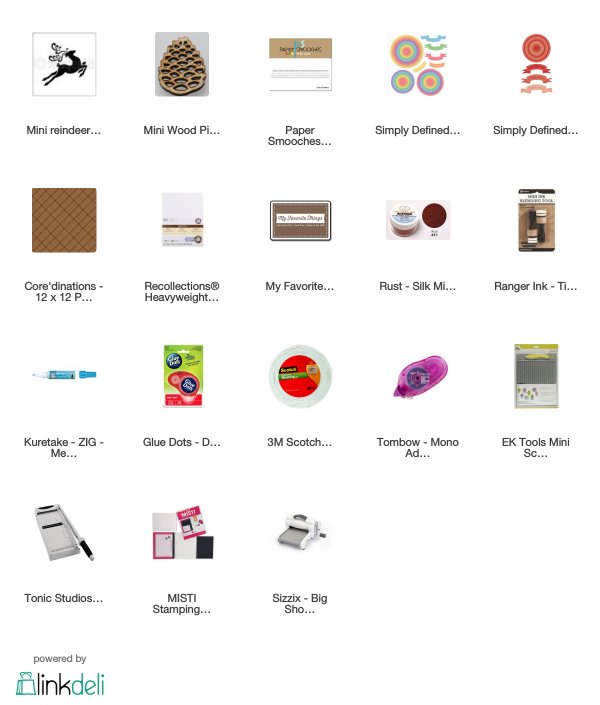
Supplies
Challenges
Outlawz Tuesday Colour: Photo Inspiration + Winter
Outlawz Wednesday Sketch: 21 Nov
Outlawz Twisted Thursday: Plaid
Watercooler Wednesday: Masculine
Christmas Throwdown: Ribbon and Glitter
Scrapping 4 Fun: Christmas with Non-Traditional Colours
Scribble Designs: Reindeer Games

Hi RiJacki, wow what a stunning card its absolutely beautiful and I love how your papers match your deer and omg those pine cone die cuts are stunning. Thank you for joining us at the challenge at Incy Wincy Designs. Thanks Cheryl DT
ReplyDeleteLove that reindeer stencil and how you added that extra pop with the perfect pearls. Great Christmas card for a guy. Thanks for joining us at the Watercooler Wednesday challenge this week. Tristan DT
ReplyDeleteThanks for sharing all your steps, I'm always interested in how people put their cards together. I love these stylish colours. Thanks for joining in at 52CCT
ReplyDeleteThanks for sharing step with us. Great card and Thanks for joining us at Scrapping4fun.
ReplyDeleteVarshaDT
Thank you so much for entering the Twisted Thursdays Anything Goes challenge at The Outlawz Challenges last week. Looking forward to seeing you again in our next fun Anything Goes Challenge with optional twist.
ReplyDeleteHappy crafting,
Angela
Twisted Thursday DT
Taste Of Craftiness {My Blog}
theoutlawzchallenges.ning.com
So beautiful!! Thank you for joining the Scrapping4fun.
ReplyDeleteHope to see you again in our new challenge as well :-)
Majda DT
Gorgeous card, love the wood pine cones
ReplyDeleteThank you for your entry at Scrapping4funChallenges
Rachelle DT
https://scrapping4funchallenges.blogspot.com
So beautiful...
ReplyDeleteLove the tutorial too. Thank you for playing with us at Scrapping4fun challenges.
Priya DT