Another year has passed... Another birthday celebrated with die cut leaves and background decorated with inky techniques using a gel plate, inks, including a new one, and a new stencil from Kraftin' Kimmie Stamps.
Putting It Together
I have quite the stack up of projects from the Krafty Retreat I went to last weekend that I still need to blog, but this idea hit me last night as I was falling asleep and woke me up a bit early this morning so I just had to get up and make it!
For this project, I'm using 2 techniques with the gel plate and inks I learned at the Krafty retreat.
The first of the two techniques requires a gel plate, a brayer, hand sanitizer, and re-inkers (or possibly other liquid pigments, I haven't yet done a lot of experimenting). I got my little bottle of sanitizer at the dollar store. I'm going to need a much larger bottle now. You'll also want two or three panels of cardstock close at hand. I used Recollections heavyweight white (110 lb).
Squeeze out a blob of hand sanitizer.
Spread the hand sanitizer out over the gel plate with the brayer. You will see some texture in the jellyish fluid, this is a good thing.
Add drops of re-inker. I'm using just two colours for this project, the new Bubbly Blue, a brand new ink from Kraftin' Kimmie Stamps that will be released on Saturday, and Purple Petunia. For this technique, you can use more colours but you'll want to be sure they're compatible and can be blended without going to mud.
Spread the ink around on the gel plate with the brayer. This is where the inks will blend some as well as stay distinct.
Run the brayer over the first cardstock panel to clean the brayer and transfer ink.
This will give you a lovely visual texture panel.
Lay the second panel on the gel press and use the brayer, or your fingers, to smooth it into the ink.
The panel will pick up colour and visual texture. If you have a third panel or other scraps handy, you can pick up the ink from around the edges of the gel plate in the same way for the third panel of goodness.
On to the second gel plate technique:
Smoosh colour directly on the gel plate with the ink pad, minis or full-sized. I used four Kraftin' Kimmie colours that are evocative of Autumn: Marvelous Mocha, Pumpkin Patch, Mossy Meadow, and a few touches of Ruby Red.
Lay the stencil down on over the ink and use a wet wipe to dab the ink from the openings on the stencil. You want a fairly wet wipe for this technique. If you wipe is a bit dry, first spritz it with a bit of water. Dab with a bit of vigour. The dabing lifts some of the ink as well as smooshes the ink with the moisture in the wipe. The stencil I'm using is Beautiful Burlap, a new stencil from Kraftin' Kimmie Stamps which will be released this Saturday.
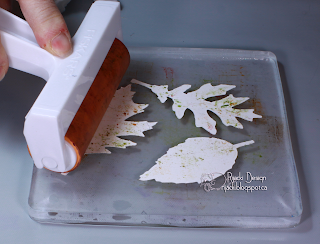
When you take off the stencil, the ink left has a cool visual texture. Quick, while it's wet, lay your cardstock on the ink. I die cut heavyweight cardstock into leaves with a Sizzix / Tim Holtz die.
Use a brayer or your fingers to smoosh the cardstock into the ink. If you're using a hybrid ink, such as the Krafty Ink, you don't have a lot of time before the ink will dry.
The ink transfers to the cardstock with a cool visual texture.
I dry fit the leaves on one of the panels from the first technique. I thought the edges were a bit.. umm.. not distinct.
So, I used a blender tool to add a bit of the Marvelous Mocha to the edges of the leaves. This amped them up perfectly.
The sentiment I wanted to use has two lines but I only wanted the first line on the front. I could either mask to split the line or cut them apart. I decided against masking and carefully snipped between the lines. The sentiment can be used joined later, so nothing lost and everything gained.
I used Wicked Black to stamp the first part of the sentiment on a pearled cardstock.
I trimmed the sentiment to a strip and added everything to a white card base. I used foam mounting tape on the leaves for actual dimension as well as the visual dimension.
Inside, I stamped the other half of the sentiment I divided and another one from the set as well as the cake. I like this cheeky sentiment and think the punchline is better on the inside, especially with the leaves on the front.
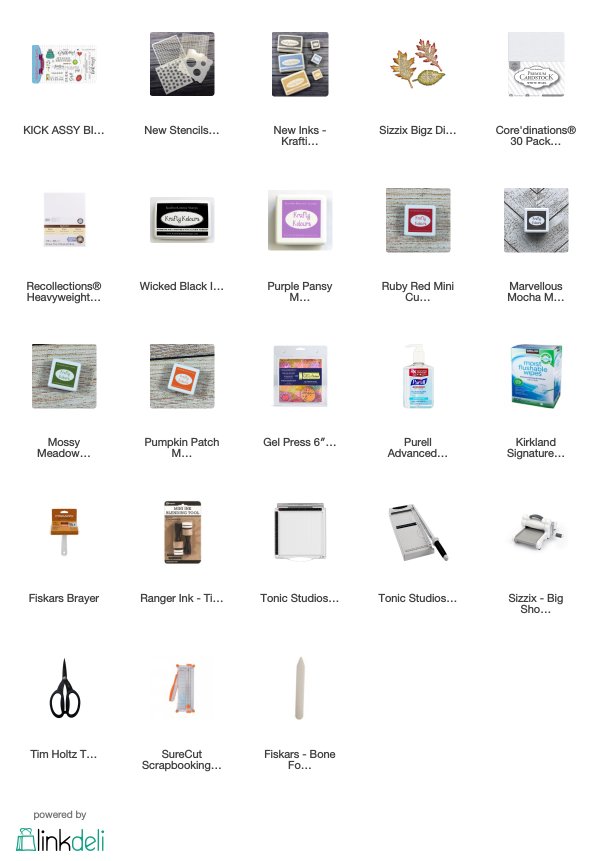
Supplies
Challenges
Kraftin' Kimmie Stamps: Birthday
Outlawz Festive Friday: Theme - Funny Birthday
Crazy 4 Challenges: Leaves only
Simon Says Stamp Monday: Make Your Own Background
Pearly Sparkles: Autumnal Colours
Outlawz Festive Friday: Theme - Funny Birthday
Crazy 4 Challenges: Leaves only
Simon Says Stamp Monday: Make Your Own Background
Pearly Sparkles: Autumnal Colours


Beautiful card! The soft colours and design look so pretty 😁. Thanks so much for joining in the fun at Simon Says Stamp Monday Challenge! J 😊 x
ReplyDeleteSuch pretty texture! Thank you so much for playing along in the Create Your Own Background over at the Simon Says Stamp Monday Challenge Blog this week :)
ReplyDelete