

Happy Halloween! A journal for the witch's lair and innermost dark thoughts. Muhahahaha
Putting It Together
Last Sunday I spent the day at my friend Betty's house because she wanted to make spooky journals with the inspiration of Mitsyana Wright. Betty has the journal die and a different set of supplies than what's in my own stash. Using her supplies is often like trialing them before buying them on my own. For example, she has a lot more Prima Marketing media than I have since she's been to a couple Prima Artventures (some day I hope to go to one). She's also got a Silhouette Cameo and other such since she's been doing paper related crafts much longer than I have. But, I have resins and jewelry making and other art supplies that she doesn't, so it's fun, too, when she comes over to my house to play. If we lived any closer to each other (and I didn't have that time consuming day job to go to) we would be a lot more dangerous *laugh*
I didn't get many in-progess shots while I was at Betty's. I might have been having too much fun to remember.

We used thick cardboard from emptied paper pads, covered it on both sides with paper-backed denim she has had in her stash a long time, and ran it through the Big Shot with the journal die. The denim makes the journal cover a lot more durable than it would be with just the cardboard.
Each of us decorated our own journals using various things in her stash and some I had brought along with me. I have more "spooky" supplies, like the molds and glow-in-the-dark stuff.

I used Mod Podge Melts to make some decorative items. First I brushed the mold with mica powder, something I do all the time with resin, and then squeezed in the Melt. Mod Podge Melts are like glue stick, but not sticky. Like with resin, the Melt melded with the mica that was in the mold to make metallic looking embellishments. I used a couple antique button molds from Cool Tools,...

and a silicone key mold from Resin Obsession. The Melt molded embellishments are rubbery and not hard like resin molded items, but that's okay for the journal or other places where it only needs to look good. The Melt is also opaque, so no see through items. But, the Melt takes about 15 minutes tops to make items while resin casting, with epoxy resin, requires several hours to cure. Casting with polymer clay would be another fast alternative to resin, but requires cooking in an oven.

For my journal, I used recycled screen to give some texture on the front cover. The screen material was left over from my sweetie replacing one of the screens for a window in the house. I really love the rough texture it gave the cover. I also used a Silhouette cut that was sort of webby or iron-worky. Betty used the same cut as a web. I built up a couple layers of the cut and then covered it with recycled tissue paper to soften the edges.
I used gesso and a stencil on the back cover, didn't take a picture, and it took the entire afternoon to dry so I never got more done on it at Betty's. It was actually still a bit wet when I took it home. Between the thick gesso and the denim it very very slow to dry.

I covered everything with a black paint and then sprayed it liberally with the antique gold Colour Bloom, also stenciling in a crow that was also a Silhouette cut. While the paint or spray was wet (I forget which one), I sprinkled on the glow-in-the dark chunky glitter. While the journal cover doesn't actually glow, the glitter gave it an eerie crystal-y texture.

I used bronze and fire ruby rub on the cover to add to the distressed-ish look.

I added ruby rub to the embellishments and adhered them to the journal with Glue Dots. I also dry fit a resin and glitter dome bauble I had brought along with me. We had run out of the day so I took it home to finish.

At home, the next morning, I thought about some crystals in my stash. One of them, a large Swarovski was whispering to me. I bought it years ago on clearance with the intent of making it into a pendant or something. When I dry fit it, the red magma crystal fit so well with the fire ruby rub I had used as if it was made to go on this journal.

In my stash I have various bits of filigree from Vintaj, also bought on clearance or sale at some time in the past. I decided to use this square bit as the setting but needed to dome it for the curved back of the crystal. I used a wooden dapping block to shape the metal. First I determined the depression which most closely matched the curve of the crystal, then I used the wooden dapper, tapping it with a brass mallet, to shape the brass.

Fit like a glove.

I only needed to curve the tips in to hold the crystal.

I did that shaping with pliers. I could have used nylon tipped pliers if I worried about tool marks. I curved three tips in, then slipped the crystal in place before curving in the forth. No adhesive, none needed.

Since the back cover was finally fully dried, I used Cosmic Shimmer paste over the stenciling.

Even though the back and front are different in colour, I still really like how both turned out. I added fire ruby rub to the back as well and some black glider's paste to darken it a little and add depth.

Then I adhered one of the initials Betty had cut for me on the Silhouette. At her place I had darkened the paper with Distress Oxide Black Soot and used some of the fire ruby rub.

She had cut me a K and L, too, so I put them on the inside of the back which I had just coloured with the chocolate bronze.

I put the journal together, adhering the two covers with adhesive tape. Then I threaded rubber cord (originally obtained to be necklaces) to make 4 cords for holding 'signatures'. Signatures in book binding are sheets of paper that are bound together to fit inside a book.

I used the centre hole in the spine to add a cord for the closure.

I dry fit the cord around where I intended to fix the crystal to make sure it was long enough but not too long.

I used the Vintaj buffer to shine up parts of the filigree anchor.

I used a metal punch to make holes in the thick cover.

I threaded two wires through the base of the crystal's setting, through the holes I made in the cover and though the filigree on the inside of the cover.

I twisted and knotted the wires to anchor the setting and the filigree. No glue here either.

The long filigree on the inside in back of the crystal should help to distribute the stress on the wire shanks and the holes in the cover.

I added some antiqued copper chain from my stash to the key and finishes off the chain with a wood cut maple leaf that I added a copper bail to. I like the dangle and the leaf represents both Autumn and my living in Canada.

For a creepy distressed look while using the journal as decoration, I made some temporary signatures from old tracing paper that had discoloured and gotten water damaged. The rubber cords in the journal have a space a nudge more than 7 1/2" and the covers are a bit over 4 1/2". I cut stacks of sheets to 7 1/2" x 8 1/2" and scored them at 4 1/2".

They fit perfectly in the journal. Later, I'll make signatures out of various papers so I can use it for colouring and stuff.

The finished back held closed.

Inside the back cover.

The front cover held closed.

Inside the front.
I've always been a bit of a goth in my heart. Even though I made this journal for Halloween decoration, I fully intend to use it as my personal journal because it expresses so much of the inner me.
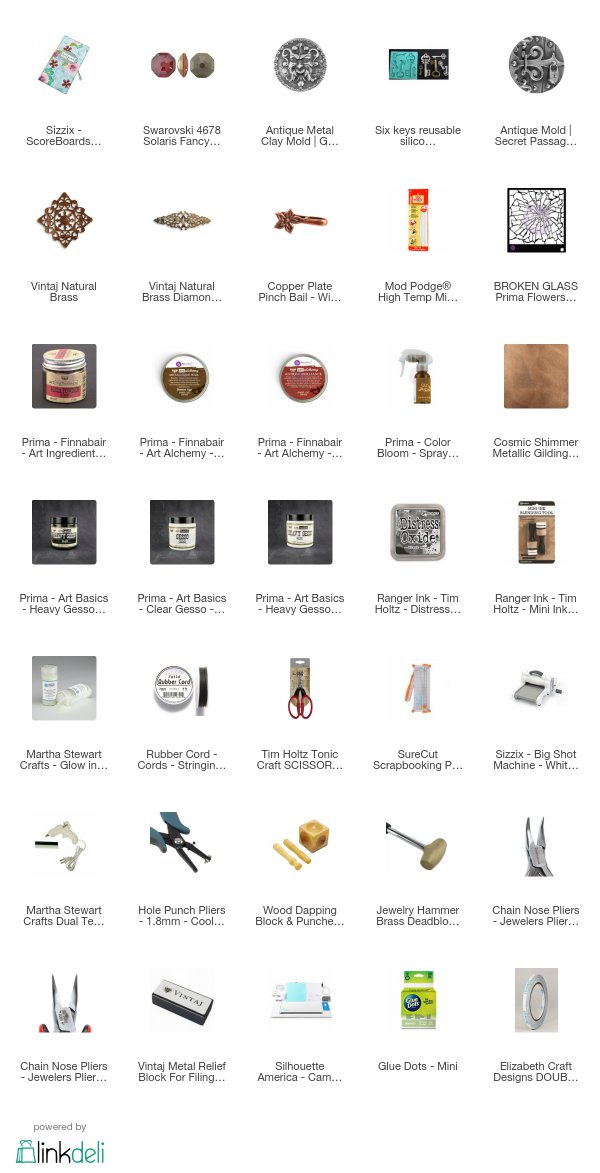
Supplies
Challenges
Emerald Creek Dares: Freaky Fun
Try It on Tuesday: It's Halloween Time
Paperbabe: Scare me
Crafty Gals Corner: Halloween Colours
Crafting From the Heart: Anything Goes
A Bit More Time to Craft: Anything Goes
More Mixed Media: Anything Goes
Try It on Tuesday: It's Halloween Time
Paperbabe: Scare me
Crafty Gals Corner: Halloween Colours
Crafting From the Heart: Anything Goes
A Bit More Time to Craft: Anything Goes
More Mixed Media: Anything Goes
Love the leather look! Thank you for joining us this week at
ReplyDeleteCrafty Gals Corner Challenges .
Scrapbookingmamaw {My Blog}
Blessings! Jeanie Ellis, DT, Crafty Gals Corner
www.craftygalscornerchallenges.blogspot.com
This is a fantastic project!Great to see your progress! Thank you very much for joining Try It On Tuesday!
ReplyDeleteoxo
Susi
This is a great project. Thank you for joining us at TioT.
ReplyDeleteFabulous journal and a very interesting post, I have some mod podge sticks never used so now mean to try your metallic look with them, thank for the info.
ReplyDeleteThanks for joining in at Try It On Tuesday challenge
Joan
It is a fabulous project. Thank you for sharing it with us at Try it on Tuesdays.
ReplyDeleteYvonne
You have done a great job with this journal!Stunning project!Thank you for taking part in our challenge this week at the Crafty Gals Corner!Hope you join us again next week!
ReplyDeleteHugs
Kleri DT
http://craftygalscornerchallenges.blogspot.co.uk/
http://kefartworx.co.uk/ (My blog)
Wow Kate, beautiful, beautiful journal! It looks like a tons of work and your step-by-step process is so well documented! Great work! I love the goth look of it (a little bit of dark side in me as well:) and the crystal fits perfectly! Thank you for playing ith us at More Mixed Media Challenge blog and good luck! Hugs, Asia
ReplyDelete