

Crystalline snowflakes remind me of sugary candy so I glittered snowflakes from Kraftin' Kimmie on a background made with Kraftin' Kimmie ink in pinks and stencil on a gel plate for a Christmas card of sweetness.
Putting It Together
The Kimmie Christmas challenge this week has been non-traditional colour and I've been mulling it all week trying to come up with an idea and then... wham... and idea popped in my head, crunchy crystalline snow on pink. It turned out almost exactly how I imagined.

One of my favourite tools for making backgrounds is the gel plate. I dabbed the gel plate with three of the Kraftin' Kimmie inks then brayered the ink to mix the colours and spread it out. I have a kraft A2 panel under my gel plate to know how big I need to work my colours and to be able to see the light colours, too.

I then put a stencil over the ink and used a wet wipe to wipe the ink away n the openings.

I let the ink dry on the gel plate then added dabs of Cosmic Shimmer opal paste.

I brayered out the paste over the dried ink.

I then put my background panel on the plate to take a print. I smoothed my fingers over the whole panel, pressing it into the ink and paste.

I love the visual texture this created. Gel plate is so cool and no two prints are the same. I usually make a few (to several) at one time with the same materials or almost the same with a few switches and then choose the one that fits most to what I want to do. The rest go in my 'backgrounds box' which I now have sorted by technique/materials and have started dating so I can find the making pictures :)

I laid out the snow flakes stamps with the sentiment positioned. I moved the sentiment to the side while working on the snow.

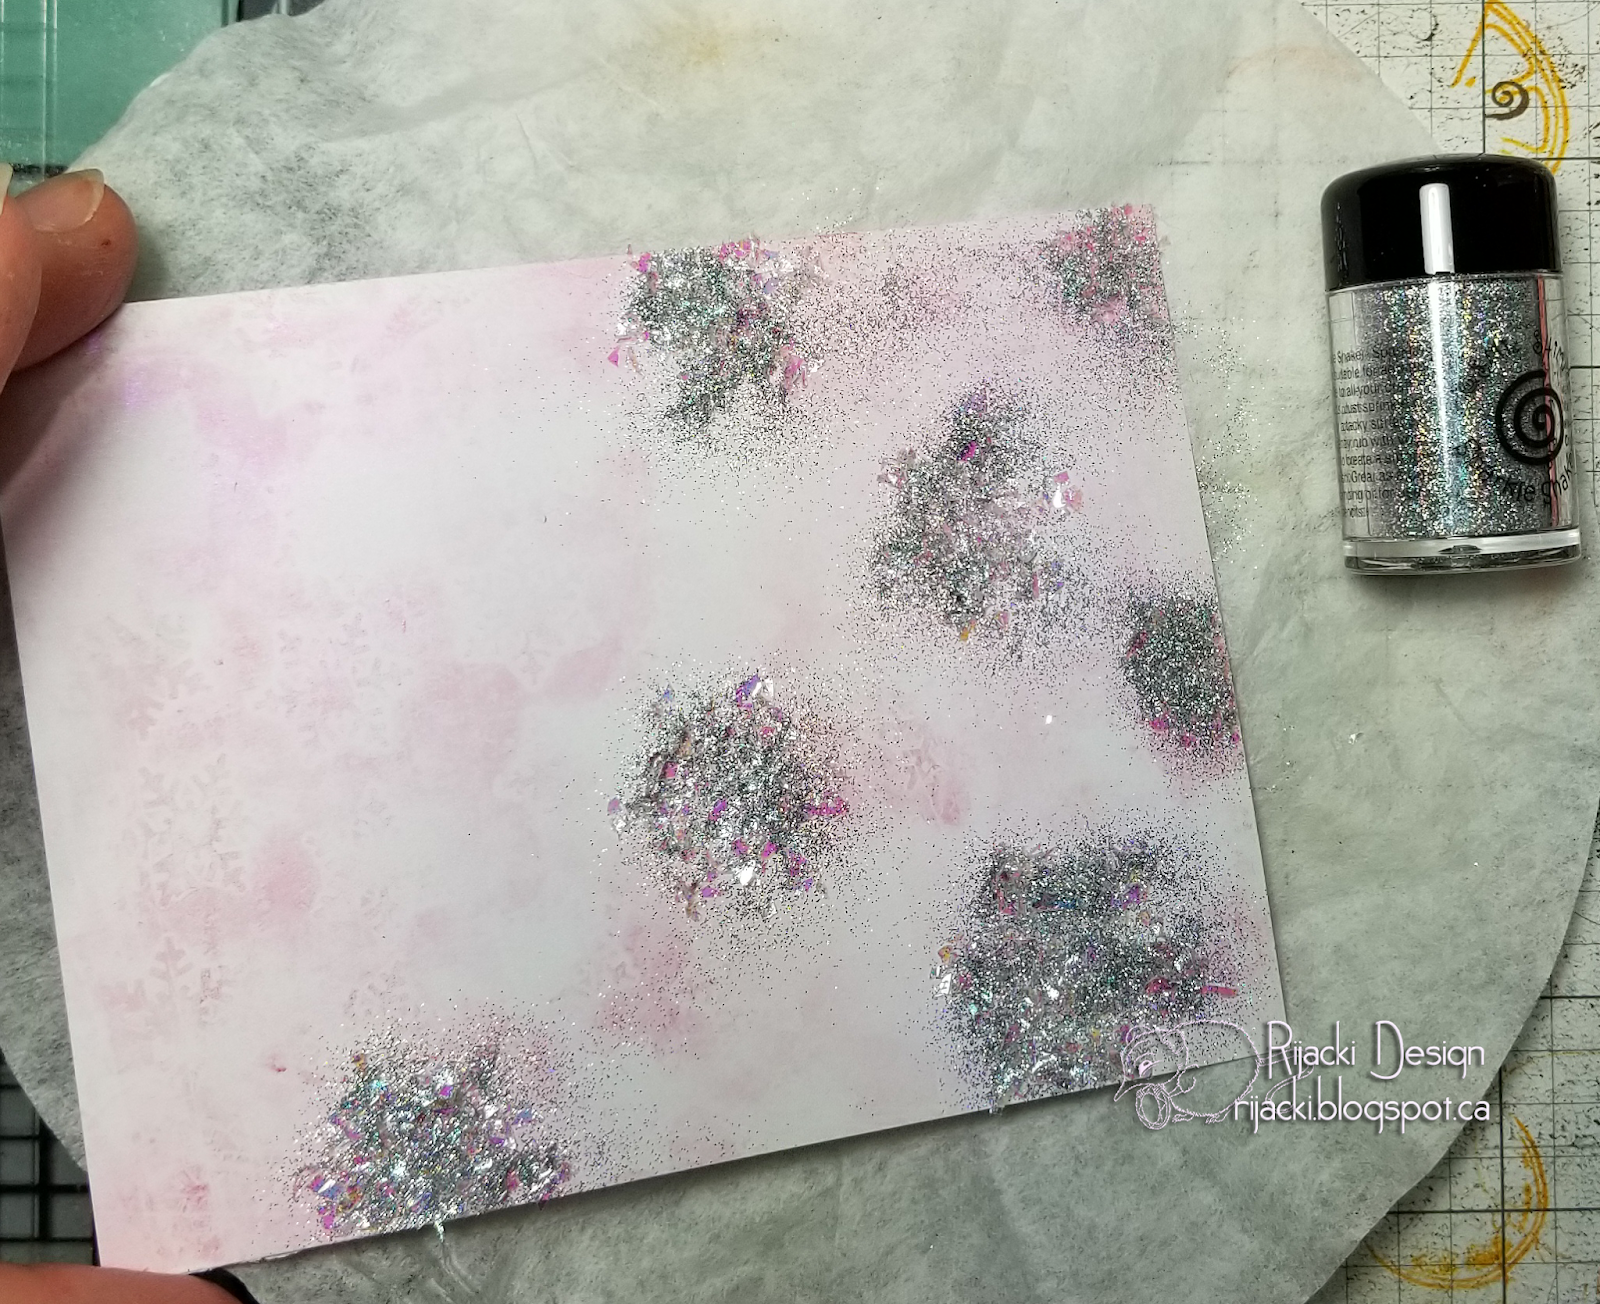
I stamped the snowflakes with glue and left the panel a couple minutes to let the glue get tacky.

I have a lot of glitter in my stash, a lot of it I got for working with resin. I vaguely remembered having a chunky crystal glitter which, it turns out, is from a long-retired set of Martha Stewart vintage leaf (so long-retired I was having trouble finding evidence it ever existed - bu I only got it... umm.. about 6 years ago *laugh*). I used the chunky loose glitter on the stamped glue.

I love the sparkly crystalline effect of this glitter, but the chunkiness of it didn't fully cover the glue and the snowflakes were a bit more undefined than I wanted.
So I added in a microfine holographic silvery glitter I newly acquired to fill in the snowflakes and amp up the sparkle under the other glitter. If you're going to add two glitters, add the bigger one first, the finer glitter will fill in the spaces.

I stamped the sugary sentiment with Pink Pizzazz and added the panel to a white cardbase.

Inside, I stamped snowflakes with the pink inks, darker on the outside edges, but wanted them to have a softer look so I stamped over the pink with white pigment ink. This gives a soft two-tone look.

I then added the second sentiment with Pink Pizzazz to finish off my pink wintery Christmas card.

Supplies

Challenges
Kraftin' Kimmie Stamps Christmas: Non-traditional Colour(s)
Addicted to Stamps and More: Make Your Mark
Simon Says Stamp Wednesday: Add a Sentiment
Crafty Hazelnut's Christmas: Anything Goes
Outlawz Monday Greetings: Anything Goes
Simon Says Stamp Wednesday: Add a Sentiment
Crafty Hazelnut's Christmas: Anything Goes
Outlawz Monday Greetings: Anything Goes
Very pretty and a great tutorial. Thanks for joining us at Addicted to Stamps and More!
ReplyDeleteVery pretty!
ReplyDeleteThank you for sharing with Crafty Hazelnut's Weekly Christmas Challenge!
Susan
DT for CHNC
Calling All Crafters! – My personal Blog!