

A text from a loved one while you're out of a beautiful day? #BestDayEver
My card features stamps, stencils, and inks from Kraftin' Kimmie Stamps as well as paper piecing with mulberry paper, Prismacolor pencil colouring, and die cuts from Spellbinders and Stampin' Up.
Putting It Together
The challenge is "Make a Scene", so after I considered throwing a temper tantrum (*smirk*), I looked through Kraftin' Kimmie stamps in my stash that I haven't used yet and this idea popped in my head.

To see if the idea was going to work with the elements, I did a dry layout on cardstock. The kraft piece is 3 3/4" x 5" on a 4 1/4" x 5 1/2" white. I have some precut panels in my stash so I don't have to do paper cutting before playing with background techniques.

For the background, I started with a 4" x 5 1/4" panel of heavy white cardstock. I used the Kraftin' Kimmie Scenery stencil with Kraftin' Kimmie inks and a blending sponge tool to add grass and a sky with fluffy clouds. For the grass, I started with Charming Chartreuse then added sponge swipes of the Enchanting Emerald and Mossy Meadow, using the texture of the sponge for abstract grass.

I stamped the image on Bristol with Totally Taupe. Social Sally is sadly retired and the artist isn't making new images for Kraftin' Kimmie Stamps. She now sells her own digital stamps: Moonlight Whispers.

I used Marvelous Mocha to stamp parts of the image on mulberry paper.

I used Prismacolor pencils to colour the image on Bristol and added shadowing on the mulberry paper bits that I fussy cut after. I keep track of the colours I use on a scrap of paper so I can use similar blends later. Doesn't she look so funny with the head, hands, and feet coloured but nothing else? Oh.. and can you spot the boo-boo here that I missed?

I fussy cut Sally and used a Zig glue pen to piece in the mulberry bits.

And... this is when I spotted my big boo-boo. Do you see it, too? I missed a small boo-boo. Do you see it?

My big boo-boo: I didn't cut out the hand from the jacket! So... I stamped a new one on a scrap of the Bristol, coloured it, fussy cut it (which is a PITA with the tiny angles), and glued it on top. Frankly, I think it actually looks better this way, so it wasn't a mistake, it was a "happy accident". (Thanks, Bob, for that wisdom.)

For the tree, I cut the greenery layers from Core'dinations colour core cardstock. Sadly they no longer make it but I have quite a bit put by in my stash to last. I love the texture of the cardstock as well as the colour core. I used a dollar store nail buffer to sand the edges to reveal the lighter coloured core which gives these die cuts a bit more depth.

I got the Stampin' Up die set with the lamppost more for doing park scenes than for the Christmasiness of the set. I die cut it from a platinum-ish glitzy cardstock. I stacked the lamppost with 2 layers of black cardstock to give it a bit of dimension. I adhered the lamppost and tree to the background.

I then trimmed off the side of the tree to match it to the panel. I had thought of having the tree and lamppost extend off the background to the cardbase matting, but I think the framed effect with the matting works better for this scene.

After stamping the sentiments on the inside, I decided it was far too plain and lightly added Kraftin' Kimmie inks with the Happy Hearts stencil using a blender brush. I used Raspberry Rose all over with Ruby Red only on the outside edges.

I added touches of white gel pen to her eyes. For a tiny touch of sparkle, I added Aqua Shimmer to her phone and heart text. I used foam mounting tape to pop up the image and hen realised I didn't trim out the area under the bench arm next to her leg, but I left it. I also added some small white flowers from my stash. It was past midnight by this time, 'cause I am silly and stay up past my bedtime when I have an idea in my head and am so close to finishing.

Inside, used lightly, the blender brush can impart a soft look that still invites a personal sentiment while adding fun detail.

Look at all the Kimmie stuff I used on this card!

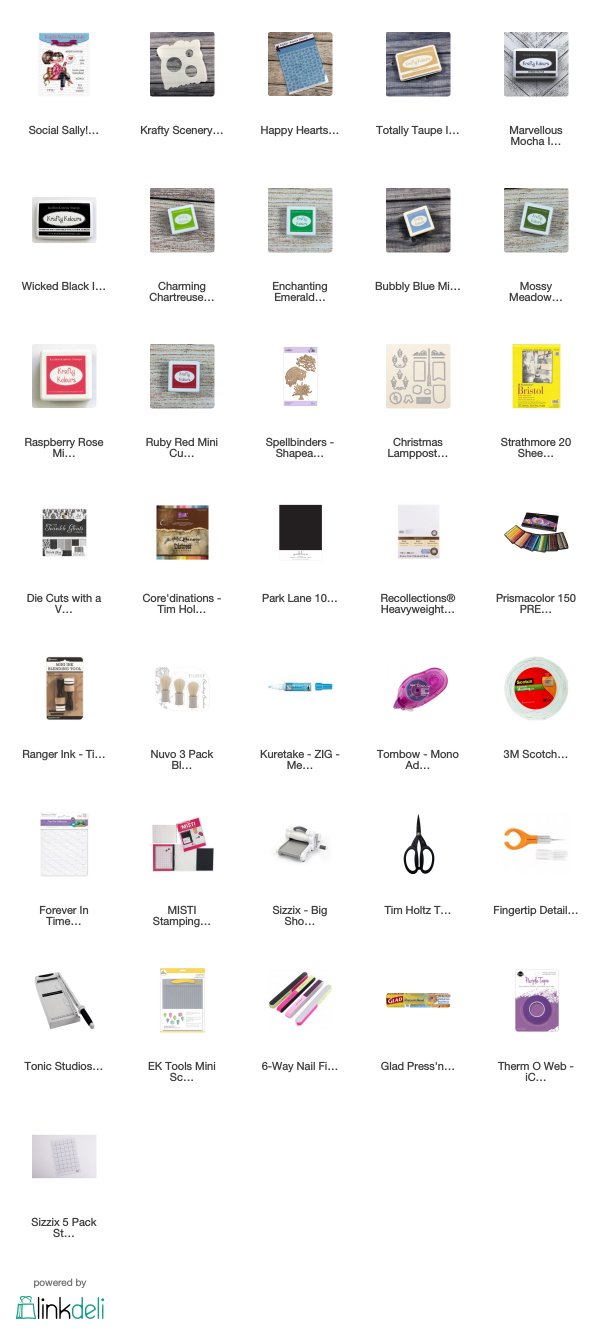
Supplies
Challenges
Kraftin' Kimmie Stamps: Create a Scene
Tuesday Throwdown: Stencilling
Try It On Tuesday: Make a Mark
Tuesday Throwdown: Stencilling
Try It On Tuesday: Make a Mark
Outlawz Festive Friday: Theme - Anything Goes
Watercooler Wednesday: Anything Goes
Crafting From the Heart: Anything Goes
Penny's Paper-crafty: Anything Goes
Simon Says Stamp Wednesday: Anything Goes
Watercooler Wednesday: Anything Goes
Crafting From the Heart: Anything Goes
Penny's Paper-crafty: Anything Goes
Simon Says Stamp Wednesday: Anything Goes
I thoroughly enjoyed reading through your process! Great job popping her hand back in! What a wonderful scene you've created with so many wonderful techniques. Thanks so much for sharing this with us at Penny's!
ReplyDeleteLinda
Such a fun card! I loved seeing how it came together and the hearts on the inside are perfect too - beautiful 😀. Thanks so much for joining in the fun at Try it on Tuesday! Jo x
ReplyDeleteThank you for sharing your sweet card with us at Try it on tuesdays.
ReplyDeleteYvonne
Lovely. Thank you for joining us at TioT.
ReplyDeleteLovely work, thanks for sharing with Crafting from the Heart!
ReplyDelete