

If I had a magic carpet, I would zooooom through the clouds. My shaped card features a brand new stamp set from Kraftin' Kimmie Stamps, so new it won't be released until Sunday! It was part of the May Krafty Kit. I also used the new ink in the kit as one of the colours of my sunset inspired clouds made with a Kraftin' Kimmie stencil, masking, and Krafty inks.
Putting It Together
While technically not a 'single layer' card because there is a decorated panel adhered to a cardbase, I used single layer card techniques to decorate that panel. It's just not as easy to do a shaped card from die cut as a true single layer because of the need for the hinge/fold.

I love the Krafty Klub. It's a no obligation kit that's available once a month. Those who buy the kit one month have first dibs on the kit the next. The items in the kit are going to be released on Sunday.

I got this steel rule die on a whim with a warehouse sale. I thought it would be great for a future shaped card. The future is today. I did a dry layout with stamps from the set to make sure everything I wanted would fit.

I used the die to cut a card base, making sure the fold line was below the cut line. I also cut a single full panel to later adhere to the card base.

I stamped the images on to masking paper.

Then I fussy cut them out. Sharper wits than mine might spot what I forgot to fussy cut.

I stamped the foreground image on the card base first then covered him with the mask. Nope, I didn't notice what I forgot on the mask when I did this.

I then positioned the carpet over the boy's mask to stamp to make it look like he is standing on it.

I used blending brushes with the Scenery stencil to create the layers of clouds, progressing in a rainbow-ish array.
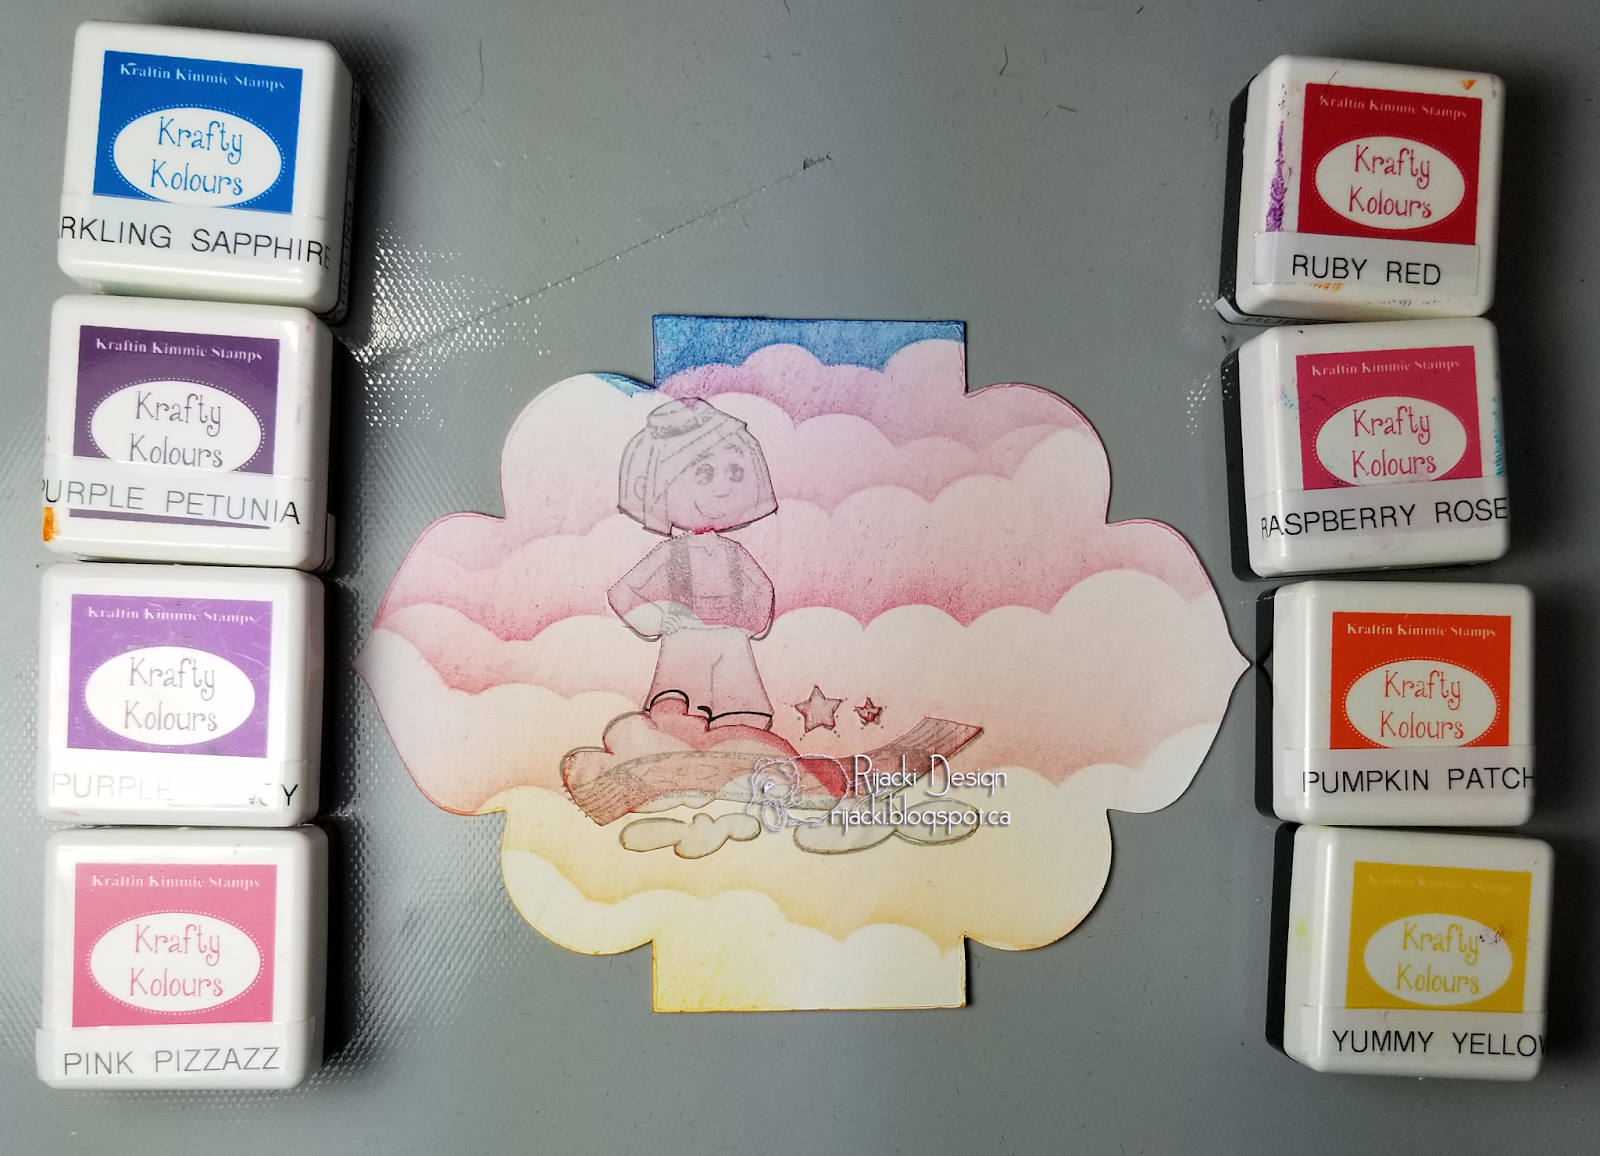
I used several of the Kraftin' Kimmie inks to create the clouds including Pink Pizzazz, the new ink that was in the kit.

Taking the masks off, you can see how the boy, stamped and masked first, stands on the carpet, stamped and masked second, is in front of the clouds. And.. I still didn't notice what I hadn't cut out of the boy's mask.

It was while I was colouring the boy, using Kraftin' Kimmie inks as watercolour, that I noticed I had neglected to trim away the areas between his arms and body. I ended up having to watercolour that space, too. Thankfully it wasn't in one of the colour transition spots (purely by accident). Pink Pizzazz is one of the colours on the carpet. I also used some markers and a gel pen to add details. I then used a Nuvo glitter marker to go around the outside edge for a bit of sparkle and to finish the edge.
I dressed him in greens because I didn't use green in the rainbow-ish clouds.

After adding the sentiment, I then simply added the panel to cover the front of the card base. Since they were both cut with the same die, the front matches up (just start from the bottom).

Inside, I stamped the genie and shooting star from the set and added another sentiment.

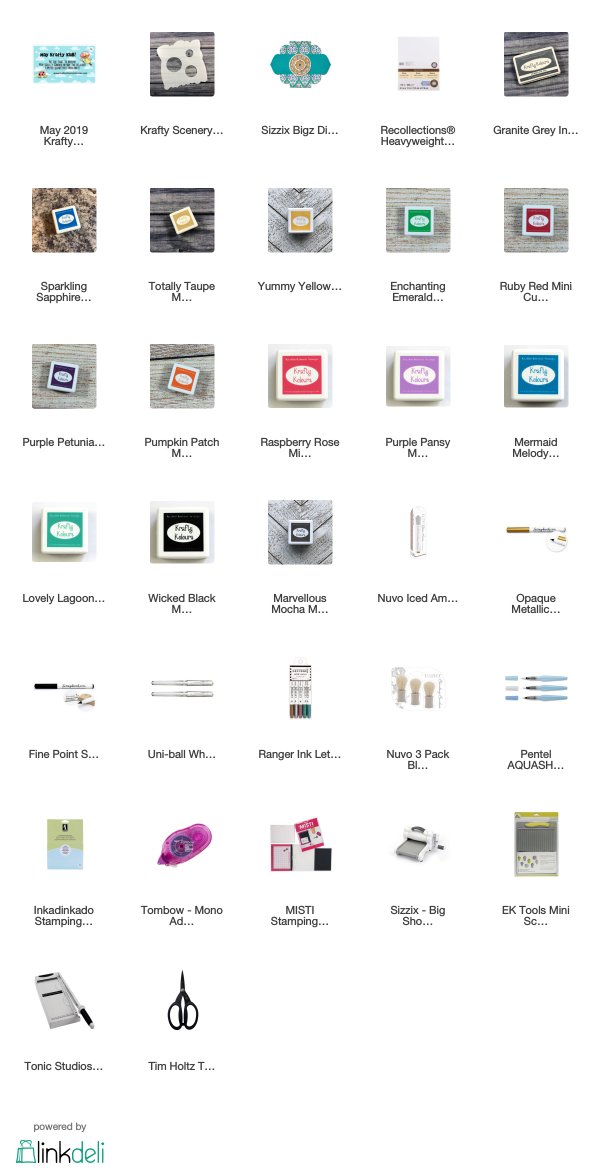
Supplies
Challenges
Kraftin' Kimmie Stamps: Rainbow/Bright Colours
Kraftin' Kimmie Stamps: NSD game #2 - Coloured Inks
Incy Wincy: Shaped Card
Crafter's Cafe: Make Your Own Background / Use a Die
Creative Craft Cottage: Use Ink
Fab 'n' Funky: Anything Goes
Kraftin' Kimmie Stamps: NSD game #2 - Coloured Inks
Incy Wincy: Shaped Card
Crafter's Cafe: Make Your Own Background / Use a Die
Creative Craft Cottage: Use Ink
Fab 'n' Funky: Anything Goes
What a cool way of extending the use of your metal die into creating a shaped card. Thank you for sharing your creation with us @ Incy Wincy Designs Shaped Cards. Good luck!
ReplyDeleteThis set us so much fun
ReplyDeleteSo cute - the clouds are a perfect setting for the magic carpet! Thank you for joining the current challenge at the Crafter's Cafe.
ReplyDeleteDorothy S, DT member
Fabulous card ...Thanks for joining us at Fab’n’funky:)
ReplyDeleteHugs
Wendy xx