A girl and her dragon, a match made in heaven? My card features Newton Nook stamp sets with Koh-i-Noor pencil colouring and masking.
Putting It Together
I wasn't intending to do two dragon cards back to back, but the colour challenge at Inky Paws was calling to me and these two stamp sets were a perfect fit for it. Though, in a way, this is kind of a follow up on the dragon card I posted yesterday *laugh*
I don't know why green calls to me as a dragon colour, but it does. Teal, I thought, would be nice for a dress.
I decided I wanted to do some masking. I didn't clean my stamps from their last use (oops) and used a handy yellow pad to stamp both of the images on masking paper. I fussy cut both of them.
But, not just any masking, I wanted to have the princess between the dragon's head and tail looking like the dragon is curling around her. This meant a bit of complicated masking for one image to be both behind and in front of the other. I cut off the dragon's head, from the mask, and used two positions in my Misti to stamp the dragon twice, with his head stamped separately from his body.
- First stamping: The dragon with the head area completely masked. This put the tail as the top-most.
- Second stamping: The princess with the dragon body masked but no masking over the dragon head area. This put the princess behind the tail and in front of the head.
- Third stamping: The dragon again with the dragon body and the princess masked. This put the dragon head behind the princess.
I need to clean my Misti door. I'm starting to get ink smudges in places I'm not stamping.
I used Koh-i-Noor pencils on Bristol to colour the duo that I had stamped with grey for a "no lines" colouring.
I added accents with white and bronze gel pens, cropped the image with a stitched tag die, then added a hole and a bit of ribbon from my stash.
I added them to a black card base with a patterned paper background and a doily for a touch of feminine. I popped the tag up with foam mounting tape and added a sentiment and white enamel dots.
I kept the inside simple with another panel of the patterned paper stamped with a sentiment and topiary.
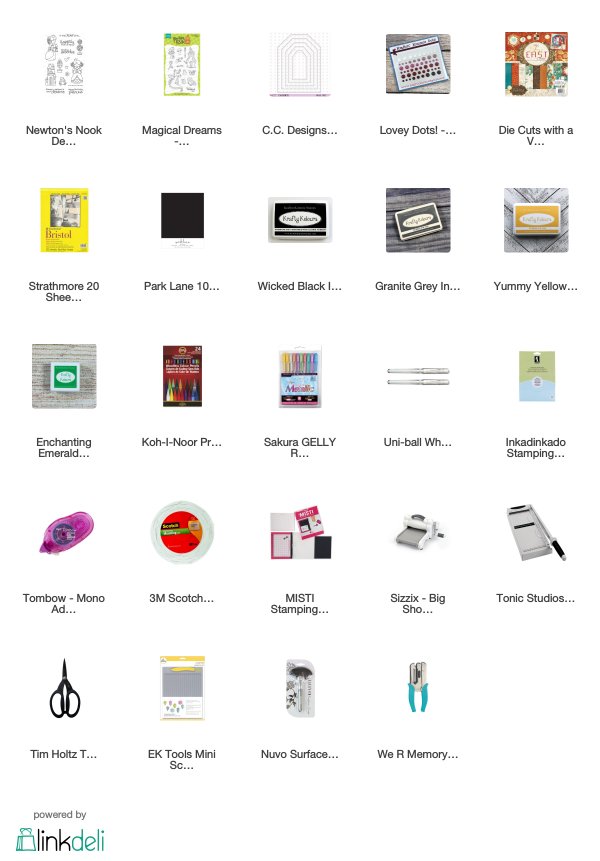
Supplies
Challenges
Inky Paws: Colour Challenge (white, green, teal, and yellow)
Simon Says Stamp Wednesday: Stitches
Crafter's Cafe: Tag
Crafty Hazelnut's Patterned Paper: Anything Goes
Outlawz Festive Friday: Anything Goes
Creative Moments: Anything Goes
Addicted to Stamps and More: Anything Goes
Penny's Paper-crafty: Anything Goes
Simon Says Stamp Wednesday: Stitches
Crafter's Cafe: Tag
Crafty Hazelnut's Patterned Paper: Anything Goes
Outlawz Festive Friday: Anything Goes
Creative Moments: Anything Goes
Addicted to Stamps and More: Anything Goes
Penny's Paper-crafty: Anything Goes


I adore this dragon who looks fantastic with the princess and your card is just darling! Thanks so much for sharing with us at Inky Paws Challenge!
ReplyDeleteHugs,
Debbie
Super cute!!! Thank you for joining us at ATSM, good luck!!! Amy DT
ReplyDeleteLove the dragon / princess theme! I can tell you put a lot of time into this one! Thank you for joining us at the Inky Paws Challenge!
ReplyDeleteLovely and creative use of the masking to create the scene.
ReplyDeleteThanks for joining us at Craftyhazelnuts patterned paper challenge blog.
Happy crafting!
Catherine x DT
This is beautiful - great masking and layout - thank you for sharing at Penny's Paper-Crafty this week and good luck - Michelle x
ReplyDeleteThis technique is so clever!! I love your card and the sentiments are so sweet!
ReplyDeleteThanks for sharing with us at Penny's, and good luck with your entry! :)
Wonderful work,
ReplyDeleteThank you for joining at Addicted to Stamps and More and waiting to see next time.
Hugs
Meena DT
Cute card. Thanks for entering your wonderful creation at The Crafter's Cafe this fortnight for our "Shaker card or Tag or Something beginning with M" challenge.
ReplyDeleteSuch a lovely card...the images are so sweet, and the addition of the "key" pattern paper speaks of hearts locked in love :D Thank you for sharing it with us at Craftyhazelnut's PPC XXX
ReplyDelete