My card today features a foiled stencilled background as a background for a Kraftin' Kimmie Stamps set using transfer gel to do the foiling and Zig Clean Color to colour the image. Here's a sign for love.
Putting It Together
I saw the transfer gel demoed in a video from Creativation and knew I had to have it. The prospect of obtaining it was actually what pushed me over to finally get a laminator. But, I did get the laminator a few months before the gel because I kept not seeing it local and kept forgetting to drop it into my online cart where I could find it. Sadly, only a few places carry it. But it's cool and fun! or is that hot, 'cause it works with a laminator? *impish grin*
Transfer gel is just like other pastes and gels that work with stencils. The difference is that it works with the heat of a laminator to adhere the transfer foil to the stencilling. Smear the transfer gel on the card stock through the stencil and let dry at least an hour until it is fully clear. It might take more than an hour if the stencilling is thick. To make sure my stencil doesn't move or lift, I sprayed it with repositional adhesive before I put it on my cardstock panel.
Put the foil, pretty side up, over the dried gel. Put it in a folder sheet of parchment or deli paper. If you have stencilled all the way to the edges of your cardstock, you might have a little bit of it over the edges. This will also melt and stick to whatever you use as a carrier for your project. This is why it is very important to use kitchen parchment or deli paper. Deli paper is thinner but both are slightly waxed which will help when removing your project from it after running it through the heat.
After laminating, peel back the foil sheet to reveal the magic. This is also when you discover how uneven some of your gel spreading was. This is also when you remember, yet again, that photographing foil is a PITA (pain in the ....). But, you can see the pretty shine of the rainbow colours in the stencilling even with the light hot spot. It's even more amazing in person.
This long retired stamp set is grey rubber so I can't see through it to do a dry fit with the stamps as easily as with a clear one, so I stamped with light grey on watercolour cardstock and loosely cut around the image. I use a repositional tape runner to use the unmounted rubber stamps with my Misti.
I used Zig Clean Color watercolour markers and waterbrushes to colour the image with accents of gel pen and Nuvo Aqua Shimmer on the skirt. I fussy cut the image with a narrow margin.
I stamped the sentiments on light cardstock and did a dry fit with the image on the background. I wasn't entirely sold on the strips so I accepted that it was my bedtime and left it to the next day.
After thinking on it overnight and at my day job, I decided to split the sentiments and used a die cut to frame the sentiment. The die is squarish, so I needed to do a double cut to size it for the sentiment. I popped up the image and sentiment with foam mounting tape and used a white card base.
Inside, I used masking to stamp the hand with the sign then added the other half of the sentiment. I used the heart stencil with several Kimmie inks and a blender brush to add an echo of the rainbow-ish colours inside.
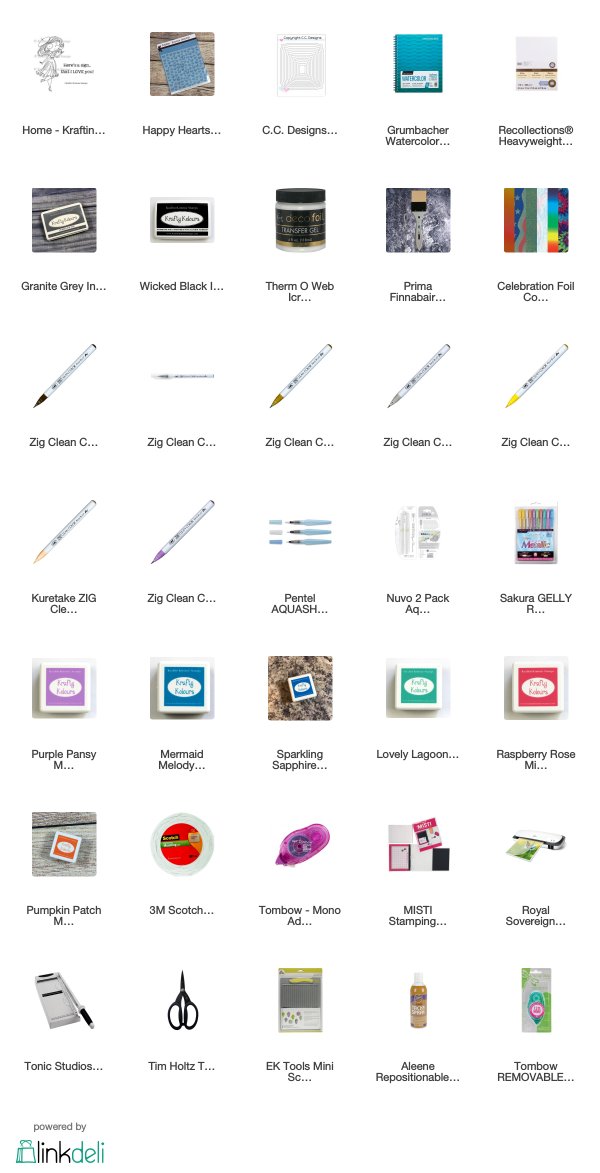
Supplies
Challenges
Kraftin' Kimmie Stamps: Rainbow/Bright Colours
Simon Says Stamp Monday: Add Something Metallic
Scrapping 4 Fun: Ladies
Simon Says Stamp Monday: Add Something Metallic
Scrapping 4 Fun: Ladies
Crafty Addicts: Anything Goes
Outlawz Festive Friday: Theme - Anything Goes
Creative Moments: Anything Goes
Outlawz Festive Friday: Theme - Anything Goes
Creative Moments: Anything Goes


Wonderfull work,
ReplyDeleteThank you for Joining us at Scrapping4funChallenge and waiting to see next time.
Hugs
Meena S4F DT