

Cowa-bunny, Dude! Sending Easter blessings your way. The sun has risen, let's go catch some waves. My early morning chillin' single layer card features stencilling, masking, and coloured pencils with Kraftin' Kimmie stamps, inks, and stencil, and My Favorite Things stencils. Aren't those shorts the bomb?
Putting It Together
I like doing single layer cards. They do require a bit more planning but, in an odd way, that's part of the appeal for me.

Part of the symbology of Easter is the rise of the sun. This, with the surfer bunny, gave me an idea for an unconventional card for the season. As part of my planning for the single card, I dry fit the stencil and stamps. The sunburst stencil is from My Favorite Things. The stamps are Kraftin' Kimmie Stamps.

Masks are very helpful in making single layer card. I stamped the image on masking paper. If you don't have masking paper, any thin paper with a repositional adhesive will work.

I then stamped the image where I wanted it on the card base. I used grey ink for softer lines to have a more 'no lines' look to the colouring.

I fussy cut the mask tight on the lines of the image. Thin line elements extending past the main image, like the tufts of hair at the top, I ignored and cut them off. The stencilling won't obscure them.

I used the mask to cover the stamped image on the card base.

I used purple tape to mask off the back of the card and to anchor one side of the stencil so it won't shift. Anchoring it on just one side allows it to open like a hinge so I can check on it in progress without risking the stencil getting out of place. Since the placement of the stencil's sun disk makes the rays not extend the full card, the anchoring tape is also masking off the side of the card base behind the bunny.

If I am going to be using more than one colour for the stencilling, I generally start with the lightest. For sun rays, I like a lighter more feathery application of colour. I use a loose brush. To have the rays get lighter as they extend from the disk, for each application of the ink, I start in the disk and then swipe out along the ray.


To add more depth to the sunrise, I added more colour. The next colour is pumpkin. Same thing, start in the disk and swipe out, but only partway.

The orange blended with the yellow.

The sun close to the horizon has more pinks and reds, so the next colour is raspberry. Start in the centre and out not quite as far as the orange.

The blended effect of the yellow, orange, and dark pink.

The last colour, ruby. I added it just to the disk and barely on the rays.

The red blends with the other three for a fantastic early morning, clear day sun.

To finish the blend, I go back over with the lightest colour again.

I then shifted the stencil with the rays covered, exposing bare card.

I used just the yellow to swipe the rays in between the blended rays

I am rather pleased with how it turned out. The light between rays gives it an incredible vibrancy.

I stamped the bunny above the edge of the card so I could ground him, as in add a bit of a hill. I used a Kraftin' Kimmie stencil with a blender sponge and taupe which looks a bit olive-y to me. I kept the blender application light which added a bit of visual texture.

I removed the bunny mask to reveal the stamped image. This also showed that one of the feet had moved when I used the blender tool. Bah!

I save my masks and put them on the back of the card that goes in the stamp set pouch. This makes it easier to find for the future. Sometimes delicate things like tall bunny ears and carrot greens will pull off. I just put them with the rest of the mask since it can be reassembled when used later.

I used the pencil set my sis-in-law gave me as a gift a couple years ago to colour the bunny. To flick ways stray pencil bits, I used my new Nuvo surface sweep. To hide the spot where the mask's bunny foot had moved, I just added grass and a bit of shadow. This is an inexpensive pencil set that's actually not bad. None of the pencils are marked for colours, which makes it a bit difficult for a consistent swatch, and many are very close in tone while missing colours that would be handy, but they do blend decently, even on plain cardstock, and sharpen well (i.e. not a lot of breakage or crumbling).

I stamped on the front sentiment with black. Cowa-bunny, Dude!

Inside, I wanted to add more sunrise. I used a different My Favorite Things stencil with narrower rays with the yellow and orange much softer than the front to be more of a hint of sunrise.

I stamped the inside sentiment with orange, echoing the sunrise.

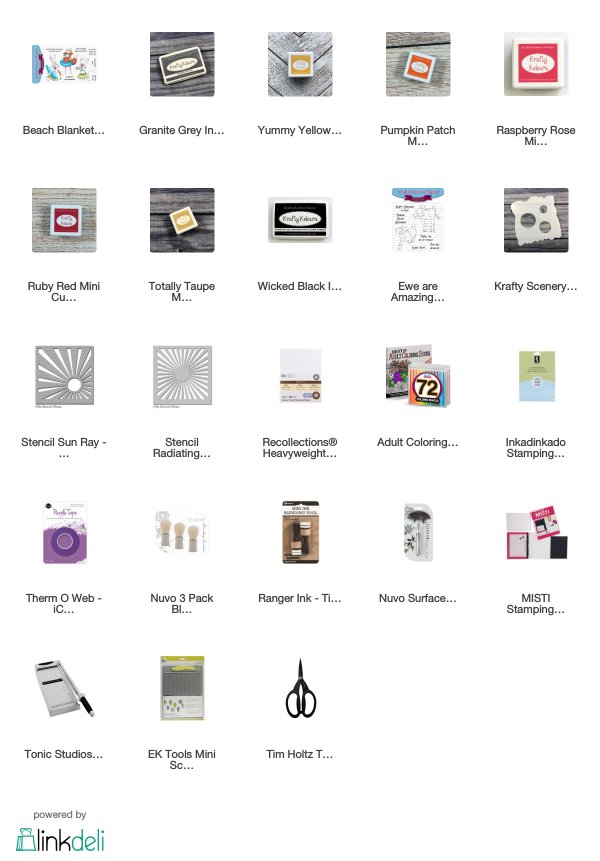
All the wonderful Kimmie products, except the Wicked Black that I simply forgot when taking this picture. Doh!


Supplies
Challenges
Kraftin' Kimmie Stamps: Anything Goes
Crafter's Cafe: Easter
Always Fun: Easter
Crafty Gals Corner: Easter
Try It On Tuesday: Springtime
Addicted to Stamps and More: Make Your Mark
Watercooler Wednesday: Masculine
Simon Says Stamp Wednesday: Spring Mood Board (bunny, grass with sunlight, purples and oranges)
Terrific card and tutorial! Dynamite!!! I use to love going to sunrise service on Easter morning! Now as I'm decades older, it isn't as easy to get going so early, but I could certainly go for a sunrise card! Thanks for connecting to TCCC blog #217! Becca ~DT
ReplyDeleteA nice card
ReplyDeleteThank you for joining us at TRY IT ON TUESDAY
Faulous technique and wonderful card! Thank you for joining us at TRY IT ON TUESDAY! Happy Easter! Susi xxx
ReplyDeleteWow, Rijacki! Great step by step tutorial! Love your card! Thank you so much for entering our challenge at Crafty Gals Corner Challenges this week. Be sure to join us next time too!
ReplyDeleteBlessings,
CGC DT
Scrapbookingmamaw {My Blog}
Crafty Gals Corner Challenges
Your colouring is superb! Thank you for joining at Try It On Tuesday with the fun card! Chrisx
ReplyDeleteI admire anyone who can put together a card that makes you forget it is one layer! Thank you for joining us at Watercooler Wednesday Challenges!
ReplyDeleteGreat job! I love the beautiful sun you created. Thanks for the step by step instructions. Your job of coloring the bunny and surfboard is lovely. Love the sentiment too! Thanks for joining us at Addicted to Stamps and More!
ReplyDeletesue n.
What an adorable card!!! Great masking too, that one’s got some fine lines. That bunny is too cute. Thanks so much for joining us for the Simon Says Stamp Wednesday Challenge. I hope you’ll join us again soon.
ReplyDeleteMisty