

My card today features dies from Spellbinders and Simply Refined and a loose glitter mosaic in a celebration of Spring.
Putting It Together
Inspiration for a project can come from unusual places.

I've had some Recollections glitter from Micheals for a long time. I originally bought it when I was doing more with resin so I could add it in with moulds and bezels. For the last couple of years, though, I was storing the Recollections glitter in a less accessible spot. Now that I have moved into a larger space and rearranged where I am storing everything, I made the Recollections glitter more accessible. But, I only had vague memory of what each of them looked like. So... swatching! I've been swatching a lot of my supplies, putting a sample on to a card that can be put on a ring that I can hang on a hook. Swatching also refreshes them in my visual memory. I am blessed/cursed with a semi-eidetic memory but occasionally I need a bit of refresh and/or improved image. Swatching them also makes them more useful for crafternoons with friends over. The Recollections glitter I have is mostly lovely pastel colours.
To swatch loose glitter, I simply put some adhesive or glue on the tag of cardstock and cover it with glitter. Then label, cut a hole, and put it on the ring.

To clean up glitter, one of the most helpful things is a lint roller. Pour the glitter with a coffee filter over a Swiffer dry cloth helps to contain it, too.

I used a Xyron to put adhesive on a card stock panel. I got this Xyron, along with a couple brand new cartridges, last summer at a garage sale hosted by a local scrapbooking store. That is the price, in Canadian dollars, I paid for it and the unopened cartridges. I totally scored! Anyway, I put adhesive on two panels, one 110 lb and the other 85 lb, and stacked them. I then trimmed the release paper and ran the stacked panel back through to put adhesive on the other side as well.

I used a Spellbinders to die cut the panel. Because of the thickness, the cut did not go all the way through, which is exactly what I wanted. I just need the release sheet on one side to be cut and not have everything fall apart. I actually die cut the panel before I swatched the Recollections glitter. I wasn't sure what colours I wanted to use on it and so decided to swatch while I was thinking. The colours of the Recollections glitter on the adhesive compelled me to use them with this panel.
I remove the release sheet from a few 'random' cells for each colour. I don't plan out where I am putting the colours but try not to have two of the same or a close colour next to each other. It's easier in the beginning but starts to get harder to place them as it fills up.

I dump loose glitter on the exposed adhesive. For this technique, you want glitter that's not very chunky. Microfine glitter is best but fine glitter, like this, works well, too. If it's chunky, it might not lay down and get adhered as easily.

Brush off with a soft makeup brush. Mine is from a dollar store. The other usefulness of the coffee filter is being able to pour the excess back into the bottle easily.

Burnish with a finger. Burnishing does two things: it pushes the glitter into the adhesive and it shines it up.

I continued until I used most of the colours I have and filled up the panel. All that was left is the lines between.

I used the silver Glitter Ritz Stardust on the lines. Stardust is more sparkly than the Recollections glitter and gives the whole panel a sparkle.

Once I was done with the panel and looking for something to go with it, this dancer sang to me. I cut it from grey cardstock as a soft silhouette.

I trimmed the glittered panel to fit behind the dancer in her frame.

I used a glue pen to adhere the dancer to the background.

I dry fit the panel on a white card base and felt it needed something more and decided to mat it.

I peeled off the release sheet from the panel to adhere it to the mat so I could further use it as a single piece.

I did a side matting with lavender mirror board which helps to both ground and elevate the image and background.

I added the creation to a white card base.

For the inside, I decided to do a bit more. I laid out my idea on the card base. The inside needs a lot of white space for a personal sentiment. It's nice, though, to have the inside as pretty to look at as the outside.

I used Distress markers to stamp the flowers and used a waterbrush to lightly spread the petal colours. I used two sentiments because they fit together so well.

Supplies
Challenges
Sparkle N Sprinkle: Loose Glitter
Outlawz Crash Your Stash: Loose Glitter
Simon Says Stamp Monday: Beautiful Blooms
Try It On Tuesday: Springtime
Creative Moments: Spring
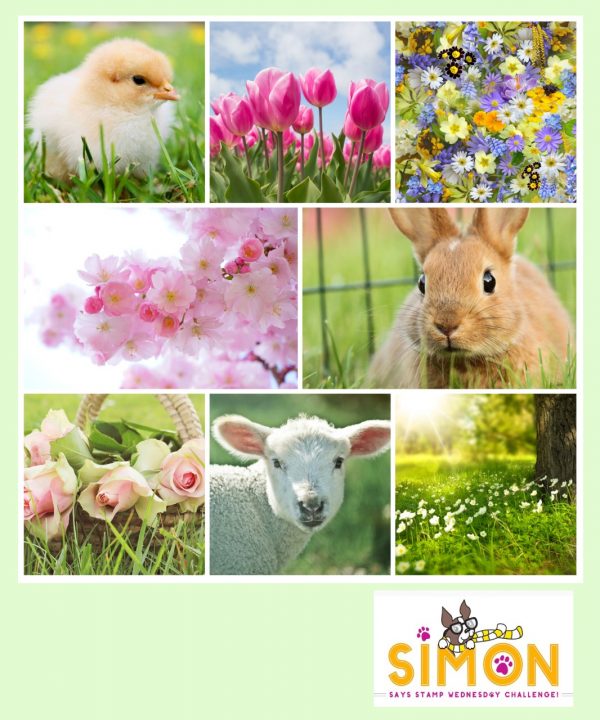
Simon Says Stamp Wednesday: Spring Mood Board
Scribbles Designs: Pastels
Creative Craft Cottage: No Patterned Paper
Crafting From the Heart: Anything Goes
Crafty Addicts: Anything Goes
Outlawz Crash Your Stash: Loose Glitter
Simon Says Stamp Monday: Beautiful Blooms
Try It On Tuesday: Springtime
Creative Moments: Spring
Simon Says Stamp Wednesday: Spring Mood Board
Scribbles Designs: Pastels
Creative Craft Cottage: No Patterned Paper
Crafting From the Heart: Anything Goes
Crafty Addicts: Anything Goes
Simply GORGEOUS Kate! Thank you very much for joining us over at Try It On Tuesday! Susi xxx
ReplyDeleteA gorgeous piece of art
ReplyDeleteThank you for joining us at TRY IT ON TUESDAY
This is beautiful. You've taken a lot of care to create this card and it shows. Thanks for joining us over at the Creative Challenge of Sparkle N Sprinkle.
ReplyDeleteYou have so much patience to create that stunning background, lovely art
ReplyDeleteThanks for joining us at Try It On Tuesday challenge
Joan
Gorgeous card and so much detail into making it! I wish I was that patient. Thanks for the info re the dancer die, she is beautiful!
ReplyDeleteJacqui
Outlawz DT
Very elegant card with an amazing background. Thank you for joining us at The Crafty Addicts!
ReplyDeleteSuch a gorgeous card! I am inspired to try something like this.
ReplyDeleteHugs Monica
Sparkle Photo Effects is a user friendly app, you can select the picture from gallery and brush the area on which you want to add sparkle effect, photo focus, shimmer effect, glitter effect, twinkle effects etc. sparkle effect
ReplyDelete