

Spring is in the air (ah-choo!) and in puddles all around bring us blossoms that bloom and grow, bloom and grow forever. It's a lovely path that's lined with flowers. My Spring inspired card features Kraftin' Kimmie stamps, inks, and stencil with Faber-Castell coloured pencils and embossing on vellum.
Putting It Together
This card took its own turns while I was making it. So, I'll start chronologically even though the card wasn't planned this way.

Last month when I got the Kraftin' Kimmie Kard Kit for March, my craftroom was still very topsy turvy, but I couldn't wait to try out the stencil in the kit because I have a particular love of stencilling. I'm nost sure why I like stencilling so much, but I do.
I had a handy panel of pre-cut grey cardstock. I put it on a piece of Press 'n' Seal and covered it with the stencil, pressing the stencil into the Press 'n' Seal around the cardstock to hold it in place. I used some packaging to make a pile of modelling paste and added drops of Enchanting Emerald re-inker.

I used a silicone brush to mix the paste and ink.

I spread the inky paste over the stencil. I love the silicone brushes when working with pastes on stencils. It's easier to get an even coat than with a plastic palette knife.

When I removed the stencil, the green on the grey was soft and pretty. I set the panel aside to dry and then added it to my 'background box' which has various stuff in it from me experimenting or playing.

So.. on to this card. I had just done a single layer card with stencilling and masking and love that technique so decided to use the technique again. I stamped the image on masking paper and fussy cut it.

I stamped the image on bristol cardstock with Granite Grey.

I covered the stamped image with the mask.

I covered the image with a 3" x 3" rainfall stencil and taped it down with Purple Tape which also masked the edges so I wouldn't have any inking off the stencil.

I used a blender tool to cover all the raindrops with light Bubbly Blue. I used the blender with strokes in one direction, from the top of the drops to their bottoms always starting at the top of the stencil. This makes the high drops darker than the bottom and adds a bit more ink to the top of each drop.

I used Mermaid Melody to add a darker blue to the upper right drops.

The ombre effect is very subtle. The stencilling goes over the mask which I can use on a future project so I store it with the stamp set.

With the mask and Purple Tape off the panel, the image doesn't have any raindrops on it but the rain looks like it's behind.

I used Faber-Castell clasic colour pencils. I got them last summer at a garage sale hosted by a local scrapbooking store. $5 Canadian!! The pencils have lovely colours but aren't as soft as Prismacolor pencils.

I decided to make the image panel a tag when I found this tag die fit it perfectly.

I dry fit the tag on a kraft card base for spacing and hadn't a clue what I wanted to do from here. I looked through various patterned papers in my stash but none of them felt right. Then I went through my 'background box' and the stencilled vines on grey felt right.

I dry fit the tag with a trimmed vines panel and a sentiment from another Kimmie stamp set. When I started with the mouse and leaf umbrella, I had been thinking 'rain', but garden just felt better.

I decided to emboss the sentiment on vellum as a softer look than a white sentiment panel. I dry fit them together and added some Prima flowers. The kraft from the card base frames it wonderfully.

The sentiment is on a strip of vellum. One end I folded under the card and adhered in place with a strip of tape runner. The other end is anchored under the tag. Ta da! no visible adhesive on the vellum.

I used foam mounting tape under the tag and added the flowers with mini Glue Dots.

Inside, I decided to echo the stencilling on the front. I first used a blender brush on linen textured cardstock to add a soft impression of the vines and leaves. Then I used a blender tool on the outside edges to add a darker colour. I used Lovely Lagoon since I had forgotten I used Enchanting Emerald with the paste. I was glad for my Misti when I stamped the sentiment since, on the textured cardstock, I had to stamp it a few times to get even coverage, but I like the look of the textured cardstock.


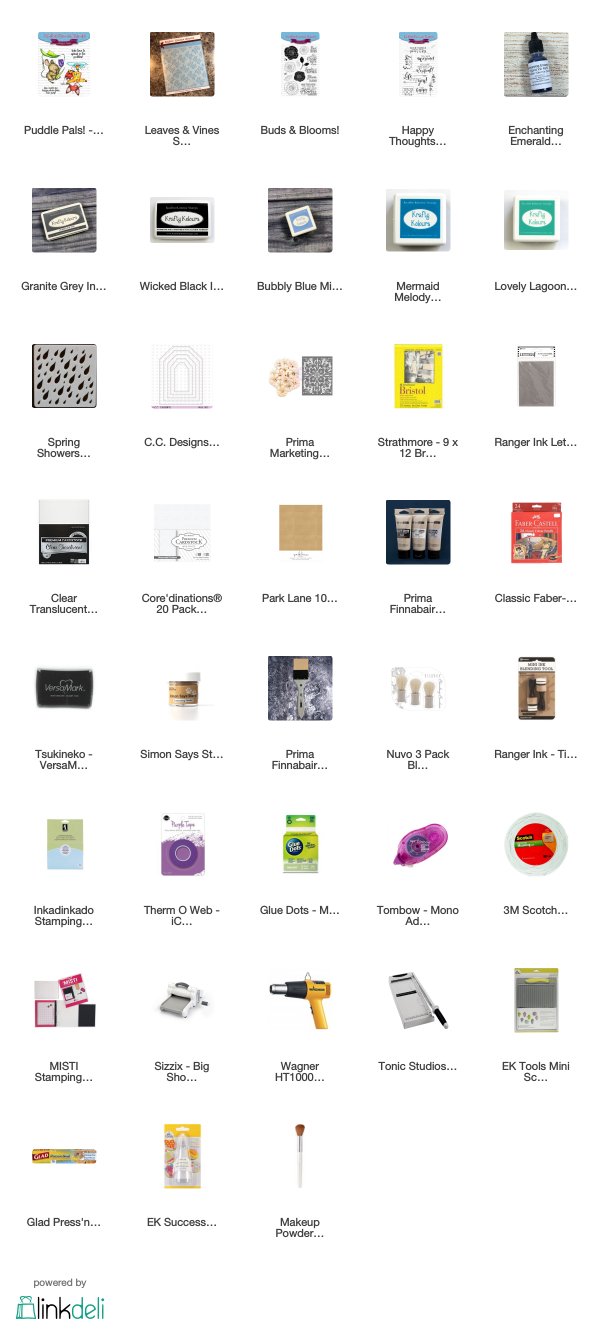
Supplies
Challenges
Kraftin' Kimmie: Spring
Outlawz Monday Greetings: Spring is in the Air
Crafty Friends: Spring Colours
Crafty Gal Corner: Spring is Here
Always Fun: Use Kraft
Simon Says Stamp Wednesday: Animal Antics
Try It on Tuesday: Use a Stencil or Two
Fab 'n' Funky: Just Add Ink
Sketchy Challenge: Use a Tag
Addicted to Stamps and More: Photo Inspiration

Nice stencilling there. I've never seen modelling paste applied with a brush before - you're brave! I use an old credit type card for mine, so it will clean off easily. It really stands out on the grey card. Lovely words, too.
ReplyDeleteThank you for sharing with us at Try it on Tuesday.
Cath x
Fabulous progress! What a lovely and beautiful creation! A*M*A*Z*I*N*G !!!Thank you very much for joining us over at Try it on Tuesday. Have a great weekend!
ReplyDeleteSusi xxx
Great card, I love the embossed sentiment on the vellum. Also the background you created looks wonderful. Thanks for sharing your creation with us at Crafty Friends, we hope to see you back again.
ReplyDeleteLovely creation! Thank you for showing us how you made it. I am not good about that; I just start crafting away! LOL
ReplyDeleteHow cute! Thank for joining us at try It On Tuesday. Hugs-Erika
ReplyDeleteWhat a lovely card - I love how you used your stencils! Thank you so much for joining us at Try It On Tuesday Chrisx
ReplyDeleteA great card, the stencils look fantastic and the photos of the process looked good.
ReplyDeleteThank you for linking with us at Try it on Tuesdays.
Yvonne
Super cute!!! Thank you for joining us at ATSM, good luck!!! Amy DT
ReplyDeletePerfect for our Challenge! So glad that you have shared your great artwork with us here at Always Fun Challenges. Good luck hun and do come back again!
ReplyDeleteJackie DT @AFC
Its a lovely creation. Love the step by step tutorial.
ReplyDeleteThank you joining us
Priyadarshini - DT ATSM
Cute card....great sentiment....Thank you for joining us at Fab n Funky this week...Julieannex
ReplyDeleteBeautiful background! Thanks so much for joining us at the Simon Says Stamp Wednesday Challenge :)
ReplyDeleteBeautiful! Thank you so much for joining with ust at Fab'n'Funky Challenge this time and good luck :)
ReplyDeleteA lovely card!
ReplyDeleteThank you soo much for taking part in our "use a tag on your card” challenge over at The Sketchy Challenges & good luck in the draw.
Hope to see you again in our next challenge as well…
Hugs,
Melanie
(DT-Coordinator Creatalicious Challenges)
(DT Crafty Friends)
(DT The Sketchy Challenges)
(DT Simply Create Too)
(DT Aud Sentiments Challenge)
Very nice card. I like the adorable mousey. :) Thank you for playing with us at The sketchy challenges!
ReplyDelete