

A light-up bug for an expression of summer love, my card features stamps from Kraftin' Kimmie Stamps, Daniel Smith watercolouring, and a Chibitronics light.
Putting It Together
Kraftin' Kimmie has a daily challenge this month for colouring every day. As a personal addition to the challenge, I'm trying to use only sets I haven't yet used and/or other supplies I haven't used before. For this card, I decided to use the Chibi Lights I've had in my stash for many months, waiting for the right project.

I stamped a few images on a scrap of watercolour paper to take with me to work. I used the new Marvelous Mocha ink from Krafty Kolours for a softer stamped look,

I can carry sheets of Daniel Smith sample palettes with me in my purse. They work great with a waterbrush for painting on-the-go. I painted up the cute little bug while at lunch at work. I kept track of the colours I used for future reference.

At home, I used Stazon to stamp the jar on opal tinted mylar.

I stamped just the jar top with Stazon on a scrap of silver foiled cardstock.

I fussy cut the bug and jar parts. I moved this paper pad out of my way and realised this would be perfect for the bug in the jar. I dry fit it and magic.

I trimmed a panel of the stripy paper and die cut some diamonds for the sentiment and directions. I stamped an appropriate sentiment and added the lit up heart with Yummy Yellow Krafty Kolour. On the smaller diamond, I wrote "PUSH" with Mustard Seed Distress marker. This will be right over the spot to turn on the light.

To add the jar to the stripy panel, I added a thin line of glue under the stamped line so it wouldn't show.

After adhering the bug to the jar, I poked a hole in the last segment of the bug through to the back of the card. My intent was to have the light shine more brightly in this spot.

I kinda sorta assembled my card backwards which is what I figured out when I went to add the light. So.. I used a strip of scrap cardstock to put together the circuit. The Chibi Lights kit comes with a few sticker lights, copper tape, and a couple batteries. The object is to have the positive of the light (big side) join to the positive of the battery (the side with the plus) while the negative of the light (pointy side) joins to the negative of the battery (opposite of the plus). I adhered the battery to the negative side with a couple thin strips of double-sided tape beside the copper tape under the battery. You don't want adhesive covering the copper tape or it will weaken the circuit.

I arranged the copper strip for the positive side so it can fold over and touch the positive side of the battery. When it touches, the light turns on. This is where the PUSH on the card front will be over.

I put my circuit strip under the panel fitting the light directly under the hole in the bug and the battery flap under the PUSH. I used foam mounting tape around the battery to build up the card so the positive strip is above the battery but not touching. Then when the PUSH is pressed down, the light will come off. When it's not pressed down, the light should shut off. Having the light on all the time would run down the battery quicker. The light does come through brighter in the hole and also glows through the paper around it.

I attached the panel to a white card base.

Inside, I used another light associated sentiment. I stamped the Shine and another lit heard with the Yummy Yellow.

It's hard to get a picture that shows the full effect of the light.


For my first project with the Chibitronics lights, I am very pleased with how it turned out both lit and not. I gave this one to my sweety 'cause his love really does light me up :)
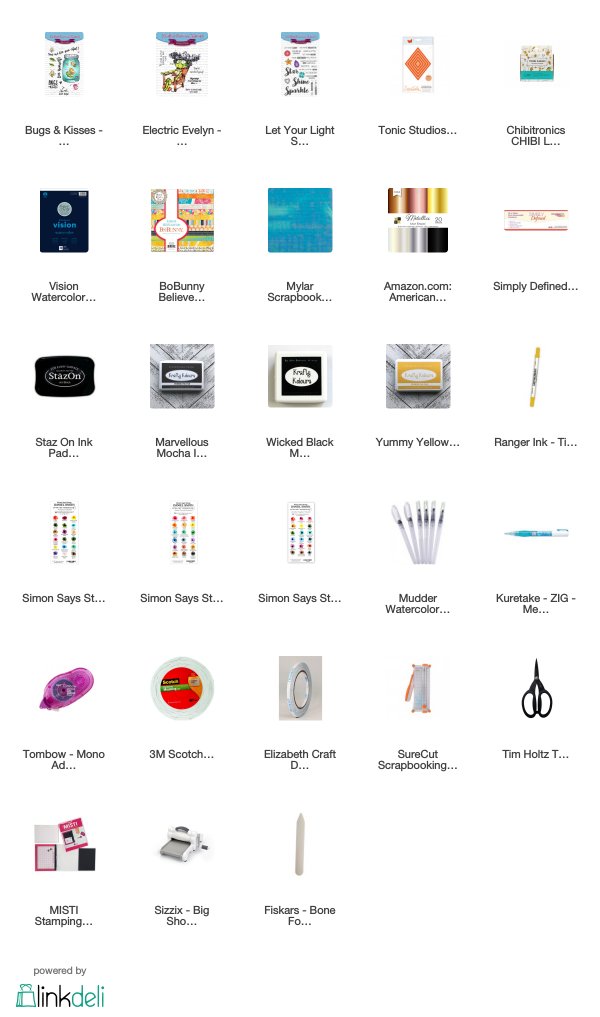
Supplies
Challenges
Art Impressions: Masculine
Tuesday Throwdown: Colour Combo
Crafty Hazelnut's Patterned Paper: Anything Goes
Penny's Paper-Crafty: Anything Goes
Always Fun: Anything Goes
Crafting from the Heart: Anything Goes

Wonderful card! And great tutorial as well.
ReplyDeleteThanks for joining us at Penny's Paper Crafty Challenge! Hope to see you back again soon :)
Michelle H (DT)
Wow, wow, wow! Your coloring is wonderful and your ingenuity in working out a solution leave me speechless. Terrific card and I'm happy you played along at the Tuesday Throwdown color challenge.
ReplyDeleteYour card is too cute. Thanks for joining our challenge at Art Impressions.
ReplyDeleteHow cute and lovely that stripey paper.
ReplyDeleteThanks for joining us at Craftyhazelnuts patterned paper challenge. Happy crafting!
Catherine x DT