
Making a journal incorporating recycled materials can yield a lovely result. This die cut journal uses recycled plastic packaging and framing mat board scraps as well as a vintage button that once adorned a garment. The journal cover has been embossed and gilded for an elegant distressed look.
Putting It Together
I went over to my friend Betty's house last weekend to catch up now that she's back from her southern winter home. I wanted to show her the Big Shot Plus I got for my birthday in February so I brought it along with me along with a couple embossing folders and dies (and shockingly forgot the platform and cutting pads!). I also brought some of the packaging plastic to show her how amazing it looks embossed with the Plus folder.
Because I forgot the Plus platform and pads, I had to improvise a little and made a couple wonderful discoveries. The standard cutting pads for the Big Shot will fit sideways in the Big Shot Plus, as will any BIGZ or BIGZ L die. I knew able the dies but hadn't thought about the platforms or pads. The magnetic platform should fit, too. The extended platform that comes with the Big Shot currently won't fit sideways but will go through the Plus easily, as will the extended pads. And.. the platform and pads that come with the Big Shot Plus will also work with a BIGZ XL die.
Because I forgot the Plus platform and pads, I had to improvise a little and made a couple wonderful discoveries. The standard cutting pads for the Big Shot will fit sideways in the Big Shot Plus, as will any BIGZ or BIGZ L die. I knew able the dies but hadn't thought about the platforms or pads. The magnetic platform should fit, too. The extended platform that comes with the Big Shot currently won't fit sideways but will go through the Plus easily, as will the extended pads. And.. the platform and pads that come with the Big Shot Plus will also work with a BIGZ XL die.
I used her BIGZ XL journal die with my BIg Shot plus and the extended pads to cut the recycled plastic.
The die cut the plastic like buttah.
I then put the cuts into the Plus embossing folder,
and used the Big Shot Plus with the extended platform and pads to emboss the die cut.
The die cuts a bit too well on the crease lines for materials that aren't super thick. When I tried to bend on the crease, it broke off instead. It did the same for a lightweight cardboard. This changed my mind on wanting to make a completely clear journal.
My friend had mat scraps from when her mom was doing photography and framing. I die cut that into the back and a spine for the clear side. I also embossed them with the Plus folder. I am blown away by how crisp and incredible the embossing is on the mat and the plastic.
We socialised too much and ran out of crafty time.
At home, I assessed the pieces cut with the die and embossed: back spine, front, and clasp.
The plastic gets extra-dimensional when embossed like this. I love it.
I used Blossom Cosmic Shimmer to add a light pink pearl to all the pieces. On the plastic, after adding the Cosmic Shimmer, I used a wet wipe to remove it from the large open areas, driving it just into the crevices
I then used the Essential Glue Pad to go over the raised swirls on all the pieces. I waited a bit to let it get a bit tacky.
I opened the new jar of gliding flakes and it poofed up. I wafted some of the flakes on to the tacky surfaces.
I then rubbed the flake into the glue.
To remove any not stuck on, I used a Swiffer cloth. I used a Zig glue pen to add spots and swipes of adhesive to areas I wanted more coverage and added more flake.
Gilding the pieces was a messy process that left my fingers gilded, too. It washed off with water, so not to terrible.
Cleaning up the Ken Oliver mat wasn't too bad but I did turn the lint roller gold.
I used E-6000 to adhere the spine to the front and clamped it until it was dry (only a few minutes). I also realised I hadn't taken a picture of the gilding so, voila!
I also glued the front and back covers together with E-6000 and used Distress ink tins to weigh it down in place.
Inside, I used a thin cord I had from jewellery making to create the signature holders.
I created a tassel with fake suede and a filigree bell cap from my jewellery making stash.
I added a lightweight gold tone chain and lobster clasp.
I hooked the clasp to the lacing cord on the outside. It was easier to use a clasp than to try to get a ring in the right place and well-closed.
I created 'starter' signatures with pale lavender cardstock from Micheals and various patterned papers from my stash: two Forever in Time from the dollar store, a very retired Pink Paislee, and Graphic 45.
I completely forgot about the height of the lacing cords and was only thinking about the size of the journal. I made the signatures too tall.
I trimmed the bottoms by an inch and, even though the patterned paper is matted on 3 sides, they looked great. And, they fit.
For the clasp, I thought of my vintage button stash. One of my former neighbors gave it to me when she was moving and downsizing. When another friend and I started sorting it, we came to the realisation she, and likely ber mother before her, had removed the buttons from most of the clothes she had owned through the years and saved the buttons. There are some really amazing buttons in the stash. These are only a small sampling of the ones I thought might work with the journal.
I dry fit several of the buttons but this one really sang to me.
I used another of the buttons from the stash and some more of the thin cord to adhere the button to the clasp.
I glued the clasp to the back with E-6000 and added fake seude to the centre hole for the other part of the clasp.
I slipped the starter signatures into the journal. I'll add lighter weight paper to them later. I didn't have any in my workshop (having used all I had upstairs as masking).
And, voila!
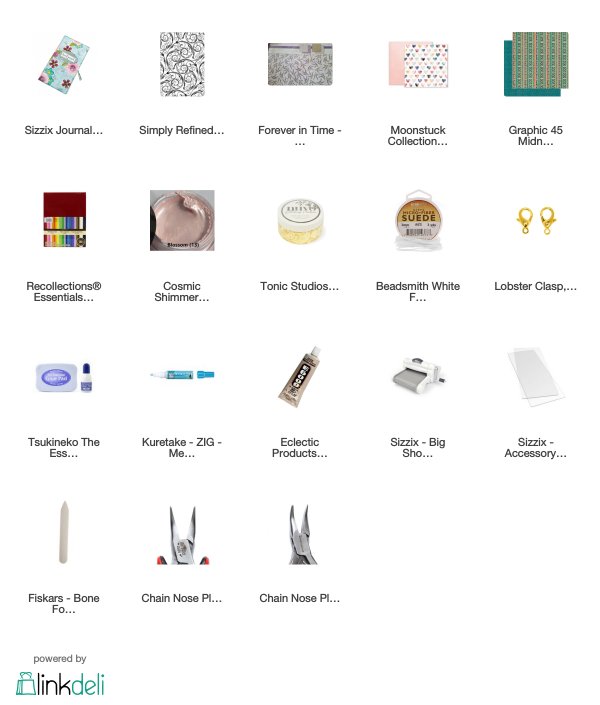
Supplies
Challenges
Simon Says Stamp Wednesday: Sparkle and Shine
Tuesday Throwdown: Glimmer and Shine
Crafty Gals Corner: Use Buttons
Happy Little Stampers with Dies: Anything Goes
A Bit More Time to Craft: Anything Goes
Creative Craft Cottage: Anything Goes
More Mixed Media: Anything Goes
Tuesday Throwdown: Glimmer and Shine
Crafty Gals Corner: Use Buttons
Happy Little Stampers with Dies: Anything Goes
A Bit More Time to Craft: Anything Goes
Creative Craft Cottage: Anything Goes
More Mixed Media: Anything Goes
So awesome!
ReplyDeleteWhat kind of recycled plastic did you use? Stunning.
ReplyDeleteThe packaging from one of the Spellbinders dies I had gotten for use with the Big Shot Plus. The same plastic I used for the Flower Box I made a few weeks ago. It was handily a sheet large enough to accommodate the die and the BS-Plus.
DeleteSuch a stunning journal..love how you have recycled so much material..I especially love the cover.
ReplyDeleteThank you so much for entering our challenge this month at More Mixed Media..
Pretty Journal! Thanks for sharing with us at Crafty Gals Corner!
ReplyDelete
ReplyDeleteBeautiful . Thank you for joining us at Creative Craft Cottage challenge good luck. Have a nice day
Anneke DT