

A gilded garden gate with climbing flowers is the focus of this gatefold card. The card features dies from Simply Defined, Stampin' Up, and Spellbinders as well as stamps from Impression Obsession. All Gardeners live in beautiful places because they make them so.

Putting It Together
It was a challenge that got me wanting to make a gatefold for this card. Sadly, the challenge was closed by the time it was made and I started on this post. That's what I get for being sick over the weekend *laugh* It was good, though, making a different fold than the standard. It's so easy to just do the standard single fold card that it's easy to fall into that rut. I've had the die set for the gates for a while and just have not gotten 'round to using it.

The gate part of the die set is in 4 parts: 2 frames and 2 insets. The frames have a score line instead of a cut along the long side. From a bit of trial and error, I figured out the best way for me to use the dies. I started with a sheet of cardstock 5 3/4" x 7 3/4". Using the magnetic platform, I lined up the cut corner and outside edge along the edge of the cardstock. Then I ran it through the Big Shot to cut the curve and score the fold line. Since the cardstock was very close to the size of the standard cut plates, I cut each side individually with it pushed back from the edge to be sure I got a full cut.

Then I used my paper trimmer to cut the 1/4" off the top from curve to curve. I found this easier than trying to fit the die on a 5 1/2" sheet.

I used a bone folder to fold along the scores.

If my trimmer leaves a fuzzy edge, I use a nail buffer to smooth it out. The fine sandpaper is perfect for this task. I get my buffers from the dollar store and use the coarsest side.

I cut the gilded lattice from mercury foiled paper to give the gilding texture. I dry fit the lattice on the card base.

I went looking through my stash for a die and found the die cutting I had done for a previous project and hadn't used. I trimmed a branch and leaf from the long cutting to fit on one lattice panel and used the trimming on the other in a dry fit.

I greened up the leaves and stems with a Clarity brush and three Distress inks: Mowed Lawn, Lucky Clover, and Pine Needles. I used the Clarity brush both for a lighter effect and a bit more control on the intricate cuts. I left the buds and flowers white.

Dry fitting again. The greens are light so it still has a pearly effect. I thought about colouring the flowers and buds but decided I really liked the white.

One small issue with colouring the die cuts, I forgot to wipe my work surface before flipping my white pearl inside panel over to add adhesive. I got a little green on it. Instead of cutting a new one, I just brushed the whole panel lightly with Mowed Lawn. Now the random green looks intentional.

I used tape runner on the outer edges of the lattice and left the lattice itself free. I used Zip glue pen on the die cuts and tucked the stems under the the lattice to look as if it's climbing the gate.

Inside, I stamped a sentiment from the Gardening stamp set and added a leaf cluster from the Follow the Path set.

I added a belly band of sheer ribbon with iridescent edges and gold line stickers (along with a glue dot) to hold it closed.


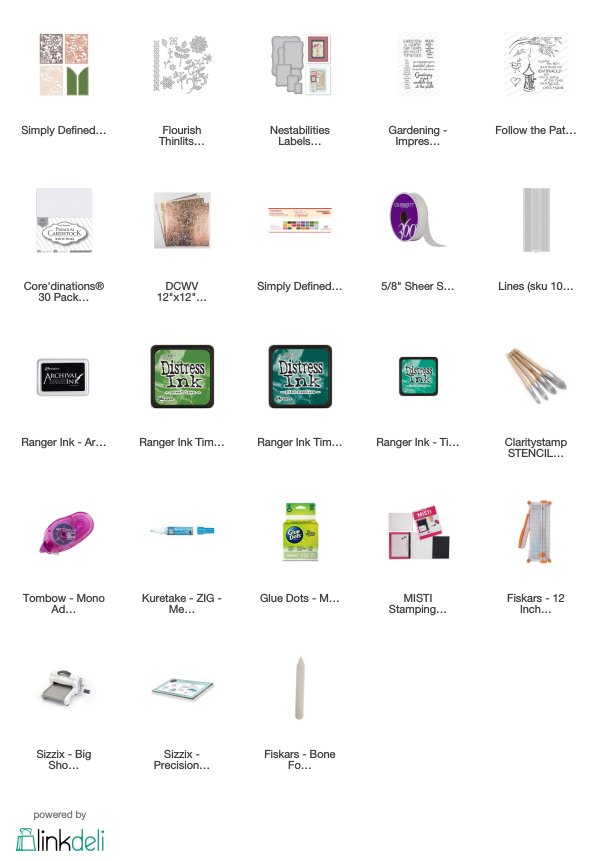
Supplies
Challenges
Incy Wincy: Nature and All of its Beauty
The Paper Shelter: Flowers
Love to Scrap: April Showers Bring May Flowers
Addicted to Stamps and More: Make Your Mark
A Bit More Time to Craft: Anything Goes
Penny's Paper-Crafty: Anything Goes

The Paper Shelter: Flowers
Love to Scrap: April Showers Bring May Flowers
Addicted to Stamps and More: Make Your Mark
A Bit More Time to Craft: Anything Goes
Penny's Paper-Crafty: Anything Goes

Wow what a beautiful intricate gatefold card you've created! The photo tutorial is very helpful and the tip about using a buffer to smooth out the edges is such a good idea! I wish i thought about it before buying an expensive paper cutter as my trimmers kept on leaving a fussy edge too. Thanks for sharing it with us at Addicted to Stamps and More and we hope to see more of your wonderful creations again soon. Hugs, Gwendolyn
ReplyDeleteWhat a lovely sentiment. Thanks for sharing with us at Incy Wincy, CarolG
ReplyDeleteWhat a great card!
ReplyDeleteThanks for joining us at Penny's Paper Crafty Challenge. Hope to see you back again soon :)
Stunning card, loving how you have shared how you have created the card.
ReplyDeleteThanks for joining us over at Penny's
Jean xx
Beautiful card!! Love every detail!! Thanks for joining us at TPS this week! Good Luck, hug Lena
ReplyDeleteI love the opening of your card
ReplyDeletelovely color combo too
sweet made
many thanks for playing with us at Addicted to Stamps and More
hugs
Monika