

It's time for the harvest and Thanksgiving in Canada is just around the corner on 9 October followed by the US Thanksgiving on 23 November. What are you thankful for? May your harvest and Thanksgivings be filled with blessings.

This card features as stamp and die from Your Next Stamp, embossing with Simon Says Stamp embossing powder, and a long retired brass embossing folder from Sizzix on colour core Core'dinations paper. Inside, a Kraftin' Kimmie Stamps set for the perfect sentiment and detail.
Putting It Together
I am a US citizen living in Canada, so I take advantage and celebrate both Thanksgivings. I see it as a way to be extra Thankful.
I often design projects as I go, with only the vaguest idea of what I want in the project before I start. For this project, I wanted to do a Thanksgiving card. I looked through my stamps and decided to use a recently acquired set from Your Next Stamp with a harvest basket. The rest followed.

I stamped the harvest basket on Bristol paper since I wanted to use Prismacolour pencils. I used a soft brown ink so I could do a 'no lines' colouring.

I used a variety of the pencils to colour in the basket. Over the weekend I completed the Kit & Clowder September pencils class and had been keen to use what I learned on other images. If you've never taken one of her classes, I highly recommend giving them a try. She has a few free classes so you can 'try before you buy'.
Prismacolours: Apple Green PC912, Burnt Ochre PC943, Chartruese PC989, Cream PC914, Dark Brown PC946, Dark Green PC908, Dark Umber PC947, Grass Green PC909, Light Umber PC941, Limepeel PC1005, Mulberry PC995, Olive Green PV911, Orange PC918, Pale Vermillion PC921, Parma Violet PC1008, Spanish Orange PC1003, Spring Green PC913, Violet PC932, Violet Blue PC933, White PC938, Yellowed Orange PC1002
My set of 72 pencils is from several years back. The new 72 set (in the supply list) has some pencils different from mine.

When I bought the stamp set, I also got the matching die. I often fussy cut my images, but it's nice when I don't need to. I used the magnetic platform to position the die on the image and keep it where I wanted.

All cut out and nary a need for scissors. Doesn't this basket make you hungry?

I decided to use a retired paper from Stampin' Up. Natural White, as the card base. I live this paper's not quite white with 'handmade' speckles when making cards with a more 'homey' look. I dry the basket with one of the sentiments from the set but it felt like it needed something more.

I looked through my embossing stash and when I saw this brass lovely, it clicked. I got this long retired Sizzix brass embossing folder at a garage sale sponsored by a local scrapbooking store. What one crafter felt she no longer needed in her stash was a gain to mine. On the other side of the folder is formed plastic that fits in the brass grooves. As a bonus, the brass can be removed and used as a stencil. I cut a strip of Core'dinations colour core paper to emboss one side.

The embossing turned out perfect. The other side would be covered by the basket.

To bring out the core colour and also give a little distressing, I used a dollar store nail buffer's coarsest side to lightly sand the raised embossing.

I also ran the buffer over the edges for a soft 2-tone.

I dry fit the pieces and was greatly pleased.

Since I wanted to emboss the sentiment with gold, I first used the powder tool over the area. This breaks the static and reduces stray flecks of embossing powder sticking to the surface for a much crisper and clean embossing.

I stamped with Versamark ink and then dumped the embossing powder over the sticky ink using a coffee filter to catch the excess. Coffee filters are static free and super cheap which makes them ideal. I easily poured the excess powder back in the jar by making a quickie cone of the coffee filter.

I used a heat tool to melt the powder into a golden slightly raised script.

To give the basket dimension, I added foam mounting tape. I cut the tape into strips which I used to go along the edges of the image with extra in the middle so it doesn't get crushed.

I put everything into place on the front of the card.

Inside, I decided to use a Kraftin' Kimmie Stamps set for the sentiment and pumpkin detail. To have the larger pumpkin appear to be sitting behind the smaller one, I first stamped the small one and masked it before stamping the bigger.

Part of the stamping for the big one is on the mask.

When the mask is removed, Voila! the large pumpkin is behind the small one. I stamped the sentiment and the pumpkins in a rusty colour to carry the harvest theme.


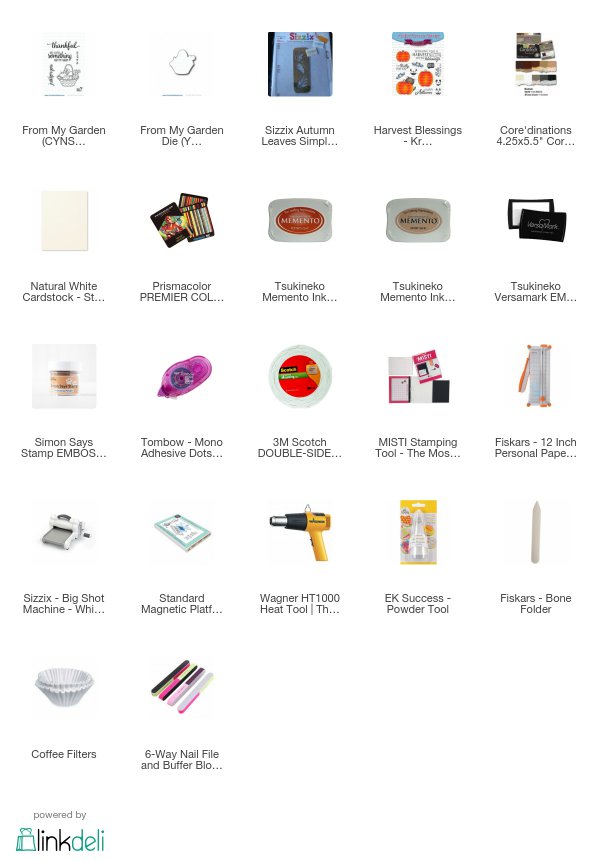
Supplies
Challenges
Your Next Stamp: #73 Colours (Brown, Orange, Beige, Cream)
AAA Cards: Autumn Colours
Simon Says Stamp Wednesday: Pop It Up
Ching-Chou Kuik: Fall / Fall Colours/ Pumpkins
Creative With Stamps: Leaves
Simon Says Stamp Monday: Heavy Metal
Creative Moments: Autumn Colours
Kraftin' Kimmie Stamps Wonderful Wednesday: Anything Goes
Through the Craftroom Door: Anything Goes
A Bit More Time to Craft: Anything Goes


Gorgeous card Rijacki, the basket of vegetables is fabulous and I love the embossed design, very pretty 😍❤️
ReplyDeletethanks for joining us on the Simon Says Stamp Wednesday Challenge
Luv
Lols x x x
Beautiful fall harvest card! I love how you did both methods of embossing, it really adds a lovely touch! Thanks for joining us, Rijacki for our Heavy Metal challenge at Simon Says Stamp Monday challenge! hugs, Maura
ReplyDeleteLove those golden edged leaves, so pretty. Thanks for playing at AAA Cards.
ReplyDeleteWow amazing card and thanks for the very comprehensive photo tutorial! Thanks so much for joining our Leaves challenge over at Creative With Stamps and we hope to see you back next month! Cheers, Gwendolyn
ReplyDeleteGreat way to use what you have and I love that embossing! So pretty. Thanks for joining the challenge at Creative With Stamps. Dorlene DT CWS
ReplyDeleteSuch a pretty Autumn card! Thanks for joining AAA Cards! Hugs Åsa
ReplyDeleteBeautiful card - the dry embossing really makes the whole thing pop!
ReplyDeleteThank you so much for entering our ATG challenge at Through The Craft Room Door this week. Looking forward to see you again next challenge.
Regards,
TTCRD DT
Made by Helen{My Blog}
Through The Craft Room Door
ttcrd.blogspot.com