Another Valentine featuring a long-retired Kraftin' Kimmie stamp with a mosaic heart from Simon Says Stamp, Nuvo watercolour pencil, glitter, and flocking. You make me quiver because you're so amazing.
Putting It Together
Sometimes I will get a bit obsessed with an idea and my brain won't let me rest until I find a way to do it in a way that my brain will accept. This was one of those projects.
The inspiration was a challenge for "Have a Heart", adding a heart to the project. I had recently gotten the Mosaic Heart die from Simon Says Stamp and, not quite as recently but only a few months ago, had gotten the long-retired Artimus stamp set from Kraftin' Kimmie Stamps by artist Annie Roderique (who is sadly no longer affiliated with Kraftin' Kimmie). The two seemed perfect for each other. I did a dry layout with the stamps and die on a trimmed panel.
My first thought was to use the marbled paper I created with gesso and re-inkers, but I wasn't happy with the mosaic being recessed. Using other cardstock, I tried figuring out how to easily have the little bits raised but was failing with my available supplies.
So I decided to switch to glitter and flock. I used my Xyron to cover cardstock (doubled up) with an adhesive sheet and did a "kiss cut" with the die, not cutting all the way through the stack so the pieces stay in place but the top release sheet is cut. I set up my glittering tray to contain the mess: a shallow tray (formerly packaging) lined with dry Swiffer cloth which traps the teeny tiny bits and a coffee filter close at hand. Coffee filters are super cheap and static-free which makes them great for containing excess glitter, flock, or powder to pour it back into the bottle.
I used the craft pick to remove the release sheet on the little mosaic pieces. All those little pieces.
With the adhesive exposed on the mosaic bits, I sprinkle (dumped) the glitter with the panel over the coffee filter with everything in the Swiffer lined tray.
I used a cheap dollar store makeup brush to sweep the excess glitter into the coffee filter and poured it back in the bottle.
I used a finger to burnish the glitter into the adhesive and shine it up.
I then used another Swiffer cloth to wipe the whole panel to remove stray loose bits. With a microfine glitter, the adhesive should be fully covered so the cloth won't catch on anything.
Pulling back the rest of the release sheet reveals the glitter on the white surface and exposes the rest of the adhesive.
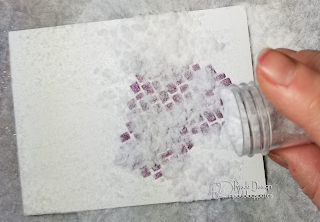
I carefully handled the panel and sprinkle (dumped) the flock on in the same way I did the glitter (brushing, burnishing, and pouring the excess back in the bottle).
All done and the texture/feel of the flocking is amazing with the very pretty inset sparkly glitter. It's impossible to get up every last little stray bit of the glitter, so there is just the slightest bit of the purple/red in the white flock for barely perceptible extra sparkle if you turn the card in the light.
I fussy cut the image and added gold Aqua Shimmer to the crown and bow ends, stamped the sentiment with Crisp Crimson on a thin strip, and trimmed the flocked and glitter panel before doing a dry fit on a grey mat to see it all coming together. A Clean And Simple look that really isn't very simple.
I love the softness of the background (both feel and look) which sets this off so wonderfully. I wouldn't have done the white flocking if my original plan to use the ink and gesso marbling has worked out so I am rather glad it didn't. I'm also glad I had the loose flocking on hand and can use it without a huge mess.
I made a white A2 (5 1/2" x 4 1/4") cardbase and used a stencil with a brush to add hearts to the inside. I put the open card on a piece of Press and Seal, covered the top of the fold with plastic packaging holding it in place with the Press and Seal, and covered the lower part with the stencil anchoring the bottom with the Press and Seal.
I added a thin strip of scrap cardstock under the sentiment strip to give it a very slight dimension then trimmed it to the flocked panel. I liked the way Artimus looked like she was standing on the strip when I dry fit so I kept that. I used foam mounting tape to pop-up Artimus.
On the inside, I added a sentiment in Wicked Black to link to the sentiment on the front.
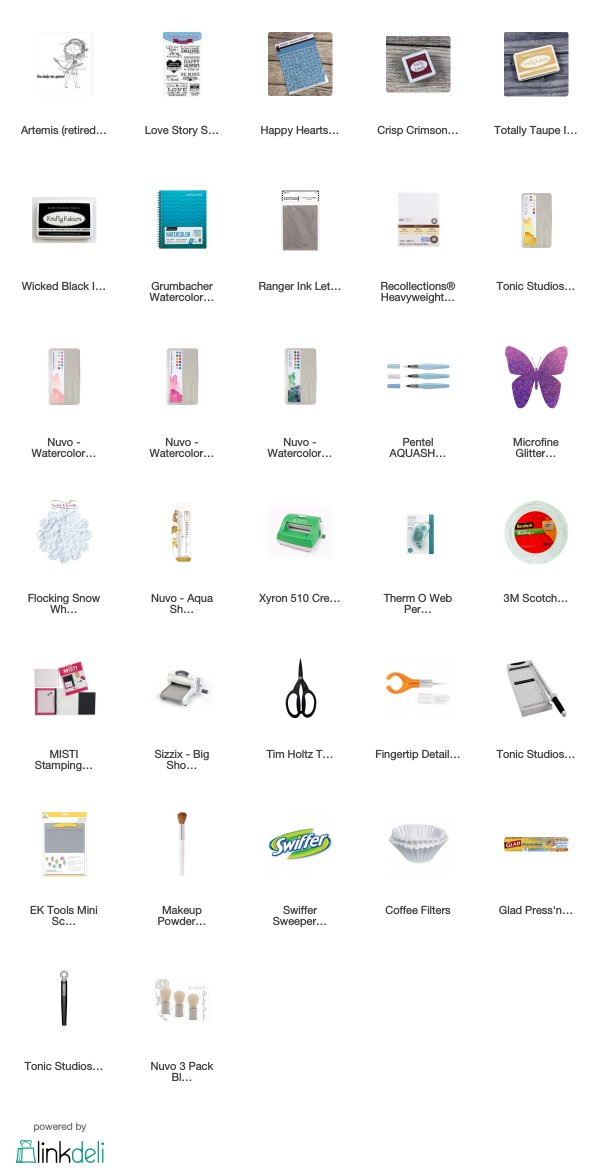
Supplies
Challenges
Kraftin' Kimmie Stamps Online Krop: Have a Heart
Simon Says Stamp: All Loved Up
Crafty Friends: Love/Romance
Outlawz Sunday Song and Rhyme: Silly Love Songs
Try It On Tuesday: White Space
Crafter's Cafe: Anything Goes
Crafty Friends: Love/Romance
Outlawz Sunday Song and Rhyme: Silly Love Songs
Watercooler Wednesday: Occasions
Addicted to Stamps and More: CASTry It On Tuesday: White Space
Crafter's Cafe: Anything Goes


I love how you did your heart. I will have to try it! Thanks for sharing it with us at The Crafter's Cafe.
ReplyDeleteMaking me smile! Love the step by step and the great result! Thank you for joining us at Try it on Tuesday, Chrisx
ReplyDelete