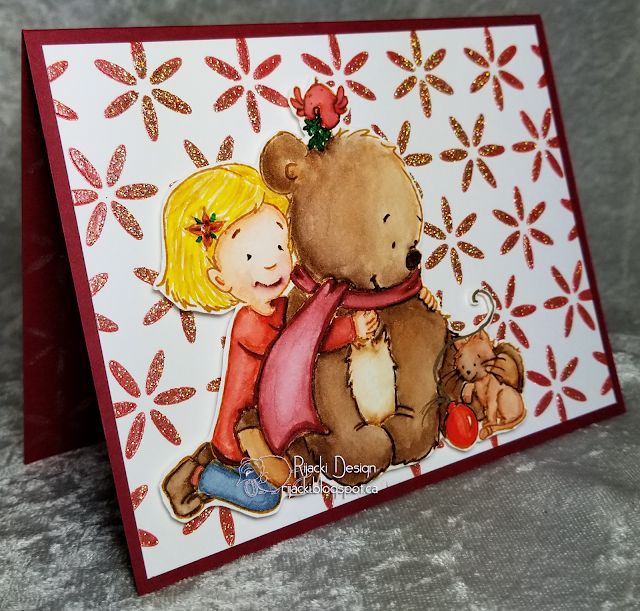
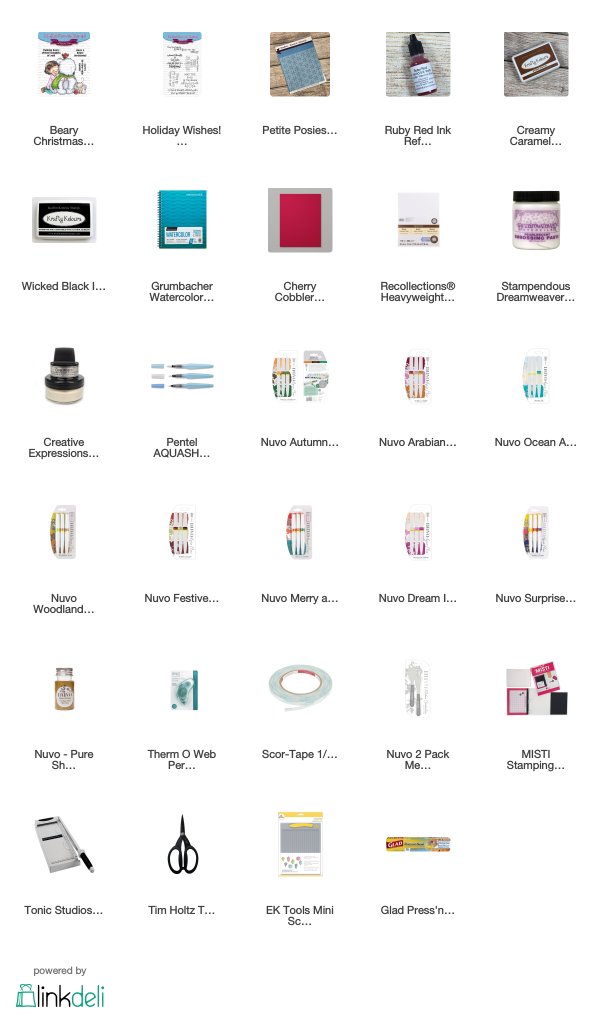
Christmas is a time of joy with friends and loved ones. My card features Kraftin' Kimmie stamps, stencil and ink, Nuvo Aqua Flow watercolour markers, glitter and drops, and Dreamweaver pearlescent paste.
Putting It Together
Over Christmas, Tonic had a sale bundle of their watercolour markers. With that bundle and two more sets I got on year-end sale at a local scrapbooking store, I have nearly their full line and was able to get them for less than $8 a set, too. I think they're bringing out a couple more colour sets this year. I am quite pleased with the colours of the Nuvo watercolour markers. At the same time, I picked up the marker sets locally I also picked up a couple Nuvo glitters, one of which I used on this project, too. From the other local shop, I won a door prize at their Christmas open house that included the five Cosmic shimmer pearl opal colours. I used one on this project, too. So, this project has a lot of first time uses: stamp set, stencil, the specific ink re-fill, Nuvo watercolour markers, Nuvo glitter, and one of the Cosmic Shimmer pearl colours. Whew!For the stencilling on the front, I mixed ink re-fill with pearlescent embossing paste. I added a few drops of the ink to a blob of paste I put on some plastic packaging.
I mixed up the ink and paste with a Nuvo spatula. This might be the first project I'm using them on. They work quite well. They're silicone but a bit stiffer than the Prima silicone brushes.
I spread the coloured paste thickly through the stencil that I had stained in an experiment with alcohol ink that I haven't added to a project yet. I use Press and Seal under my cardstock panel to keep the cardstock and the stencil in place. The stencil is Petite Posies but I thought they had a bit of an abstract poinsettia look for a Christmas card.
I took off the stencil and sprinkled the wet paste with loose glitter. I intentionally sprinkled it unevenly to have some areas more fully covered and others sparsely. Then I went and washed my stencil off.
I let the panel dry a couple hours before I used a dollar store makeup brush to wipe away any glitter that didn't adhere to the paste. I was doing other stuff while the panel dried, so I possibly didn't have to wait as long for it to dry fully.
I used Nuvo watercolour markers with a waterbrush to colour the image that I had stamped with caramel ink on watercolour paper. I later added touches of a couple Nuvo drops and a metallic gel pen. The Nuvo Aqua Flow markers are liquid watercolour with a brush tip. The colours are quite lovely. I'm really glad I got them on sale! They come in sets of three that aren't blend groupings like their alcohol markers.
I dry fit the image on the stencilled background to find a matting and a sentiment. I liked the look of the image with the stencil so much I decided a sentiment wasn't needed and would actually detract.
I decided to use the lovely Cherry Cobbler cardstock as the cardbase. To bring a bit of the front inside, I used Cosmic Shimmer with the same stencil. The Copper Pearl has an amazing coppery gold look on the dark red cardstock.
With the inside stencilled and stamped, I added the trimmed stencilled panel to the front with tape runner. I recently picked up a Gina K tape runner and several refills from Tuesday Morning for a song. I'm liking the adhesive but don't like the cover on the tape runner 'cause it's removable.
I added foam mounting tape to the back of the image, even little tiny snips to the ornament string.
To finish the card, I added the image off-centre.
Inside, I added a sentiment from another Kimmie stamp set that I think matches perfectly. The sparkle on the front and shimmer inside are amazing but so hard to capture in photos.
Supplies
Challenges
Kraftin' Kimmie Stamps: Christmas - Sparkle
Crafty Hazelnut's Christmas: No Sentiment
Christmas Crafts All Year Long: Holiday
Crafty Hazelnut's Christmas: No Sentiment
Christmas Crafts All Year Long: Holiday
Addicted to Stamps and More: Holiday
Outlawz Festive Fridays: Theme - Christmas
Simon Says Stamp Wednesday: Besotted With Our Pets
Outlawz Crash Your Stash: Stencils
Outlawz Festive Fridays: Theme - Christmas
Simon Says Stamp Wednesday: Besotted With Our Pets
Outlawz Crash Your Stash: Stencils


Gorgeous card Kate :-) the image is adorable and I love the stencilled background and how you finished the inside too! Fabulous step by step pics!!
ReplyDeletethanks for joining us on the Simon Says Stamp Wednesday Challenge
Luv
Lols x x x
This comment has been removed by the author.
ReplyDeleteWow! Its great that you were able to get a good deal on your markers! I really enjoyed reading about your creative process. Such an adorable card!
ReplyDeleteThank you for sharing your wonderful work in our ATSM challenge & we hope you will join us again in the next ATSM Challenge!.
Anna – Design Team member at Addicted to Stamps and More
Visit my blog - Crafty Anna Studio.
You can also find me on Instagram - CraftyAnna Studio
Thank you!