

"Love is a many splendored thing." "Love will keep us together." "Love makes the world go 'round."
My lovin' couple is a long retired Kraftin' Kimmie stamp coloured with Spectrum Noir markers and embellished with another retired Kraftin' Kimmie stamp along with retired Tonic Studios dies and retired Prima Marketing paper with a not retired Kraftin' Kimmie stencil background with not retired Kraftin' Kimmie inks. It's a good thing love lasts long past retirement.
Putting It Together
It's just happenstance that most of the items I used for this card are retired. Well, other than the happenstance of getting some items cheaper when they've been retired and put into clearance *grin*
The not happenstance of this card is the relationship I share with my sweetie. We've been cohabitating for 11 years now with a few years before that in our relationship. His favourite animal is the skunk which is why I am always looking for cute skunkies to pick up. Several months ago, one of my fellow Kraftin' Kimmie aficionados was destashing some of her early Kimmies so I picked up this pair from her. The artist, Crissy Armstrong, now does images for Whimsy Stamps.

I stamped the image with Kraftin' Kimmie Wicked Black hybrid ink on Copic card. It wasn't until I went looking for the link for Linkdeli that I discovered the cardstock is retired. I had picked it up at a local scrapbooking store to try. I don't know if it's discontinued forever or only while Copic changes up their distribution. I used Spectrum Noir markers to colour up the image, noting the markers used on a scrap of cardstock. I used the Copic blender because I like it better.

After fussy cutting the image, I added touches of Spectrum Noir metallic marker to the flowers. I rather like these water-based metallic markers. They have two bullet nibs of different size and great colour and flow. I need to pick up the other set with metallic colours.

I did a dry layout of the items I decided to use in the card using a 5 1/2" x 4 1/4" (A2) card panel as a size reference. I love the diamonds and dots on this lovely oval die. There are two nested dies with a separate outer edge die to cut a backing. This is the larger of the two ovals. The die set is only recently retired so it might still be available at some shops.

I stamped the base/inside sentiment on the white card using masking to do a 2 colour stamping for bluebirds of happiness with a red heart banner. I first masked off the banner on the stamp to ink up just the birds. I took off the mask to stamp then used the masking to cover the birds to ink up the banner. The key to using masking on a stamp to ink up just what you want is to remove that mask (which has ink on it) before you stamp.

I die cut the patterned paper and used Sticky Grid in my MISTI to hold it in place. I dry fit the image on the die cut to place the stamps. I used "Happy Anniversary" from the (retired) Let's Celebrate set, cutting the stacked sentiment in two pieces so I could place them side by side.
Can you spot the boo-boo I was about to make? I blame the lights... ("there are four lights!" well, actually only two, but..)

And.... I stamped. And.. I laughed when I saw what I had done. I die cut a new background, corrected (and re-aligned) the stamps. I'll use this boo-boo in a different way in the future. I might be able to cover it up with a die cutting from the inner nested die of the set.

To make the easel, I started with a strip of card stock 5 1/2" x 8 1/2" (half of an 8 1/2" x 11" sheet). I scored at 2 1/8" and 4 1/4". The card front gets attached to the first 2 1/8" section.

After scoring and folding the front, I added a light stencilling using the Happy Hearts, light pink and blue ink, and blender brushes.

I shifted the stencil between the colours for a subtle effect.

After layering the patterned paper over gold foiled cardstock, I adhered the bottom of the oval to the lower part of the card front.

I then added the skunk couple with foam mounting tape to pop them up from the background.

I trimmed the flower and banner sentiment into a strip to add to the inside/base of the card. I cut a thin strip of the gold foiled cardstock and used a trim die on it to add the dots. I added the gold strip to the sentiment strip to make a stopper for the easel to stand upright.

Closed, the oval extends past the top of the card base, but that's okay for a hand-delivered card but it would need a bigger envelope to be mailed. Both the stencilled pattern and the patterned paper are subtle but add more impact in person.

The inside of the easel has ample space for a personal sentiment (I added one with the gold metallic marker after I took the pictures).

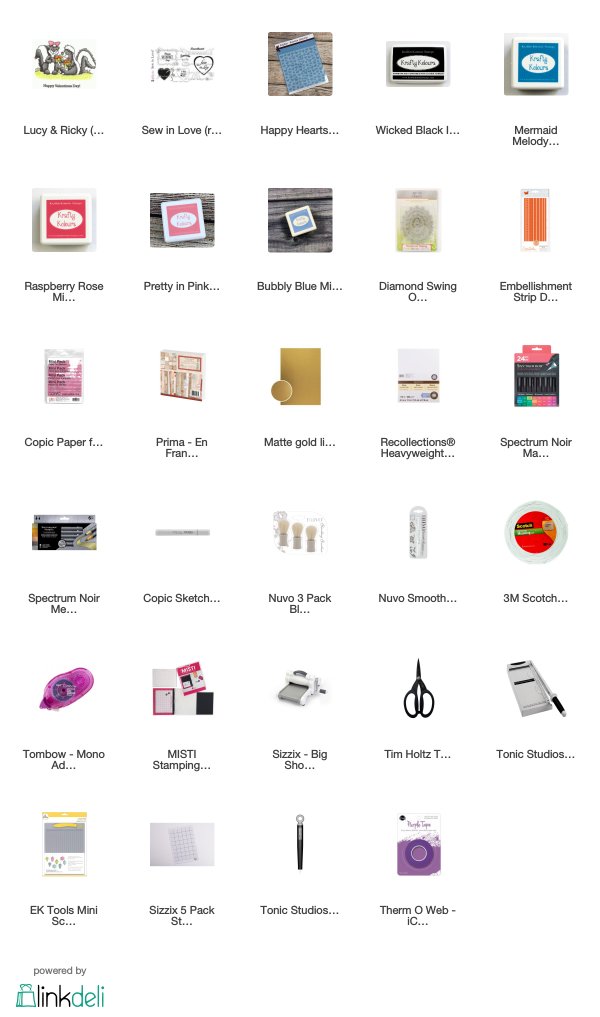
Supplies
Challenges
Kraftin' Kimmie Stamps: Easel card
Simon Says Stamp Monday: Anniversary or Wedding
Outlawz Sunday Songs and Rhymes: Shapes
Just For Fun: Use a Stencil
Crafting From the Heart: Anything Goes
Simon Says Stamp Monday: Anniversary or Wedding
Outlawz Sunday Songs and Rhymes: Shapes
Just For Fun: Use a Stencil
Crafting From the Heart: Anything Goes
What a fun card with a lot of elements! I love the stenciling too. Thanks for sharing at Just For Fun Stamps! Good luck in the draw.
ReplyDeleteA wonderful easel card! How cute is this! Thanks for sharing with us at JFF rubber stamps! Have a great day!
ReplyDeleteWow! Such detail went into this gorgeous card! Thank you for joining us at Just for Fun Stamps.
ReplyDelete