

The March theme for Sheepski Designs blog challenge is... Flowers! Andrea has several lovely digital stamps featuring or using flowers. You can choose to use one of them or use any other flower-themed creation to come play with us.
My inspiration project uses the lovely Sunflowers in a framed house decor item. The image, printed on Canson Mi-Tientes, is coloured with Prismacolor pencils and a Distress ink background. The Kaisercraft frame has been coloured with Cosmic Shimmer, Distress crackle paint, and Gilder's Paste.
SheepSki Designs Challenge Blog
SheepSki Designs Etsy shop
SheepSki Designs FaceBook group
Putting It Together
My mother, whose birthday is in March, loves sunflowers. So, I made this project for her birthday gift.

I printed the image on an 8 1/2" x 11" sheet of white Canson Mi-Tientes. This is the paper Kit & Clowder recommends for pencils. One one side of the paper is a slight honeycomb texture with the other side smooth. I printed a full sized image on the textured side with an ink jet printer.

In my stash, I have a few mixed media frames and such. The size of the printed flowers fit perfectly in the 10" Kaisercraft frame, so I decided to use it in my project. I set aside the frame while I coloured the flowers.

I used Prismacolor pencils, noting the colours used as I worked. To lay down the initial colours, I added the shadow areas and then, using long individual strokes, added colour texture to the petal. Yellow Ochre and Burnt Ochre

I continued added strokes with more colours to increase the depth and character. Spanish Orange

I added in the lighter colours, smoothing down the paper texture. I went back to the first colours, dark to light, continuing to smooth the paper and strengthen the colours. I also started on the border between the petals and the seeded centre. Yellowed Orange, Deco Yellow, Canary Yellow, Cream, White, and Mineral Orange

Using small circles, I added in a dark red centre, leaving the paper texture fairly rough as the seeded centres of the flowers. Tuscan Red and Mineral Orange

I then added the stems to finish. Olive Green, Apple Green, Spring Green, Dark Green

For the background, I used Salty Ocean Distress ink, a blender tool, and a stencil from Elizabeth Craft Designs to give an impression of clouds on a sunny day. Have you ever noticed how, in pictures, the sky feels more sunny if there are clouds?

I am rather pleased with the finished colouring.

I dry fit again in my chosen frame. Now to make the frame fit the picture.

I started with Cosmic Shimmer in Chocolate Bronze. The semi-paste, semi-paint material is water soluble until it dries. Once dry, it is waterproof, like an acrylic. This also sealed the craft-board of the frame with a metallic base finish.

Over the Cosmic Shimmer, I roughly painted Distress crackle paint in Black Soot.

I used 400 grit sandpaper to remove some of the paint. I was thrilled that the Cosmic Shimmer worked as a barrier bonded to the wood and didn't also sand away.

Using a wet wipe to wipe away some of the sanding dust, I realised the Distress crackle paint sands better when it's damp.

I went back and forth wet wipe and sandpaper grunging and distressing.

To add more colour and metallic, I used Gilder's Paste, African Bronze and Inca Gold. My bronze is still pasty but my Inca Gold has dried to be more crayon like which was good for this project but I need to reconstitute it to paste with mineral spirits for other use.

I kept layering until I had a look I like.

As a reminder of what it looked like before I started, I put it with the back that I had only painted on the edges with the Cosmic Shimmer.

I did one last dry fit with the Sunflowers and love the look of them together.

I marked on the paper where I needed to trim and used a paper trimmer to do so.

I'll use the cut off piece as scrap for keeping track of products used in a future project.

I used tape runner to adhere the paper to the frame because it allows me to reposition, which I did twice to get the flowers where I want.

The flowers adhered to the frame..

To adhere the back, I used double-sided tape. I doubled up, crossing the edges of the paper, for a permanent stick.

To make it easier to position the pieces together, as I removed the release paper from the double-sided tape, I cut it into pieces to place perpendicular.

The release sheet strips keep the double-sided tape from adhering immediately, allowing for some repositioning to get everything lined up. Once I had it lined up, I pressed down between the strips in several spots to adhere the tape.
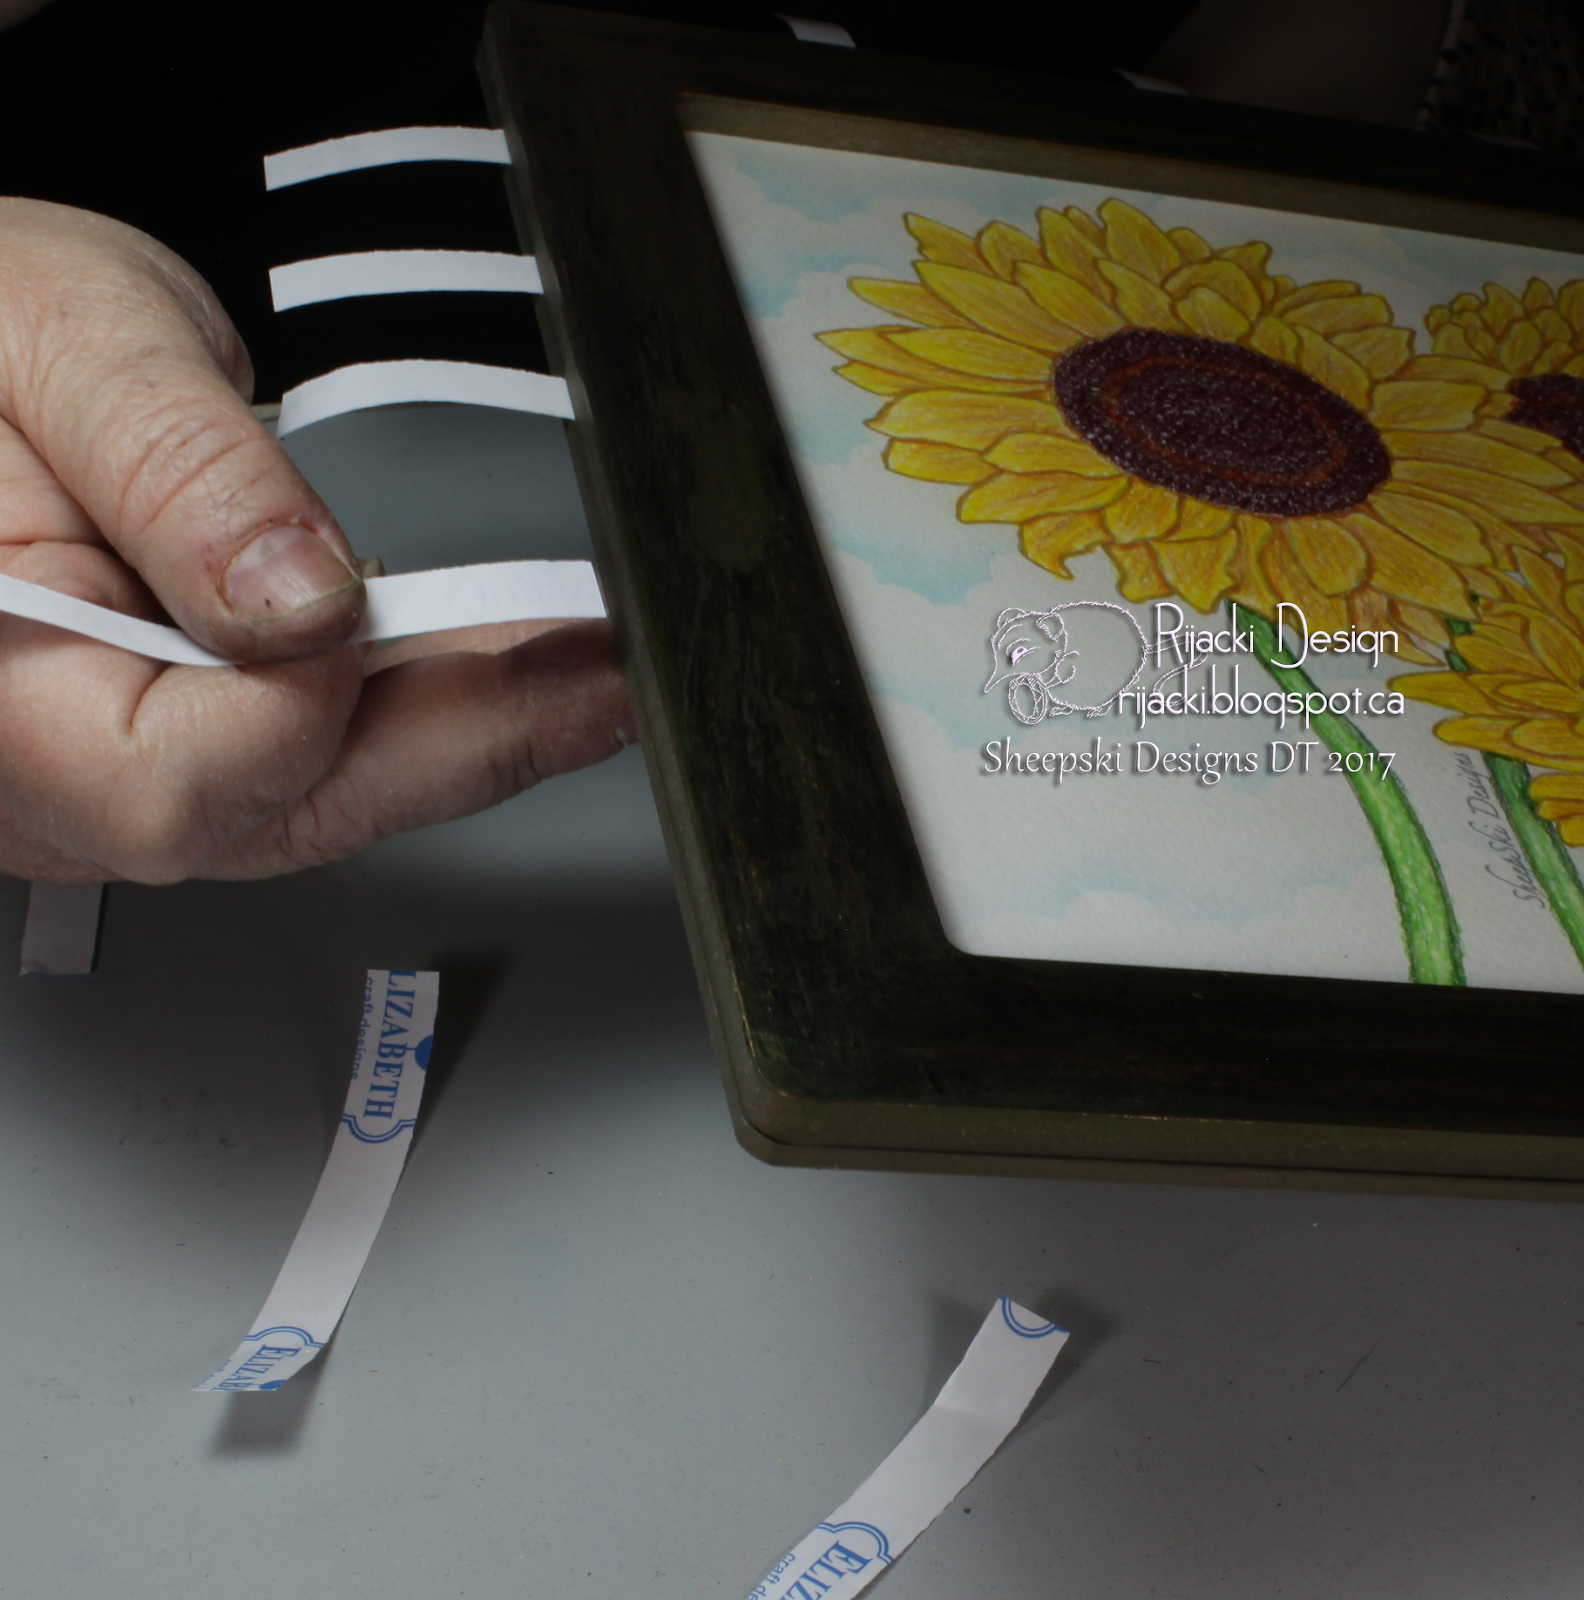
With the strips sticking out the edges, you just need to pull them out like tabs and then firmly press down all around to finish the bond.

I hope my mom likes it. It should go nicely with all the other sunflower things she's gotten over the years.
Sorry for the half-dark finished project pictures. My camera and light set-up is not ideal for large projects. I seriously need more lighting, especially on that one side.

Come play with us on the Sheepski Designs challenge blog. The theme for March is Flowers! We love seeing you use images from Sheepski Designs, but you can enter with any image or creation. If you want to use a Sheepski Design image, you can use the code SKIRIJACKI10 for 10% off.
SheepSki Designs Challenge Blog
SheepSki Designs Etsy shop
SheepSki Designs FaceBook group
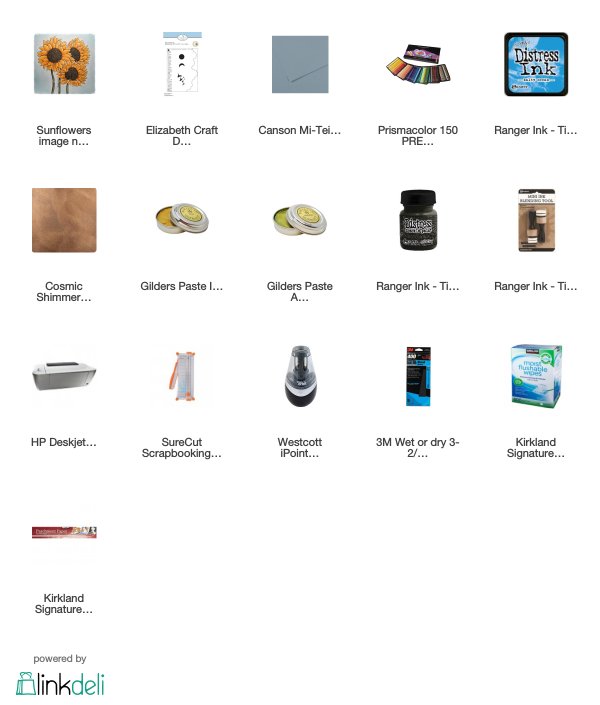
Supplies
Challenges
Crafty Friends: Springtime
Simon Says Stamp Wednesday: Anything Goes
Inspiration Destination: Anything Goes
Penny's Paper-crafty: Anything Goes
Addicted to Stamps and More: Anything Goes
Love to Scrap: Anything Goes
A Bit More Time to Craft: Anything Goes
Love to Scrap: Anything Goes
A Bit More Time to Craft: Anything Goes
Fabulous. I love Sunflowers, too. Your mother will love it. [Bunny]
ReplyDeleteHow lovely these sunflowers are! Your mother is getting a very special gift! Thanks for blogging a detailed post showing all the steps in your creative process! and thanks for participating in PPCC blog this week! Becca=DT
ReplyDeleteWow stunning work x
ReplyDeleteFantastic to see how you made the frame and put it all together Rijacki, I'm sure your mother will love it
ReplyDeleteAndrea x
Beautiful vibrant flowers! Stunning work. Thanks for sharing with ATSM!
ReplyDeleteLove your fabulous creation! Great coloring! Thank you so much for sharing with us at Simon Says Stamp Monday Challenge. :)
ReplyDeleteGreat picture and awesome that you framed the art piece. Thanks for sharing over at Inspiration Destination.
ReplyDeleteBillie A
Inspiration Destination
Catch The Bug
Creative With Stamps
Aud Sentiments
The Merry Christmas Challenge
Sunny Day Crafting
Pause Dream Enjoy
Craftaholic R US
Always Happy Birthday
Beautiful sunflowers, they looks fab in the frame.
ReplyDeleteThank you for joining us at Simon Says Stamp Wednesday Challenge.
luv
Debby
Beautiful picture - thank you for joining us at Penny's this week and good luck - Michelle x
ReplyDeleteLovely project and great colouring. Thanks for joining us at The Sketchy Challenges.
ReplyDeletegroetjes, Ellen