

For the month of September, I am a Guest designer on the Kraftin' Kimmie design team! This means I get to help showcase sneak peeks for the September release! I can't wait to show you the rest of the sneak peeks I have for this week, but this card is all about Christmas Seals.
For more information about the release sneak peeks and the blog hop, check out my main post for day 2: https://rijacki.blogspot.com/2019/09/holday-wishes-christmas-seals-kks.html. This post goes into the details about how I made the Christmas Seals card.
Putting It Together
For this card, I used the Christmas Seals stamp set and Holly stencil.

Christmas Seals is a trinket-style stamp set by Melissa Baker-Nguyen. The set has six large circular sentiments and four smaller sentiments. They're great for tags, too.

For this card, I used the Holly stencil. I used the So Many Circles with the Holiday Wishes stamp set.

To emboss with the plastic Holly stencil, I used my Big Shot. At the bottom, I have a cut plate that's relatively unmarred. It's best to have extra cut plates so you can have ones that are unmarred when you don't want to risk undesirable impressions from previous die-cuttings. Next is the stencil then the cardstock. I used 110lb cardstock. On top of the cardstock is the tan embossing mat from Spellbinders. The tan pad is a bit more firm than the Sizzix silicon pad but the Sizzix one should work similarly. To finish the sandwich, my well-loved and very used cut plate. The silicon pad will shield the cardstock from the cut lines and marring of this cut plate. You should see the curved warp on this plate and the other one I use for most of my die-cutting.

Running the sandwich through the Big Shot embosses the cardstock beautifully but not quite as deeply as a normal embossing folder.

I put the panel on a piece of Press and Seal then fit the stencil back over the embossing before adding the two green Kimmie inks, Enchanting Emerald and Goblin Green (I'm out of labels for my labeller *sniffle*), using a blending tool.

For a bit of golden sheen, I used a Nuvo Aqua Shimmer marker over the ink. I love the sheer shimmer with the hint of gold on the green.

After taking the stencil off, I used Nuvo glitter drops on the berries. And then I had to let the glitter drops dry fully.

I embossed the seal sentiment with gold and die-cut the circle. I die cut a glittery red circle as a mat and a gold foil lacy circle as well. I was pleased with how the layered trinket looked with the stencilled background, but it needed more. While pondering, I needed to run down to the US to pick up some packages. While I was there, I popped into Joanns. They had a free give-away with any purchase. I didn't find what I was looking for (some storage items they sadly don't carry now *sigh*) but found some cut Halloween fuzzy socks. In the giveaway boxes was some Christmas ribbon and, ta-da, this one was perfect to finish my card!
I always do a lot of dry fits as I go along to see how things look together. I'll even take more pictures than I ever put in a post so I can 'step back' and see the project from another angle or even when I am away from my craftroom.

Because of the dimension of the embossed stencilling and using a glittery cardstock for the matting, I used double-sided tape to hold them together. I put the seal/trinket together then popped it up from the ribbon and stencilled background with foam mounting tape. I only rounded one corner because it was the only one that the glitter drops didn't block the punch *laugh* But I rather like it with the single rounded corner, so it was a "happy accident".

Inside, I used a blender brush to add in a light stencilling with Enchanting Emerald before adding a sentiment from Holiday Wishes with Wicked Black.


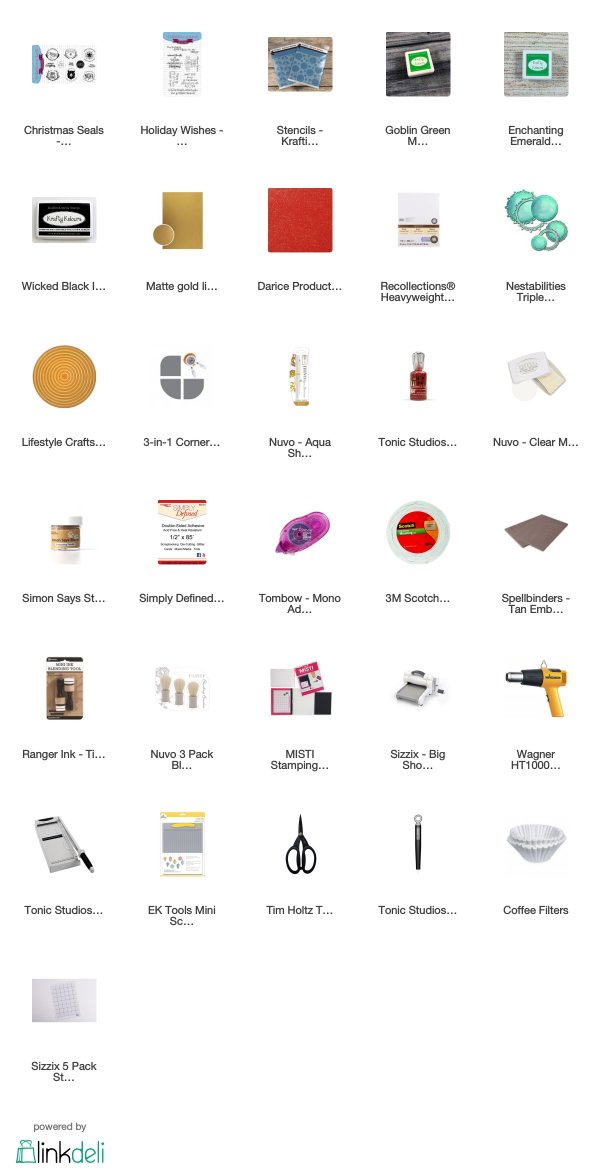
Supplies
The items of the September release will be available on Saturday, 14 September, after the release party. Wicked Black, Enchanting Emerald, and Goblin Green are all available now.
For more information about the release sneak peeks and the blog hop, check out my main post for day 2: https://rijacki.blogspot.com/2019/09/holday-wishes-christmas-seals-kks.html.
No comments:
Post a Comment
Thank you for your comments. I do read every one. Your comments help me to grow as an artist. It warms my heart to see wonderful comments and constructive criticism.