

My inspiration project for this month's Sheepski Designs challenge is a steampunk kitty with cogs on a transformed cigar box. Bartholomew is a new image now available in the Etsy shop that I've coloured with Prismacolour pencils on tracing paper and decoupaged along with a bunch of cogs.
The challenge for August 2018 on the Sheepski Designs blog is Animal Madness! You don't need to use a Sheepski Designs image, but we love to see her images. Come join us in the challenge.
SheepSki Designs Challenge Blog
SheepSki Designs Etsy shop
SheepSki Designs FaceBook group
Putting It Together
I have a penchant and love for the Steampunk aesthetic so was thrilled to see the new kitty Andrea was adding to the shop. He's adorable!

I wanted to have the kitty on old tracing paper I have in my stash but knew it wouldn't go through my printer on its own. So, I got a sheet of cheap 65lb cardstock from stash and used low-tack repositional adhesive on the outsides. I used a sheet of deli paper to block the middle while I sprayed the edges. I printed the kitty in the middle where there was no adhesive because I feared (rightly) the tracing paper would adhere too much after going through the printer and get ruined. Since the kitty was where there was no adhesive, it was fine.
The tracing paper I used is more than 20 years old. I'm not even sure if it was tracing paper I bought back in the 90s or some my sweetie had. The cover got lost at some time and one edge of the oversized sheets got water damage. The tracing paper has slightly discoloured with age which makes it lovely for a distressed look.

I used a steel rule die to cut a hexagon from an old canvas board that I had been from a failed attempt to image transfer. The steel rule die mostly cut through the board, but I did need to use a kraft knife to fully cut the shape. I wanted to use the canvas both to re-use it instead of throw it away and for the thickness.

I did a dry fit of the kitty on the hexagon and cigar box to make sure they would fit together. I was so happy the kitty fit on the hexagon perfectly.

The cigar box was from a car boot sale (garage sale) hosted by a local scrapbooking store last year (or the one before *laugh*). I don't smoke so I would never be able to get one of these otherwise. I also live in Canada, so this box really did hold Cuban cigars (are those still not allowed in the US? I lost track. Long long long ago I worked a job selling cigars from a booth in a mall at Christmas time... I think that might have been my last retail sales job.)


To seal the cut edges of the hexagon, I rubbed it in liquid glue. This also sealed away any flyaway bits from the cardboard core of the canvas board.

I covered the hexagon on its own with white gesso for its first coat using a dollar store brush (I'm cheap).

I also gave the box a first coat of white gesso before gluing the hexagon to the box. When the glue was dry, I gave them a second gesso coat. Doing the first coat on them individually kept the hexagon edges crisper and made sure I got all of the edges gessoed.

For the cogs, I covered mat board with aluminum tape from the hardware store. I covered a large piece I had die cut from before and smaller, thicker scraps from other projects. I wanted my cogs to have a definite metallic look, so starting with actual metal goes a long way to that look.

I used the Tim Holtz Industrial steel rule die to cut the cogs. Sorry for the darker pictures with the bare metal, my cell phone decided to under light them likely because of the reflection from the lights.

I cut a lot of cogs from the two types of mat board. Some of them were partial or not completely covered with the aluminum tape, but that was perfect, too.

Before glueing anything down, I arranged cogs on the box with the kitty. I had trimmed the kitty paper down to just smaller than the hexagon by using the shape as a template. I positioned the kitty then creased it along the edges of the hexagon. I then used scissors to trim it just inside of the creases. I added partial cogs, too, to look like the kitty hexagon is on top of the gears.

When I started gluing down the cogs, I added more than in my initial dry fit. It's busy, but I like it. I made sure every cog intersected with at least one other cog so it could look like they're working machinery in some sort of crazy contraption.

I used Marabu shimmer spray, Copper and Lilac, and Glimmer Mist, Patina, to transform the box and cogs from wood and paper into distressed metal. I'm glad I used the aluminum tape on the mat board because it added it's own gleam for the illusion. I wanted it to look like a well-worn industrial contraption.

I used Mod Podge to decoupage the kitty on to the hexagon. With the translucency of the tracing paper and the Prismacolor pencils, you can see the metallic colours under him. The thinness of the tracing paper works perfectly for decoupage even crinkling up a little for an extra distressing. After applying the kitty, I used dry brushing with the copper and silver Marabu shimmer spray as well as the patina to blend the edges.


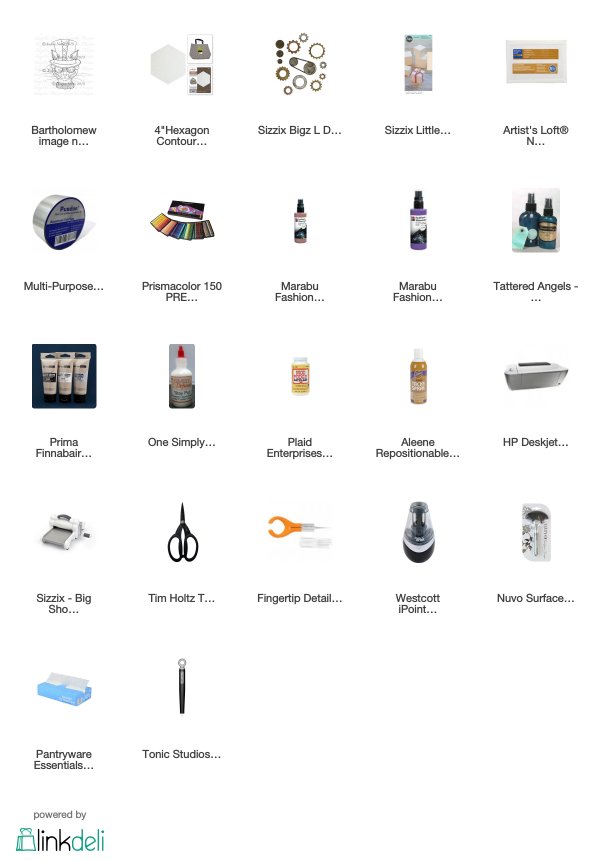
Supplies
Challenges
The challenge for August 2018 on the Sheepski Designs blog is Animal Madness! You don't need to use a Sheepski Designs image, but we love to see her images. Come join us in the challenge.
Addicted to Stamps and More: Make Your Mark
More Mixed Media: Anything Goes
Outlawz Festive Fridays: Theme - Anything Goes
Addicted to Stamps and More: Make Your Mark
More Mixed Media: Anything Goes
Outlawz Festive Fridays: Theme - Anything Goes
Creative Moments: Anything Goes
Simon Says Stamp Wednesday: Anything Goes
Watercooler Wednesday: Anything Goes
Crafter's Cafe: Steampunk
Simon Says Stamp Wednesday: Anything Goes
Watercooler Wednesday: Anything Goes
Crafter's Cafe: Steampunk
Errata
For a bit of Steampunk goodness, here are some of my favourite Steampunk bands/songs. Most of the Steampunk music are ballads with stories of some sort usually involving mechanical contraptions reenvisioning Victorian aesthetic with a science fiction-ish twist.
And lots more bands, too many to showcase beyond this little taste.
You've turned a cigar box into a treasure....so clever! Thanks for joining us at Watercooler Wednesday.
ReplyDeleteWOW! Absolutely stunning work. Thanks for sharing with us at Watercooler Wednesday.
ReplyDeleteA wonderful steampunk project. You certainly achieved a machinery look with your metals. So glad you shared with us at the Crafters Café, come back soon. CarolG
ReplyDeleteWhat an awesome up-cycling project Kate and you did an amazing job with it. So many fantastic techniques too!
ReplyDeleteThanks for sharing with us at Addicted to Stamps and More.
Hugs
Carol x
Great details on how you created your steampunk project. Looks amazing. Thanks for entering your wonderful creation at The Crafter's Cafe this fortnight for our "Steampunk or Ribbon and Lace" challenge.
ReplyDeleteProbably about the third or fourth time I've read this now, LOL!! What an awesome project Rijacki!
ReplyDeleteAndrea x
Such a great project!
ReplyDeleteThank you for joining Creative Moments.
💝 from Africa!
OlgaB
Beautiful project. Thanks for the detailed explanation. It is very helpful. Great to see you in our gallery and hope you will join us again soon! Please do visit my blog Paint Paper Scissors for more inspiration.
ReplyDeleteNandini – Design Team member, ATSM Challenges!