On a hill, even looking over a city, you can see a remarkable number of stars. It's a great place to have a quiet moment with someone you love. This couple is part of a stamp set by Kraftin' Kimmie Stamps and was part of the July Krafty Kit. It's part of the July release that will be available on Saturday.
Welcome to our favourite time of the month
at Kraftin' Kimmie Stamps!
It’s time to begin the
It’s Day ONE of our Krafty Peeks and we are jumping up and down with excitement to share all of our new goodies! We've got new stamps, new hybrid ink and new enamel dots! Hang on to your inkpads people....here we GO!
The first stamp set we are previewing for you is called LIFE IS A JOY and was designed by our fabulous artist, Cheryl Grant! This lovely stamp set is full of encouragement and love....not to mention adorable images and sentiments! The complete set features TWO large main images plus several sweet sentiments!
Putting It Together
Seeing the kids staring off into the distance, I thought about the serenity of looking at the stars.
To prepare for foiling, I used transfer gel with the starry stencil on black cardstock using a silicon brush. The wide brush is great for spreading the gel, but not so great for getting in the bottle, so I used a plastic palette knife for that. The gel has to dry thoroughly which can take at least an hour or two with how thickly I have it spread. I usually leave it overnight just to be sure it's fully dry. When it is 100% clear, it's dry.
I stamped the kids on their bench with Granit Grey on watercolour cardstock then used Zig Clean Colour brush markers with a waterbrush to colour them.
I then fussy cut them and set them aside to work on another project because my stars weren't dry.
When the transfer gel was dry, I laid the foil over, pretty side up, put it in a sleeve of deli paper, and ran it through the laminator. Peeling back the foil is the great reveal. I used a starry silver foil on the stars to have stars full of stars.
I dry fit the kids to see my project taking shape. I decided I wanted to have distance between them so decided to make a shadow box card to have layers with space between.
I don't have a handy shadow box card die, so I used a free tutorial from Craftsy to put it together. Using four panels cut to 5 1/2" x 4 1/4", I used a die to cut out the centres on three to make the outside frames. I was supposed to cut two panels of 3 1/2" x 4 1/4" but decided to use the centre parts cut out of the frames.
I wanted it to look like the kits are on a hill overlooking a city skyline so I die cut the skyline and added a faint bit of Wild Honey oxide to the edges to give them a little definition against all the black.
One more flat dry fit with a frame and the city.
When I scored the centres from the frames (every 1/2"), I realised they were 1/2" shorter than needed. Since I only wanted to have 3 layers in my shadow box, this was okay.
After doing the mountain/valley folds on the scorelines, I trimmed off the last 1/2" to make them even with the layers.
Doub;e sided tape on one side of each mountain and the half.
Solid back adhered to the half mountain and two frames on the mountain slopes lined up with the valley edges.
Decorate the layers with the starry sky on the back solid panel, the city on the middle frame, and the kids on the inside of the front frame.
Add the other mountain/valley strip adhering it the same as the first side.
Because I didn't think ahead to decorate the front and I had an extra frame, I decorated the final frame with the embossed sentiment and confetti mirror stars then used it to cover the shadow box's front frame. Easy peasy.
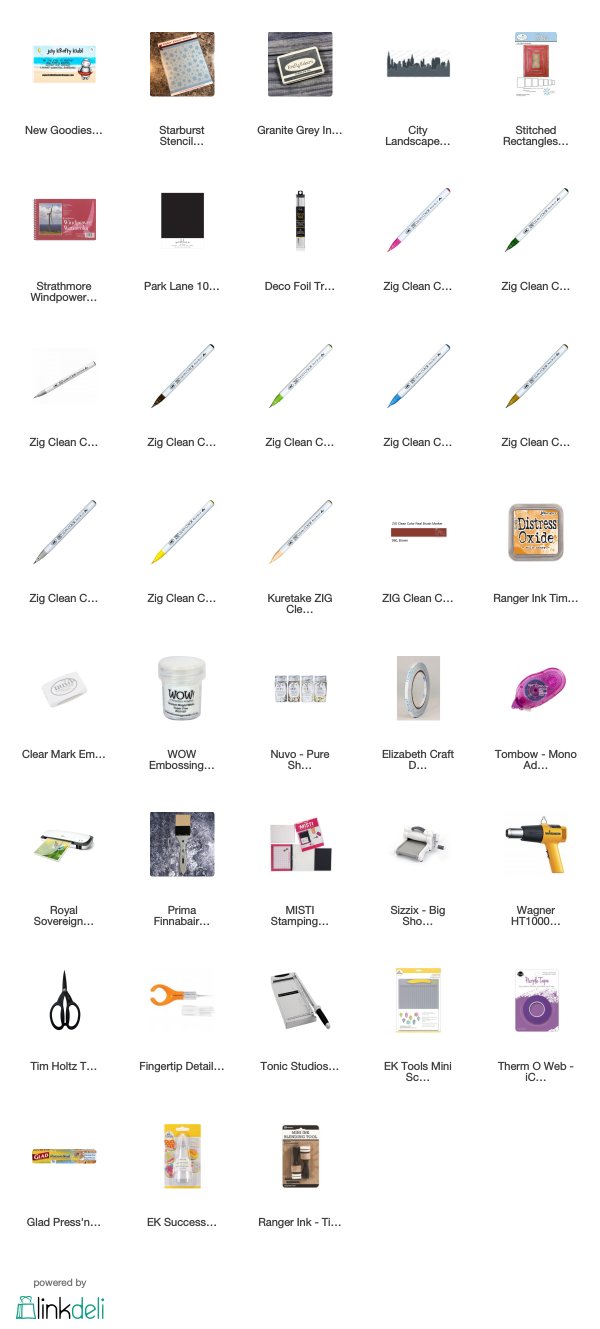
Supplies
Challenges
Kraftin' Kimmie Hogwarts challenge: Hufflepuff - Friendship
Simon Says Stamp Work It Wednesday: Foil It
Simon Says Stamp Work It Wednesday: Foil It
Outlawz Festive Fridays: Theme - Anything Goes
Penny's Paper-crafty: Anything Goes
Tuesday Throwdown: Anything Goes
Creative Moments: Anything Goes
Crafting from the Heart: Anything Goes
Love to Scrap: Anything Goes
Penny's Paper-crafty: Anything Goes
Tuesday Throwdown: Anything Goes
Creative Moments: Anything Goes
Crafting from the Heart: Anything Goes
Love to Scrap: Anything Goes


This is a great idea,
ReplyDeleteThanks for playing along at Creative Moments,
Hugz Tinz