Showing posts with label Nuvo Drops. Show all posts
02 February 2020
ATC Jan 2020 Kawaii - alcohol marker + mixed techniques
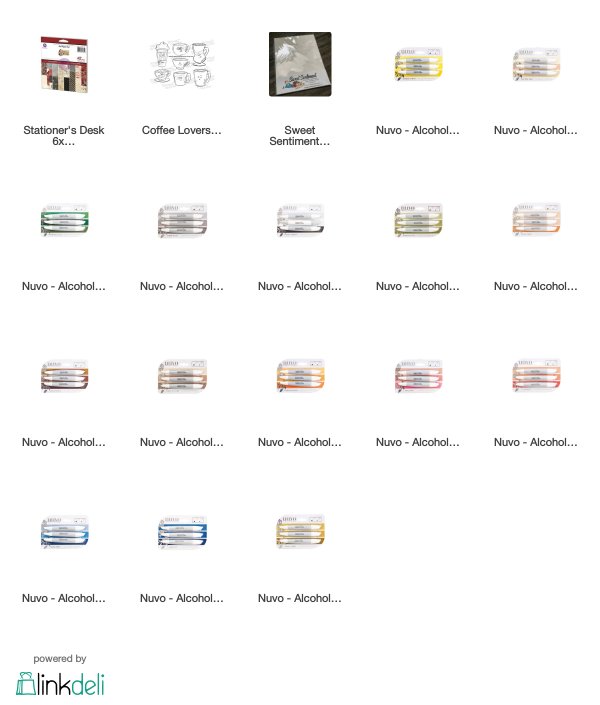
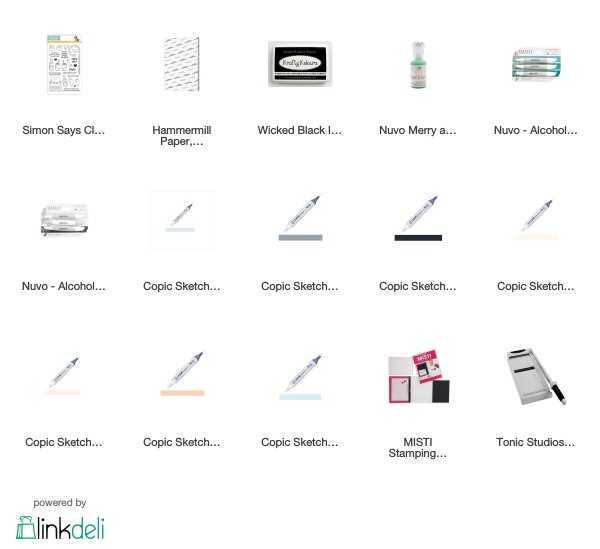
In January, I joined the ATC swap from the Sweet Sentiment Facebook group. The theme was Kawaii. I could have made one design for all of them, but what fun in that? Along with the theme, the other rules were ATC size (3 1/2" x 2 1/2") and they needed to have some colouring on them. I used all alcohol markers in a combination of Copic, Spectrum Noir, and Nuvo. I used mostly physical stamps with one digi. Along with the alcohol marker colouring, I used a variety of techniques and added Nuvo drops to most of the ATCs for a bit of tactile dimension.
01 December 2019
Ice Queen - Sheepski Designs, coloured pencil, frame
Winter is coming which makes me happy because it's my favourite season. The December blog challenge for Sheepski Designs is Favourite Things so I used the Ice Queen to make a picture. Come join us this month with your Favourite Things creation.
SheepSki Designs Challenge Blog
SheepSki Designs Etsy shop
SheepSki Designs FaceBook group
01 October 2019
Kamsin - Sheepski Designs, alcohol marker, alcohol ink
The start of another month! It's October and the challenge this month on the Sheepski Designs blog is Autumn Colours!
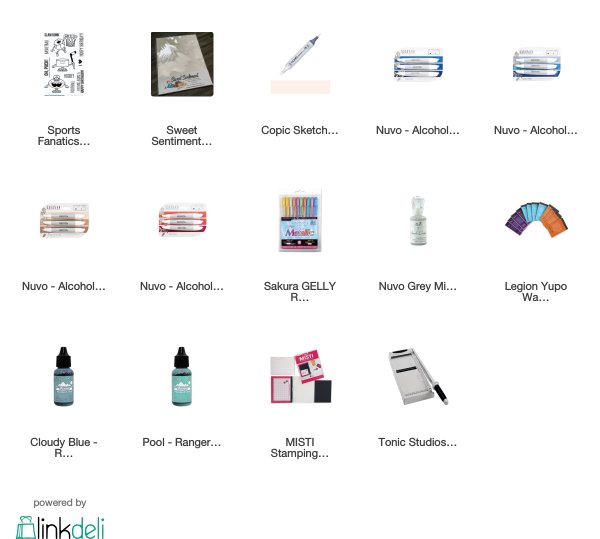
For my inspiration this month, I used Kamsin coloured with Nuvo alcohol ink markers and a touch of Nuvo Jewel Drops for her glasses. I paired her with a sentiment from Unity Stamps, a little stencilling, paper lace, and an alcohol ink background.
SheepSki Designs Challenge Blog
SheepSki Designs Etsy shop
SheepSki Designs FaceBook group
12 September 2019
Holiday Wishes & Christmas Seals - Kraftin' Kimmie Stamps, day 2 Sept sneak peeks
For the month of September, I am a Guest designer on the Kraftin' Kimmie design team! This means I get to help showcase sneak peeks for the September release!
Did you enjoy yesterday's previews??
Did you SEE all the new goodies??
Are ya thirsty for MORE?!
Well, that's good because we're back with more HOLIDAY goodness for our SEPTEMBER 2019 release for Kraftin' Kimmie Stamps!
Today we have TWO NEW sets by our fabulous artist, Melissa Baker-Nguyen!
First up is....
Check out the gorgeous larger sized sentiments in this set in a combination of lovely fonts! They can be used as the focal point of your creation, they can be used in combination with a coloured image, you can use them on the insides of your cards, on tags, on bags and lots more!!
Second up is.....
We've updated our trinket style stamp set with a combination of circular sentiments and designs!!! These new stamps are perfect to use with your circle punches, your round dies or on their own! Think of all the tags you can create and so quickly using these sweet images with our coloured hybrid inks! Plus they make fabulous additions to your coloured images on cards and scrapbook pages and all your other holiday goodies!
As you hop around the Krafty Team's blogs today you will see both stamp sets in action in combination with our awesome new September Kraftin' Kimmie products.....ink, stencils and krafty dots!
First up, Holiday Wishes!
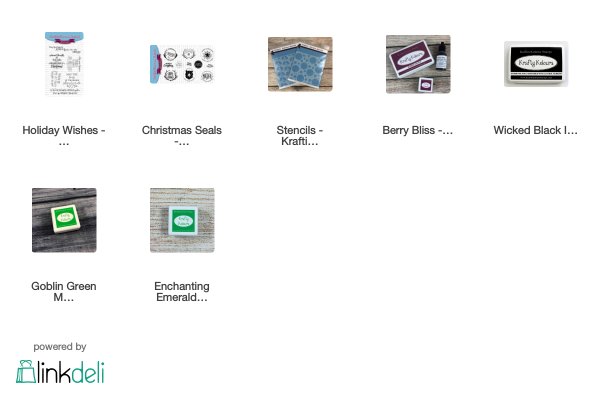
For this card, I used Distress markers and a metallic marker with the So Many Circles stencil to create a background of baubles that I cut up and added a sentiment from Holiday Wishes on foiled cardstock. For more details on how I made this card, check out my details post: https://rijacki.blogspot.com/2019/09/holiday-wishes-detail-kks.html.
On the inside, I added a second sentiment with Berry Bliss alongside the last strip from the stencilling.
Next up, Christmas Seals!
I dry embossed the Holly stencil then used Kimmie inks and Nuvo drops with just a hint of gold from an Aqua Shimmer marker. I embossed a Christmas Seal sentiment then added it with die cuts and a bit of ribbon. For more details on how I made this card (including the 'sandwich' for embossing with a stencil), check out my details post: https://rijacki.blogspot.com/2019/09/christmas-seals-detail-KKS.html.
On the inside, I added soft stencilling with the Holly stencil and a sentiment from Holiday Wishes using Wicked Black.
Kraftin' Kimmie Supplies
The items of the September release will be available on Saturday, 14 September, after the release party. Wicked Black, Enchanting Emerald, and Goblin Green are all available now.
Challenges
Watercooler Wednesday: All About OccasionsAddicted to Stamps and More: Holiday
Crafty Hazelnut's Christmas: Anything Christmas + optional Patterned Paper
Outlawz Monday Greetings: Layers
Tuesday Throwdown: Pile It On
Kraftin' Kimmie Stamps Blog Hop
You'll see MORE of our brand new goodies in action over the next few days of Krafty Peeks and everything will be released at our LIVE Online Release Party in the Krafty Friends facebook group on Saturday, September 14th at 2pm EST!For now, hop around and check out some incredible designs from our Krafty Team!!
You are invited to the Inlinkz link party!
Click here to enterChristmas Seals detail - Kraftin' Kimmie Stamps, embossing, stencilling, stencil embossing
For the month of September, I am a Guest designer on the Kraftin' Kimmie design team! This means I get to help showcase sneak peeks for the September release! I can't wait to show you the rest of the sneak peeks I have for this week, but this card is all about Christmas Seals.
For more information about the release sneak peeks and the blog hop, check out my main post for day 2: https://rijacki.blogspot.com/2019/09/holday-wishes-christmas-seals-kks.html. This post goes into the details about how I made the Christmas Seals card.
23 August 2019
Cider Spice - watercolour, marker airbrush
The air is starting to cool down here as we're starting to move into Autumn giving me thoughts of yummy spiced cider. My spicy card features a Newton's Nook stamp set coloured with Nuvo drops and a background of Distress marker applied with a spritzer.
14 August 2019
Scaredy Cats - watercolour marker, embossing, glow-in-the-dark
Today is the start of the Kraftin' Kimmie August release sneak peeks. As one of those who purchased the August Krafty Kit, I get to play along with the first of the new sets. Scaredy Cats is a fabulous new set from artist Neda Sadreddin accompanied by one of the new stencils, Bats & Moons, and the new ink, Goblin Green
I coloured one of the images from Scaredy Cats with Zig Clean Colour markers, embossed with the Bat & Moons stencils, and used glow-in the-dark to emboss the sentiment and add a fun detail to the kitty eyes. Turn off the lights for a too cute to spook pair of kitties.
23 July 2019
Bathing Beauty - coloured pencil, gift box
Splish, splash I was takin' a bath... soak all your troubles and cares away. My bathy gift box features a retired Kraftin' Kimmie set with Prismacolour pencil colouring and Sizzix die and embossing folder.
Bathing Beauty colouring - coloured pencil
This post is a companion to Bathing Beauty showing the colouring stages for Brigitte, retired stamp set from Kraftin' Kimmie Stamps with Prismacolour pencil colouring. While I am by no means an expert at colouring, I thought it would be fun to show my process.
I stamped the image on Bristol with Party Peach so the stamping wouldn't show when I was done. This is called a "no lines" technique. You still have lines, they're just not visible directly in the end.
For colouring, I use an embossing lightbox without the light. This gives me a rigid slightly slanted raised surface which is good for the ergonomics, i.e. I don't bend my neck over as far. I can also pick up the lightbox to bring it in closer for details (or when I don't want to bend my neck much at all).
I also wear magnifying glasses 'cause my close-in vision is not as good as my younger days *laugh* I've been far-sighted my whole life and still am, but close in is getting fuzzier (and the print on packaging is getting smaller, of course). When I look further away than 15ish inches with my glasses, it's very disorienting and oddly blurry and curved. So, glasses on for close, glasses off for far, it sucks when I drop something, like a pencil that twirls and leaps out of my hand like an acrobat on a trapeze.
For fair skin, I usually use my own blend: Clay Rose, Rosy Beige, Light Peach, Seashell Pink, Cream, and White. I often start with the second darkest colour, Rosy Beige, in the shadow areas then progress out toward the centre with the lighter colours to an overall smoothing with the lightest non-white, i.e. Cream for this blend, and/or White. I then add the darkest, Clay Rose, in the shadow. If the skin was getting overall a bit to sallow (yellowish), I added in Light Peach overall. Since there is a layer of pencil covering the paper, this mellows to a blend rather than a direct Light Peach. I build the shadows using the two darkest colours while smoothing and blending with the lightest until it's about the colour I want though a bit dark in the shadows on its own. For the non-shadowed edges of her skin, I used Light Peach then a little Rosy Beige if the curve needed a bit of a nudge. I keep my skin colours out of my case while I work on the rest 'cause some times I add a little more shadow or light as needed (or find a fleshy area I missed). I added Tuscan Red for her smile and used Clay Rose for her eyes.
I wasn't sure what I wanted for her hair colour so I decided to go on to the rest. I used Cool Greys and White for her white porcelain tub. I started with the second darkest shade I wanted in the shadows, 50%, then progressively lighter before adding the darker 70% then shadow to light again. I used a lot of 10% and White to smooth and blend to keep the white look. When trying to get a white look, I try not to get too grey.
While colouring, I was considering going over the tub with a clear gloss such as Glossy Accents or Nuvo Morning Dew but decided against it in the end as being a bit too over the top.
Looking at the pictures, I could have added a darker shadow area under her dangling foot, arm, and towel without losing the white effect. It's actually a bit more shadowy in person than in the pictures.
Still waffling on hair, I decided to brassify the tub feet and faucet. I used French Grey with Metallic Gold to build the colours and give it a bit of shine. At this point, I wasn't entirely happy with how the feet turned out but left them for later.
While colouring the towels, I added Metallic Bronze to the tub feet and faucet which worked to finish them. For the towels, I went with blues with black because I was originally considering this project for a Kraftin' Kimmie challenge relating to Ravenclaw creativity, but I am rather happy with the sumptuous blues. I started with Slate Blue and Blue Slate in the bathwater bubbles. I knew I was going to use something dimensional over them so wanted watery stand out shadowing. For the towels, Indigo Blue, Indanthrone Blue, China Blue, Cerulean Blue, and Light Cerulean Blue with Black and dark Cool Greys for trim and fringe. Like before, I started with the second darkest, Indanthrone Blue is a colour I hate to spell but love to use. It's gorgeous. China / Cerulean Blue is the colour I wanted the towels to appear. I love Cerulean. I always think of Tiepolo and the cerulean skies of his ceiling frescos in Venice (some of which I was lucky enough to see in person in the late 80s). I used 70% and 90% Cool Grey with Black for the trim and fringe for elegant Ravenclaw colours style.
Her hair is also a good contrast to the blue towels, blue-ish bath, and the blue background of Cerulean and Light Cerulean lightly applied for a chalk-like look.
I did a loose fussy cut around the bathing beauty and then, to give her bubbles dimension and iridescence, I added Nuvo Cloud Dream Dops. I love the Dream Drops line but only have three of the colours... so far. The iridescence is so very shimmery pretty in life with the drops having rounded dimension, just like bubbles.
Ta-da, the finished project! What's your favourite hair colour?
27 May 2019
Birthday Style - gift box with stencilling
Good things come in small packages. This little gift box was made from a Spellbinders die embellished with Kraftin' Kimmie ink, stencil, and stamp along with Nuvo Dream drops.
13 May 2019
Three Wishes - Through the Craftroom Door, coloured pencil, embossing, die cutting, shaped card, easel
Three wishes for a happy birthday, my inspiration card for the Through the Craftroom Door challenge features a digital stamp set from The Paper Shelter, our sponsor for this week.
The winner of the random draw will get 3 digital images from their vast collection.
29 April 2019
Owl - Through the Craftroom Door, coloured pencil
This week's sponsor for the Through the Craftoom Door challenge is Jeremiah Ketner, Small and Round.
Jeremiah Ketner paints a world to which fairytales belong. His paintings often depict richly colored environments inhabited by a cast of pensive, dreamy young women and whimsical sprites. Each character presents a unique brand of beauty. Renowned throughout the US and internationally, Ketner attributes his influence to Art Nouveau, Japanese Aesthetics and Anime. He resides and creates from his studio in Tokyo, Japan.
Coloring pages: http://etsy.com/shop/
Coloring group: https://www.facebook.com/
Visit my shop: http://smallandround.com/
View my portfolio: http://jeremiahketner.com/
Prize: 5 images (winners choice) and 30% off coupon for any coloring pages on my Etsy store
For my inspiration project, I coloured Owl with Prismacolor pencils with Nuvo drop and Aqua Shimmer accents to make an oversized card.
19 April 2019
Mistle-toad - watercolour, stencilling
Have a punny Christmas! My card feature a stamp set and stencil set from Newton's Nook with Distress Oxide stencilling and Distress marker colouring. I have a friend whose nickname is Toad, so stamps and other things with a toad or frog make me think of her. I used a cheeky sentiment on the inside, too, inspired by my friend.
01 April 2019
Matryoshka - TTCRD, colored pencil, tri-fold card
This week's sponsor for the Through the Craftroom Door blog challenge is Kitchen Sink Stamps!
I am Maria Colosimo, the creator, and founder of Kitchen Sink Stamps. My husband Jim and i have been very proud to offer stampers around the world a variety of our original stamp designs, specializing in Multi-Step (layered) stamping in high-quality clear photopolymer, manufactured here in the USA by a leader in the industry, ever since the beginning.
It is very important to us that every one of our customers are happy & successful multi-step stamping with their Kitchen Sink Stamps. This is why we give our customers whatever support they need! We offer our customers free Color Recipes (available for most of our multi-step stamp sets), Multi-Step Tutorials (written & video demos), projects, and samples which all can be found and accessed after registering to our KSS Forum. We also give one on one direct help support through email at kitchensinkstamps@gmail.com. AND... if our customers ever lose a stamp or have a stamp that tears, just email us and we will replace it free of charge.
The prize for the challenge is a $25 gift certificate!
For my card, I used the Nesting Dolls set from Kitchen Sink Stamps in a tri-fold card. I coloured the dolls with Koh-i-Noor with Nuvo drop accents. I added a Jillibean Soup sentiment die and a sentiment from Unity Stamps on the inside with the smallest doll.
Subscribe to:
Posts (Atom)