

A shimmery purply glittery flowery birthday card featuring a Kraftin' Kimmie stamp, stencil, and ink with glitters from Cosmic Shimmer and Elizabeth Craft Designs, a Simon Says Stamp die and embossing.
Putting It Together
Sometimes I need a reminder how messy glitter is, but look so pretty!

Glitter stencilling is pretty easy even if it is messy. Start with double-sided adhesive on cardstock.

To keep the stencil from sticking to the adhesive, generously apply Versamark.

Remove the release paper but keep it close at hand.

Place the stencil Versamark side down on the adhesive.

Use the release paper to make sure the stencil is thoroughly pushed down on the adhesive.

I started with the Mermaid Purple holographic glitter. I poured it over the adhesive and used a soft brush to move it around. I used the release paper to push the glitter into the adhesive as I fully covered the panel. I used the brush to remove the excess glitter before pouring it back into the bottle.

I have a Ken Oliver silicone mat. To clean the glitter, I use an adhesive lint roller. I'm keeping the filled sheets to figure out how to use them later *laugh*.

Removing the stencil is easier if you use the release tape as you pull it up. Avoid touching the adhesive on the panel.

The panel looks pretty cool with just the purple holographic glitter.


I used the soft brush to wipe away the excess which I poured back into the bottle.

I then burnished both glitters with my fingers. I brushed off again to remove the last loose bits.

The two purples make the harlequin diamonds more subtle until it turns in the light. It's so sparkly!

I trimmed the glitter panel and cut it into two narrower strips.

I decided to do stamping above and below the glitter strip. I drew lines on the panel using a strip a bit narrower than the glitter strip.

I stamped the flowers with Purple Pansy using masking to position them and have them extend the full card.

When I stamped the top, I dry fit the panel to see my plan coming together.

I stamped the bottom flowers like the top.

I dry fit the glitter strip with the flowers and decided to have a die cut sentiment.

I die cut three of the sentiment from heavy cardstock.

I used a glue pen to stack the die cuts.

I used removable adhesive to adhere the die cut to a strip of scrap paper.

I applied the Purple Pansy ink directly to the die cut to colour it to match the stamping.

I then applied Versamark.

I used Plum Pearl embossing powder. The strip makes embossing the thin die cut easy with no burned fingers.

I triple embossed for extra gloss to make the die cut into an embellishment.

I peeled the embossed sentiment from the strip.

I dry fit on a black card base liking the mat effect.

I added a thin line of silver on the edge of the card with a metallic pen.

I attached everything to the card base and added a lilac rhinestone for the dot over the "i", not that I needed more bling. The shimmer is so much more amazing in person.

Inside I added a pearled panel that I stamped with flowers at the bottom.


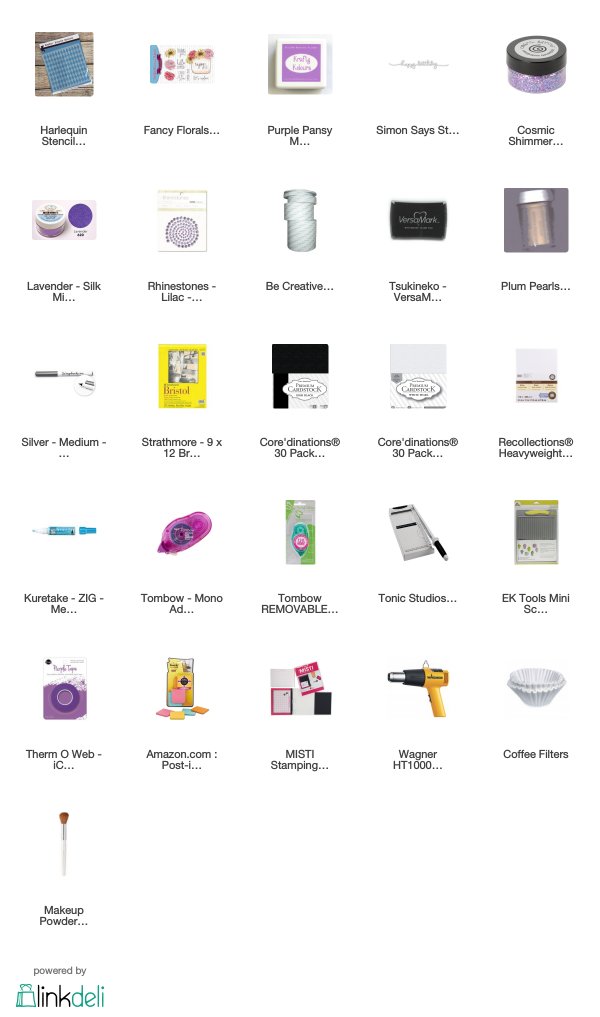
Supplies
Challenges
Krafty Kimmie Stamps: Krafty Party #5 - Purple
Sparkle 'n' Sprinkle: Loose Glitter, Embossing, or Flocking
Love to Scrap: Monochrome
Seize the Birthday: Anything Goes
Outlawz Festive Fridays: Theme - Birthday
Scribbles Design: Birthday
Watercooler Wednesday: Anything Goes
Simon Says Stamp Wednesday: Anything Goes
Sparkle 'n' Sprinkle: Loose Glitter, Embossing, or Flocking
Love to Scrap: Monochrome
Seize the Birthday: Anything Goes
Outlawz Festive Fridays: Theme - Birthday
Scribbles Design: Birthday
Watercooler Wednesday: Anything Goes
Simon Says Stamp Wednesday: Anything Goes
Stunning card, and fantastic step-by-step photo instructions, Kate! Your stenciled glitter panel is beautiful, and creating your sentiment as an embellishment is quite clever! Thank you for sharing your creativity with us at Watercooler Wednesday Challenges!!! -Donna
ReplyDeleteYour sparkly feature makes this so special, Rijacki - thanks for showing us your process! And thanks for sharing it with us at the Simon Says Stamp Wednesday challenge!
ReplyDeleteWowsers, love how you've created this glitter panel and those stamped flowers behind the panel are a great touch. Thanks for joining in the fun at the Watercooler Wednesday Challenge this week. Tristan DT
ReplyDeleteVery sparkly creation for sure. Love the glittered panel with the little pansies peeking out behind. Thanks for joining in the Sparkle N Sprinkle Creative Challenge.
ReplyDeleteWow this glittering birthday card is excellent and bewitching. Thanks for including all of the instructions as well. Looking forward to see you more at Seize the Birthday.
ReplyDeleteBarbara DT member
SOOO pretty! I love the glittery panel you created - thank you for showing us all your steps! Thanks so much for joining us at SparkleNSprinkle Creative Challenge this month!
ReplyDeleteHugs!
Jess - DT Coordinator
www.freshybjess.ca
AWESOME tutorial, thank you for sharing. Thank you for participating in the Sparkle N Sprinkle challenges. DT Melanie
ReplyDelete