

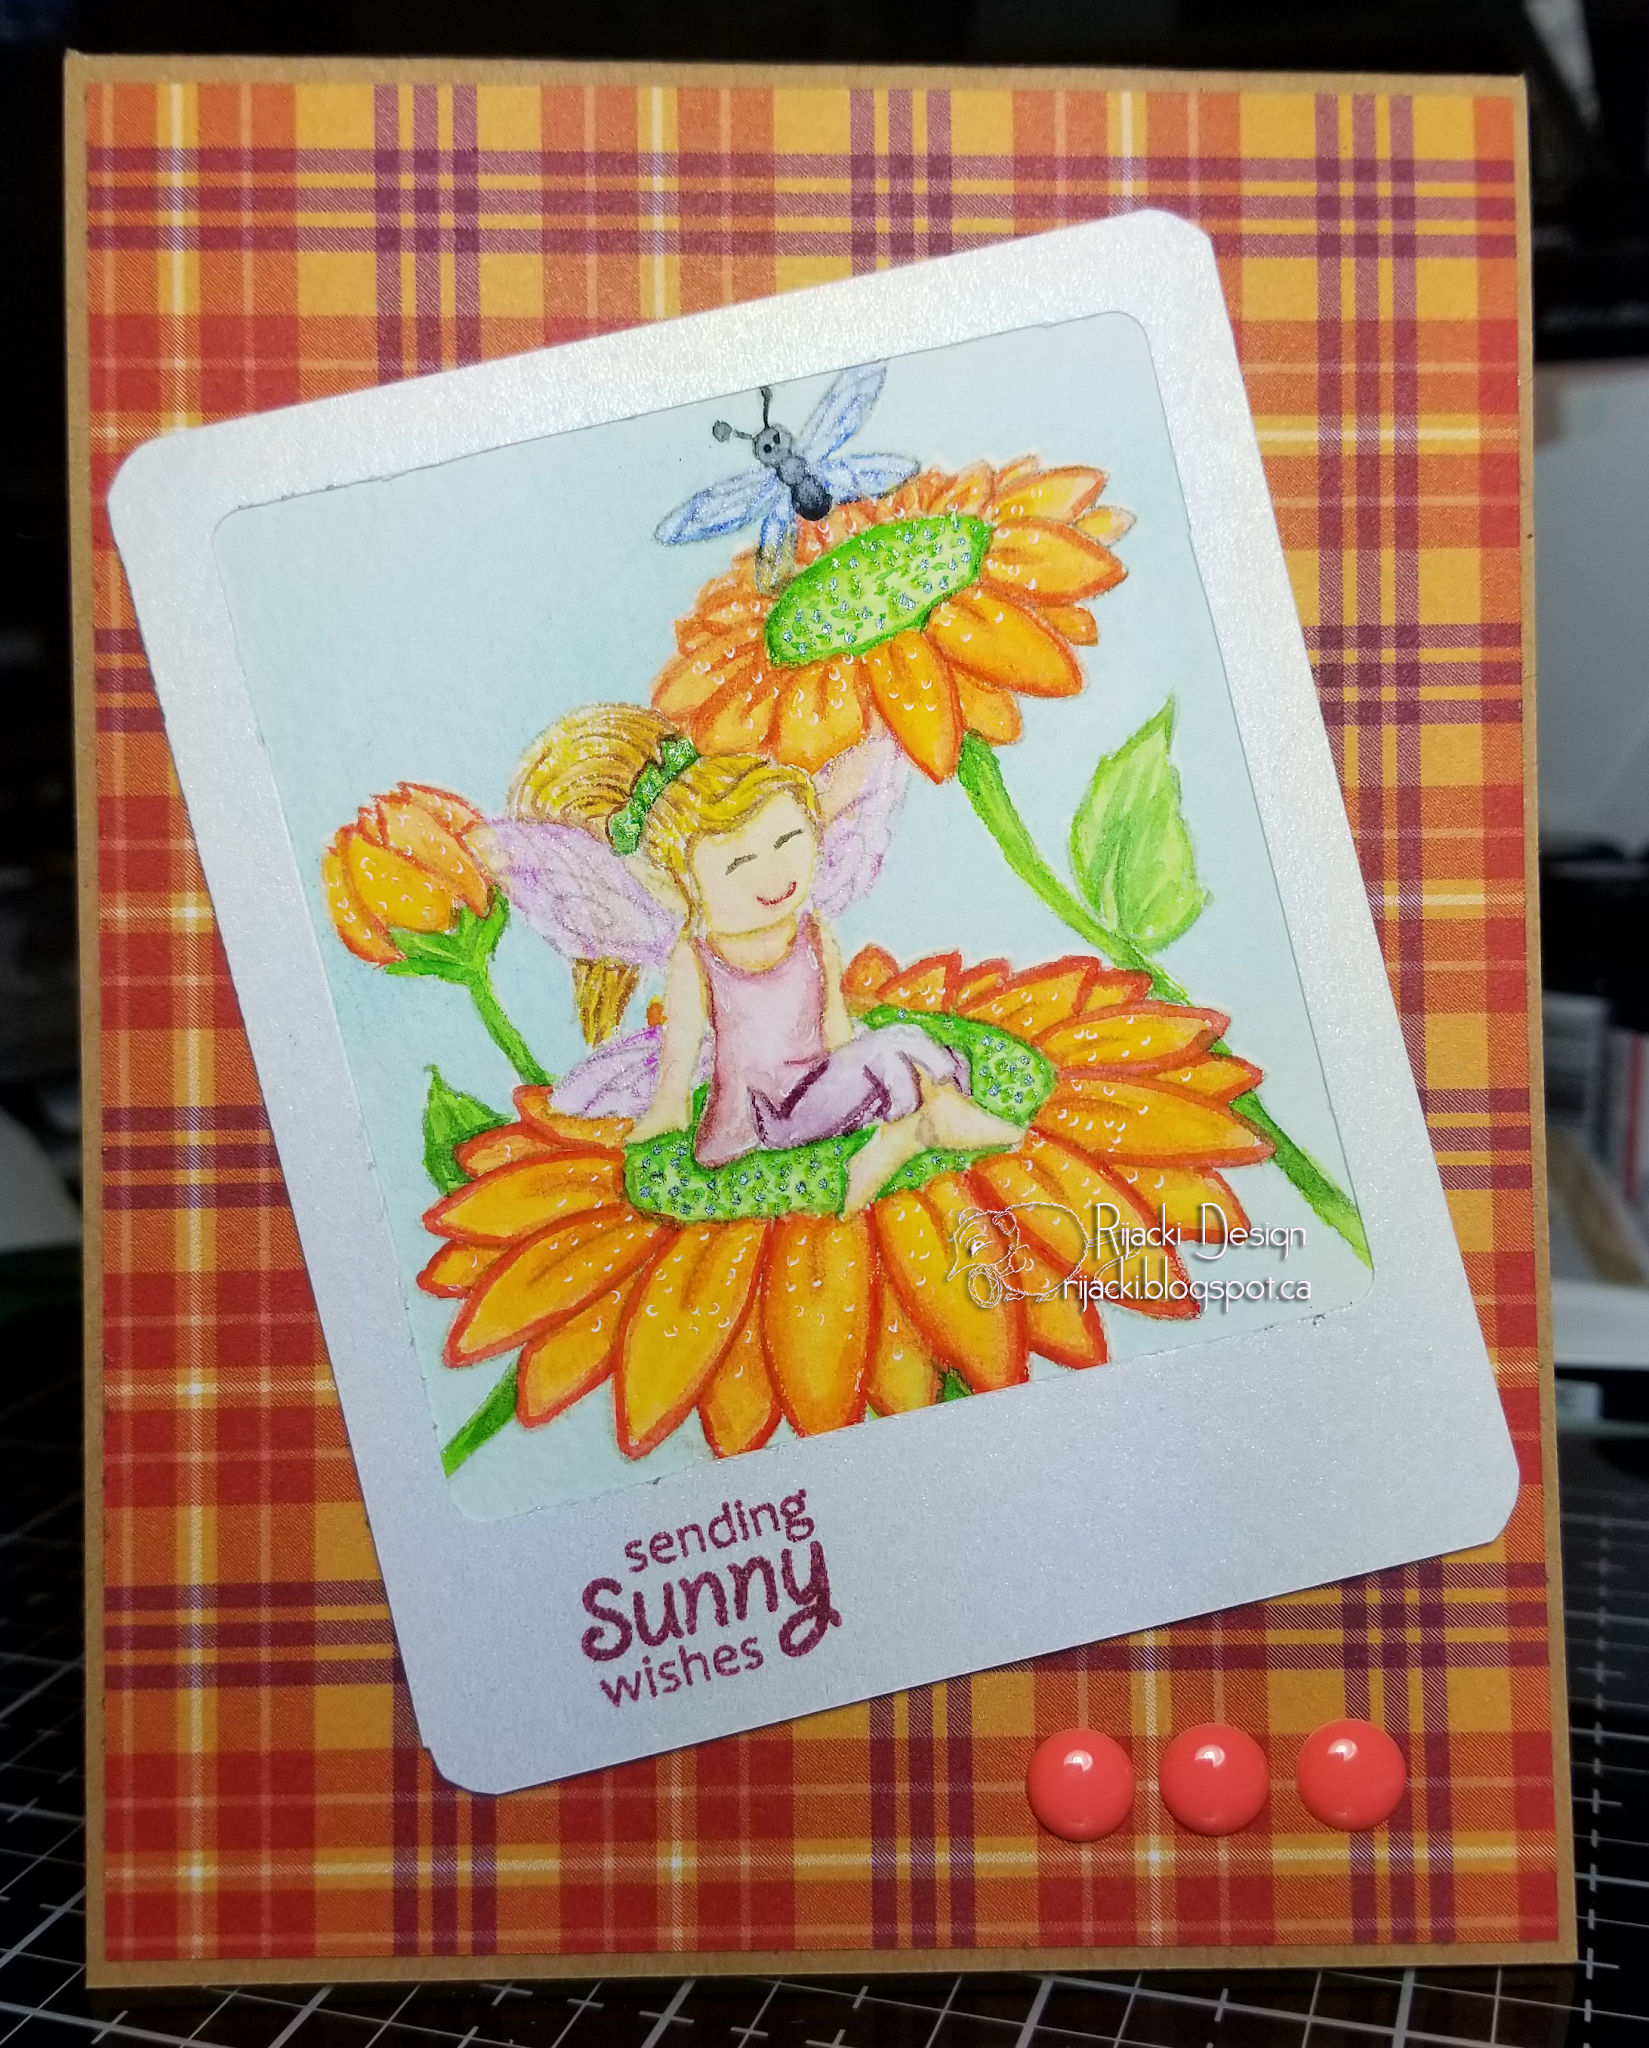
As we are deep in Autumn moving into the chill of winter, I decided to make a sunny card. I used two Kraftin' Kimmie stamp sets with masking to create a watercolour scene for a mock-photo. Sending sunny wishes!
Putting It Together
I love masking but it does take a bit more work to design the layout and set it up. First comes and idea and then....

My idea was to put a fairy on a flower, so I stamped the sitting fairy on masking paper. Any thin paper with a removable adhesive on the back works for masking. Masking paper is convenient but full-adhesive Post-It notes or even removable adhesive on the back of thin printer paper works well, too. A single package of masking paper can last a long time if you save and use the scraps for smaller stamps like this. The colour of ink doesn't matter, you can even have a bad stamping as long as the outside line is visible.

Masking does require fussy cutting. Trim close to or on the outer line. It's easier to cut away inner areas because you can just snip into that area. As long as you have the parts, it doesn't matter how they look.

After stamping and fussy cutting all the bits, you can move them around to work out the layout. Masking paper has a release sheet covering the adhesive so it makes it easier to work with the bits before you remove that.

Start stamping with the item(s) that are on the top/front. When masking, you're working from the front to the back.

After stamping the images, cover them with the mask. If you're using masking paper, this is the time to take off the release sheet. Match up the lines and smooth the mask down to cover the stamping.

Then put the next lower stamp in position over the mask. If you look up to the dragon fly at the top, I often don't mask the thin lines like stray hair bits or antenna.

Stamp directly over the masking but leave it there if you have more layers or want to do a background.

You can add a mask and stamp other items behind.

If you want to do a blended background, cover each of the stamp layers with masks. I have also done stencilling as the background with this technique.

Carefully lift up the masks. Sometimes it's easier to pick up layered masks together.

With the masks removed, the stamped image is ready to be coloured with each item in the right place in the picture. I stamped the images with Terrific Taupe to do a "no lines" colouring.

Masks are often reusable. I put them on the back of the card with the stamps so I know where to find them and to keep them from getting grungy. If a mask rips, don't worry. Keep the parts and piece them back together on your next project with them.

I stamped on watercolour paper because I wanted to do a bit of watercolouring. My favourite watercolours, Daniel Smith, are very expensive but, since I don't use them expensively I can't convince myself to buy a lot of tubes. So, I use the sampler cards. The smallest of the paint tubes (.5ml) range in price from $7-$15 US each depending on the materials in the paint (some of their paints have actual ground gemstone), but a full 238 colour card set costs less than $40. There are some smaller card sets that cost less. To use the sample dabs, simply wet them and use them. As I find which ones I use more, they go to the top of my wishlist for tubes.

I like to use water brushes. There is a reservoir in the handle for water that trickles down the brush or streams if you press on the sides of the barrel. I still put a drop or two of water on my work surface and use it to thin droplets of paint or control how much water I'm adding to the paint dabs on the sample sheet. Pental Aquash water brushes are very good quality.

When I finished painting the scene, I used the frame punchboard to create a Polaroid looking frame and stamped a sentiment with Berry Bliss. For the background, I used a new Stampin' Up paper and added Kimmie dots and a kraft card base.

Inside, I added another sentiment along with a strip of the plaid and a dragonfly coloured with pencils and a little added iridescent shimmer.

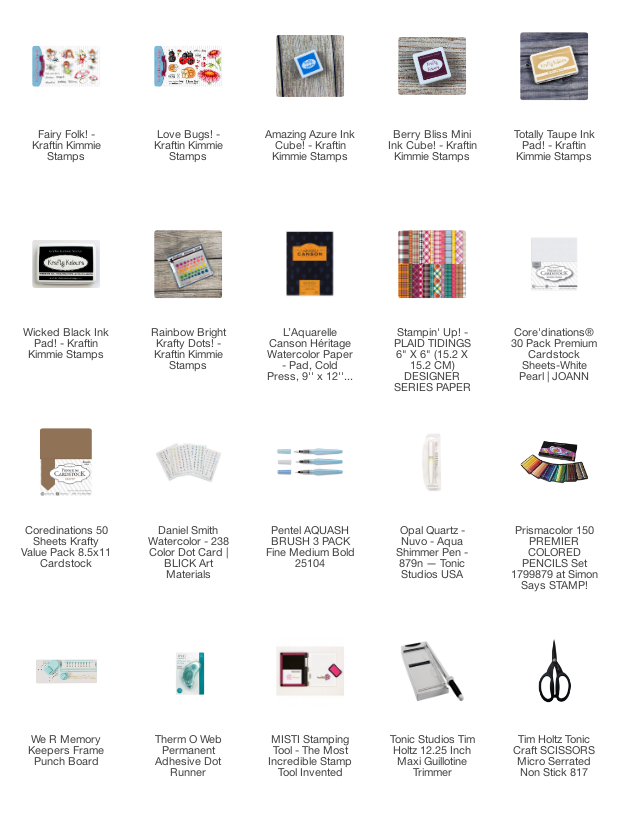
Supplies
No comments:
Post a Comment
Thank you for your comments. I do read every one. Your comments help me to grow as an artist. It warms my heart to see wonderful comments and constructive criticism.