Birthdays are special, filled with rainbows and magic. My magical card features a wizard from Newton's Nook coloured with Distress markers conjuring a birthday greeting filled with Spellbinders die cuts and embossing, a glittery Simon Says sentiment, and an alcohol ink rainbow.
Putting It Together
I love playing with alcohol ink. It's mentally freeing in many ways 'cause it does what it wants and you sometimes just have to watch the magic.
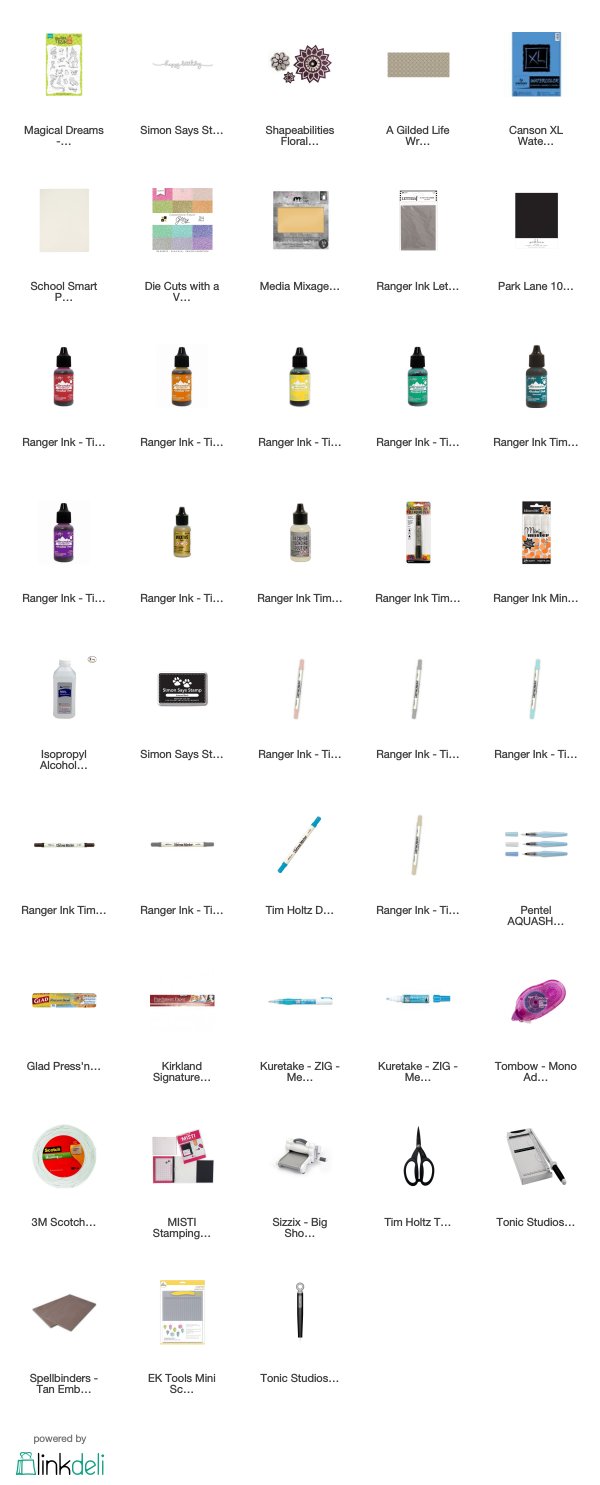
I started with a posterboard panel cut to 5 1/2" x 4 1/4" (A2) and lined up rainbow colours from my growing Ranger alcohol ink stash: Watermelon, Sunset Orange, Sunshine Yellow, Clover, Mermaid, Sailboat Blue, and Purple Twilight. I also added Gold mixative, Blending Solution, and 99% Isopropyl alcohol.
If you want to see how I created the panel, I captured a video of the process: https://youtu.be/rJDUiH04tuE.
(I'm still working on video technique but hope to do more. I babble or am totally silent. At least I didn't fart in this one. *laugh*)
I decided to use the rainbow with the current Newton's Nook challenge (and a birthday challenge with optional rainbow which is why I was thinking about rainbow colours) so had to figure out how to fit it into the sketch.
Before cutting my alcohol ink panel (eeeeep!), I did a dry fit of the idea that rumbled in my head while I was at my day job and far from my craftroom. I used two panels of scrap white laid over the rainbow panel in my idea for the layout. My original intent was to have the wizard on a bubble with everything off the bubble cut away. But the 'flag' below the circles was still giving me issues.
I decided to resolve that later and went on with the colouring. I stamped the wizard with black on watercolour paper and coloured him with Distress markers and waterbrushes. I had Gandolf the Grey in my mind while colouring him. I also wanted him fairly neutral so he wouldn't compete with the riotous rainbow background but would stand out.
And then my bubbles morphed into Cut, Fold, & Tuck die cuts 'cause I just can't have it too simple, can I *laugh*. I used translucent paper for the die cuts for a more diaphanous look. And then, while playing with a dry fit, I realised my wizard is the 'flag'. I die cut the "happy birthday" from glittery cardstock and did have the idea of a thin strip of black under it, even though I didn't do that until assembly.
Cutting a panel like this can be just as "traumatic" as cutting into a single sheet of very loved patterned paper, or maybe a bit more. But, it is made to be used and, if you cut it, you can use it in more than one project :) I still fret while I am measuring and preparing to bring down the chopper on the guillotine (snicker-snack ka-chunk, off with her head!).
I used a Spellbinders metal texture plate with the tan pad to emboss the grey. I added a thin-edged black mat to the rainbow panel for more definition. I also added that black thin strip under the glittery sentiment. Even though the sentiment is larger than the strip, the strip gives it definition and visual 'pop'. While everything else is adhered flat, I used foam mounting tape for the wizard so he stands out more. Even though you can't see it from the card front, I used a black card base to tie in better with the colours.
Inside, I added another strip from the rainbow panel to the bottom with a thin strip of the back showing at the bottom like the thin matting of the front panel. When using a black cardbase, I always add in a white or light coloured panel to make it easier to add a personal sentiment. On my white panel for this card, I added a sentiment and a couple magical props. I used Distress marker to add a touch of colour to the props to let them stand out.
Supplies
Challenges
Inky Paws: Sketch #102
Seize the Birthday: Rainbow
Dies R Us: Birthday
Watercooler Wednesday: Occasions
Outlawz Festive Fridays: Theme - Birthday
Seize the Birthday: Rainbow
Dies R Us: Birthday
Watercooler Wednesday: Occasions
Outlawz Festive Fridays: Theme - Birthday


Gorgeous rainbow of alcohol inks, your panel looks fantastic and TFS your process with putting this card together. Glad you could join us at Seize the Birthday, Cathy x
ReplyDeleteOh wow! Your rainbow background looks spectacular with the wizard! So glad you shared this darling card with us at Inky Paws Challenge!
ReplyDeleteHugs,
Debbie
Magical background, indeed! Love the bright colors. Thank you for joining us at the Inky Paws Challenge. Hope to see you at the next challenge, too. :) Bobbi
ReplyDeleteOMG very cute and LOVE the bright colors! Thanks so much for joining in the fun at our Dies R Us challenge! Good Luck and we hope you’ll come back often.
ReplyDeleteDarlene
DIES R US
DAR’S CRAFTY CREATIONS Please stop in for a visit!
I love how the panel turned out! Thanks for joining us at Watercooler Wednesday Challenges!
ReplyDeleteLove your magical card..that panel is so bright and beautiful! Thanks for joining us at Dies R Us!
ReplyDelete