Spring is the time of rebirth and a celebration of fertility and reincarnation. Christians celebrate Easter and many cultures celebrate fertility returning, a rebirth of the land. My card features die cuts and stamps from Impression Obsession along with some paper weaving.
Putting It Together
While pondering my crafty supplies while I was at my day job, I got a flash of an idea that I wasn't sure was going to work until I got to the halfway point and it was. I love it when an idea in my head ends up working so well. I do, though feel a little like this is a "kitchen sink" project (as in, everything is on there but the kitchen sink) with all the stuff involved.
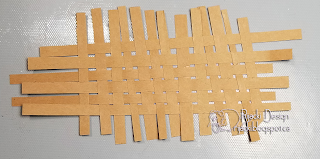
The egg-ish shapes of the tops of the balloons was what made me think of a basket with coloured eggs. For whimsy, I used plaid paper for the flowers and leaves. I cut several 1/4" (ish) strips of kraft for the basket.
I cut some of the long strips in half for the uprights since I wanted the basket to cover a little less than half of the card front. I used repositionable adhesive on the first crosspiece as I passed it above and below each of the uprights. I started in the middle since I thought it would be easier to keep it together.
I added strips above and below, alternating the weave.
I continued until I had a woven mat about the size I wanted. If I do this in the future, I will have longer uprights. It was actually a pain keeping it from falling apart on the edges, but the weave does hold it all together without glue (other than my helper repositionable adhesive to start). It's been a long time since I've done any weaving.
To keep the top and bottom piece from sliding off, I folded the uprights over the strip, alternating above and below.
I used a combination of mini glue dots and liquid glue to anchor the uprights to the woven crosspieces. If I had longer uprights, I could have slipped the folded part into the weave which would have looked better.
The finished weave fit my mental image wonderfully.
Once I was able to dry fit the balloons as eggs, flowers, and bow with the weaving, I knew the idea in my head was going to work. I just needed a couple other elements. I had thought of using a subtle embossing folder on the weaving for some added texture on the basket but forgot about it while I was doing the other stuff.
I cut grass from the most annoying paper to die cut. I'm not sure if this is mulberry paper. I got it in a mixed pack of various papers at an art store. It feels (and smells) like handmade paper. I actually like the smell of it it's almost floral. But, I used it since I thought it would have the perfect texture for basket grass.
I also die cut a sentiment word. I dry fit everything together to see what else I needed. I had thought I might need a "handle" on the basket, but I think that would have cluttered it too much.
I die cut the "sunshine' from black and a sunny yellow.
I stacked the yellow on the black then used repositionable adhesive to adhere it to a scrap strip. This gives me a handle to be able to emboss without burning my fingers.
I squished the Versamark pad directly on the die cut.
I then dumped clear embossing powder on the die cut. I held on to the strip and heat set the powder. I repeated twice more, letting it cool down between.
The triple embossing gives the die cut a rounded high sheen with a great dimensional look.
After trying and failing to get an even coat of adhesive on the balloons I cut earlier, I turned to the 510 Xyron. It's retired so I got mine for $5 Canadian (including some unopened refills!) last summer at a 'garage' sale hosted by a local scrapbooking store. I used this Xyron to add adhesive to a panel of cardstock.
I die cut new balloons with the release paper on top.
I removed the release paper and dumped glitter on each. When doing glittering, I use a tray lined with a dry Swiffer sheet and a coffee filter to help contain the mess.
Doing the pouring into a coffee filter makes it super easy to pour the excess back into the jar. Then just wipe the coffee filter on the Swiffer sheet to remove the stray bits.
For each balloon, I used my fingers to burnish the glitter into the adhesive.
Microfine glitter works best for this technique. Elizabeth Craft Designs Silk microfine glitter and Glitter Ritz are the two brands I have.
I used a glue pen to add adhesive to the bottom of the first strip of grass.
I dry fit the sentiment word and the basket to fit the back grass into place on a panel of linen look cardsrock.
I then used the dry fit sentiment word to place the stamped sentiment pieces with the Misti. After picking the stamps up on the door, I moved the die cut sentiment (the grass is glued) before stamping.
I then placed the balloon eggs on the back grass adding the front grass over them, also only glued on the bottom edges.
I then put the basket into place (forgetting that I wanted to use an embossing folder on it, but that might have been too much texture, so a good thing I forgot) and used mini glue dots to adhere it in spots. I then layered on the flowers, leaves, bow, and sentiment die cut. I also trimmed the sides to fit the background but let the flowers and bits of grass hang over the sides. I adhered the flowers with mini glue dots just at the bottoms, leaving their top edges free. This gave them a bit more dimension without popping them up. I adhered the die cut bow just in the middle for the same reason.
I added a glitter enamel dot to the "sunshine" for the tiddle (dot over the "i"), a gem to the bow, and mosiac dots for the flower centres. I added everything to a kraft cardbase. The two shades of kraft work wonderfully together here.
Inside, I added a strip of the rainbow plaid and another sentiment on another panel of the linen look cardstock. I'm glad for the Misti because I needed to to a repeat stamping on the textured background.
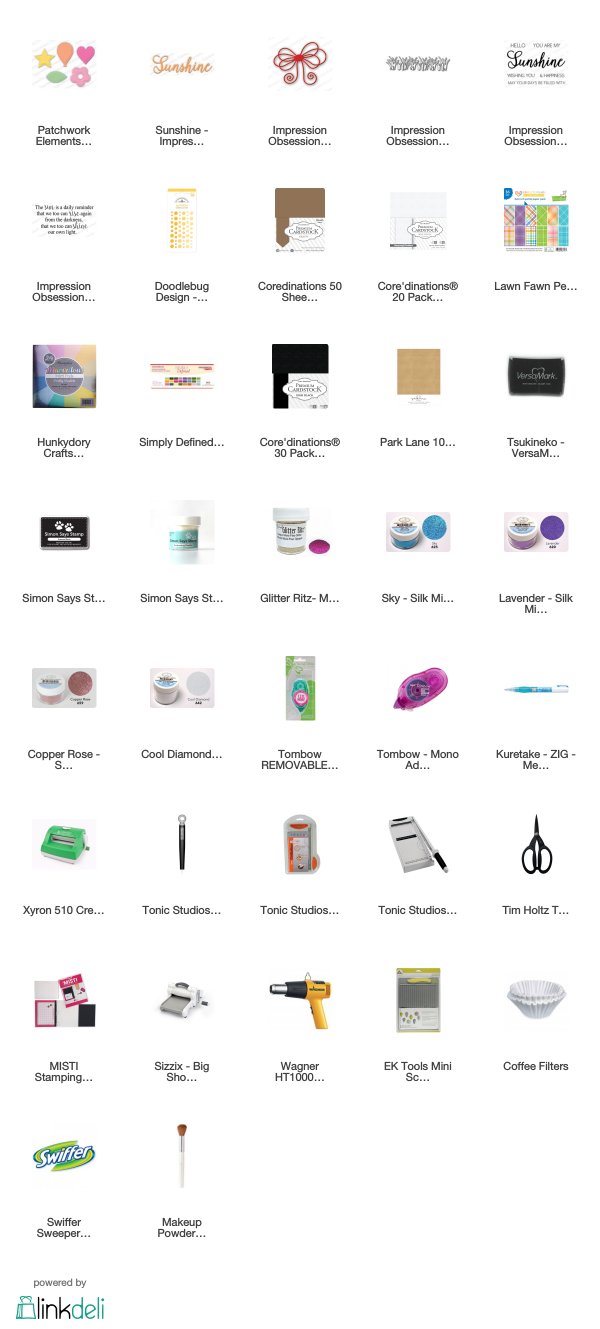
Supplies
Challenges
Impression Obsession: Happy Easter
Dies R Us: One for the Ladies
Outlawz Festive Fridays: Theme - Spring Flowers
Tuesday Throwdown: Pastels
Crafty Friends: Spring Colours
Tuesday Throwdown: Pastels
Crafty Friends: Spring Colours


WOW what a fun and fabulous creation! Thanks for all the details ... looks AWESOME! Sure to bring a smile! Thanks so much for playing in our ‘One for the Ladies’ challenge at Dies R Us. Good Luck and please come back again soon!
ReplyDeleteDarlene (DRU Blog Leader)
DIES R US CHALLENGE BLOG
DAR’S CRAFTY CREATIONS Please stop by for a visit.
This card is so pretty and beautifully created! You went to a lot of work on this one, and it turned out gorgeous! Thank you so much for sharing this with us at Tuesday Throwdown this time!
ReplyDelete