

As part of a resin challenge, I decorated a stainless steel tumbler from the dollar store with a moon lit city scene. Resin casting on a curved surface is not easy, but the end product can be very fulfilling.
Supplies


These are not affiliate links just the products I use and where you can find them, too (if they're not retired).
Resin on a curved surface is a pain in the tuckus, it needs a lot of attention for longer than most resin casting.

I started with a stainless steel tumbler from a local dollar store.

I wiped down the tumbler with a wet wipe to clean it.

To avoid getting any resin in the cup, I covered the opening with Press and Seal.

I used washi tape to mask off the top of the tumbler.

I die cut the city scape from adhesive sheet and applied it to the tumbler.

I took off the release paper and poured glitter over the adhesive.

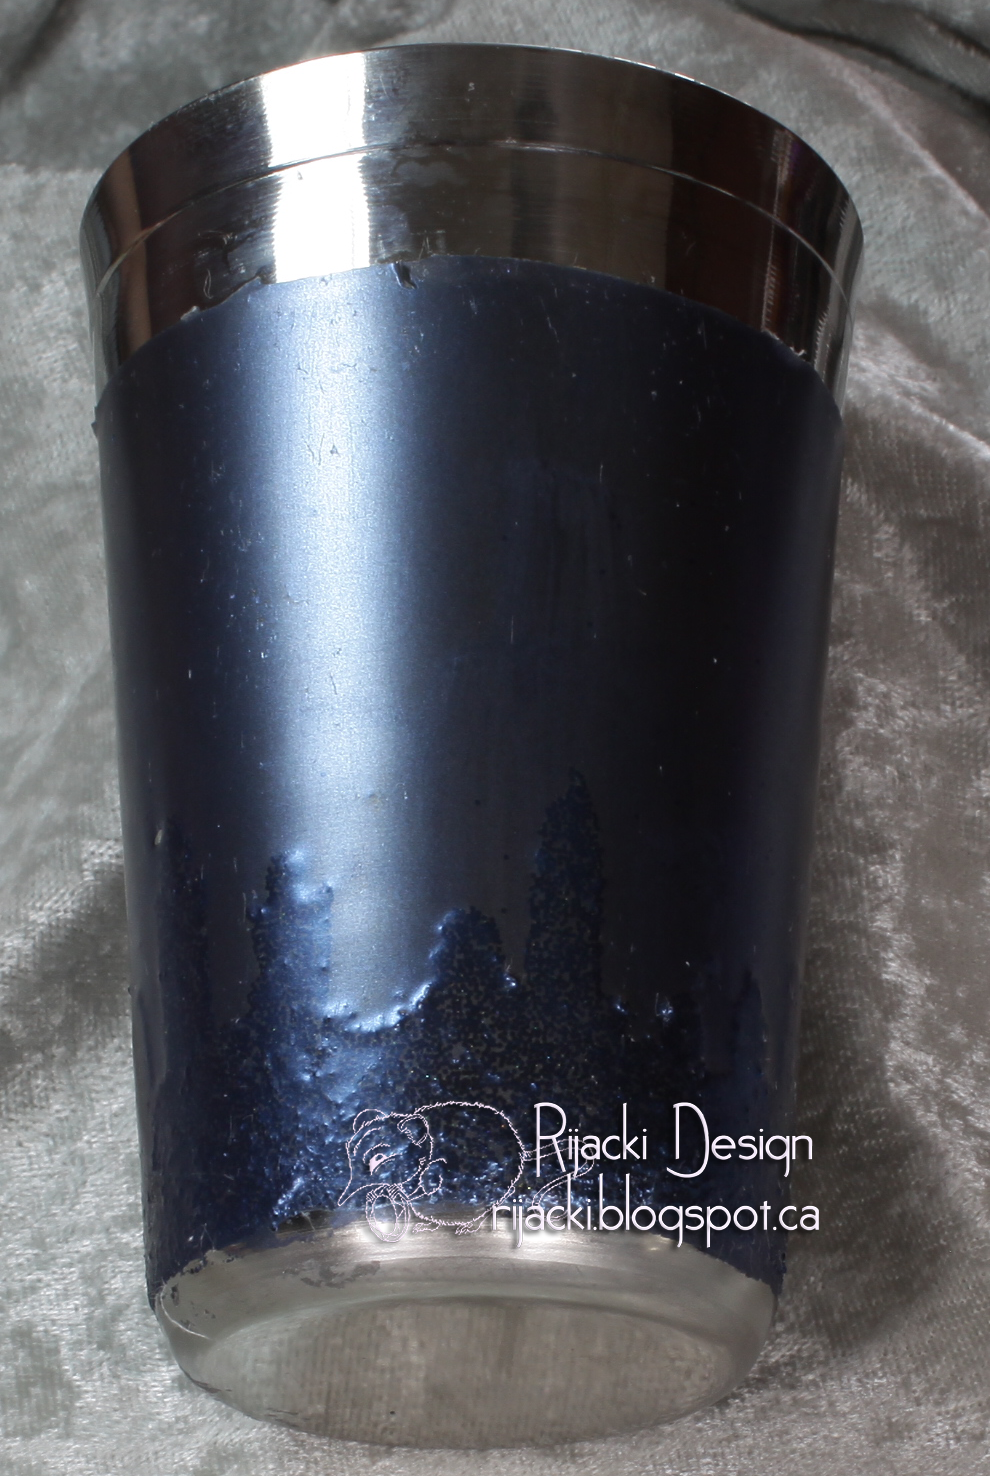
The city scape in Black Soot glitter.

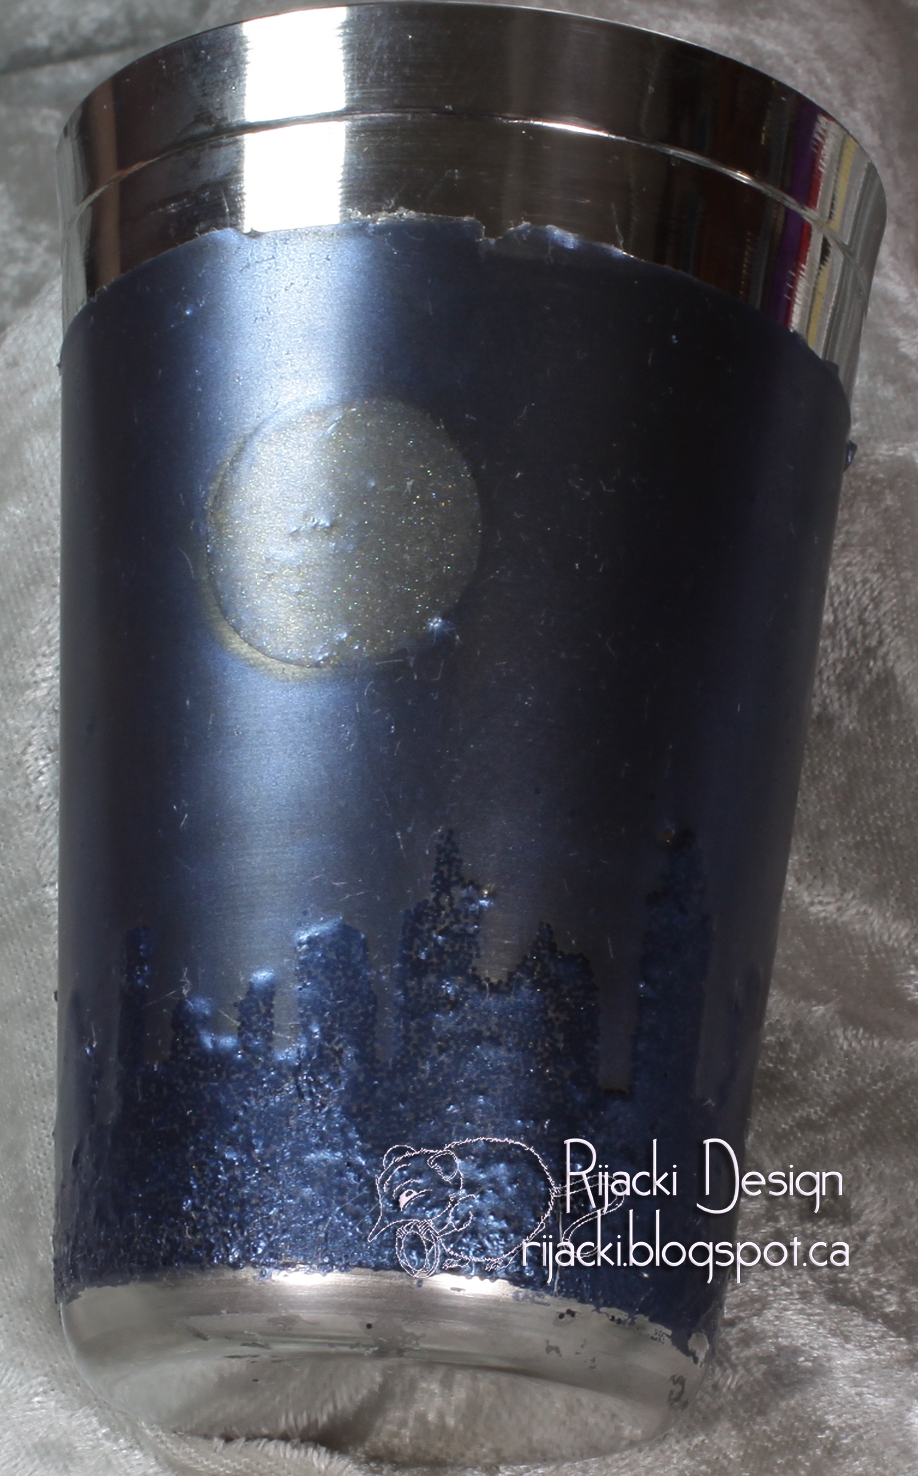
I added a moon with Cool Diamond and a circle punch. I also added some masking to the bottom of the cup.

Using a foil pan, Styrofoam from packaging, and toothpicks, I set up a place to add the adhesive on the curve.

I mixed up the Ice Resin and slowly added it to the tumbler, turning the tumbler as I added resin. I chose Ice Resin because it it very clear but also a bit thicker since it's formulated for doming properties.

For the first hour or so of curing, I kept turning the tumbler to prevent drips forming. You can speed up this stage by letting the resin get closer to the end of the pot time before pouring it on the curved surface. Pot time is basically the amount of time resin is liquid-y enough to pour. For this type of project, you want the resin liquid enough to flow very slow around the curve like thick syrup. Turning the tumbler ever few minutes prevented big drips from forming and curing on the side facing the bottom.

Once the resin was no longer forming drips (and I didn't want to babysit it more), I put it upright on my parchement covered work surface.

I let it cure a few hours until it was sticky but the resin wasn't liquid at all. I mixed True Blue and Carbon Pearl Ex and brushed it on to the sticky resin with a cheap soft brush.

Since the resin was still sticky when I added the Pearl Ex, it bonded with the resin giving the surface a matte look with a sheen.

I removed the masking and Press and Seal from the top and bottom and removed resin that had snuck under the tape.

I used some bleach with a brush to wipe some of the colour off of the moon. I then left the cup on my shelf to cure overnight. It will continue to cure for a couple days.

I cover my whole work surface with kitchen parchment paper for two reasons. It protects my work area from errant spills, and it makes clean up a snap. I simply wad up the parchment with wet wipes, toothpicks, gloves and anything else I can't re-use. I usually use my gloves for more than one project, simply wiping them with a wet wipe, but this time they got really gunky.

The tumbler from the top. What looks like a distortion at the top is actually a reflection from the lamp.
Challenges
Resin Obsession: Resin Tumbler Challenge
Simon Says Stamp Wednesday: Anything Goes
Wow! That is amazing!! Love it!! Great work!
ReplyDeleteThank you very much for joining us this week at the Simon Says Stamp Wednesday Challenge Blog!
hugs...
Melissa