March is already here! We're marching to Spring and I can't wait for the wonderful fresh fruits to come! I paired the Sheepski Designs digital stamp, Strawberry Season, with Beautiful Basket dies from Tonic Studios and coloured with Tombow pencils on kraft. This basket is my inspiration project for the March Sheepski Designs blog challenge with the theme of die cuts and/or punches.
SheepSki Designs Challenge Blog
SheepSki Designs Etsy shop
SheepSki Designs FaceBook group
Putting It Together
Tonic Studios has "Wednesdie Specials" which often have wonderous die bundles for good value for one day only. A couple months ago I got the Beautiful Baskets bundle which included the base and three different side panel sets. When I was looking through my Sheepski Designs stash of the ones I hadn't yet used, Strawberry Season begged to be paired with a basket.
I resized the image and printed on the kraft cardstock I wanted to use for the basket. I checked the sizing by putting the die on the image to make sure it would fit.
Even though I knew the die would trim off the sides of the image, I coloured it all anyway so I could choose which part to include. I used Tombow coloured pencils to colour. The colours are gorgeous, but the pencils aren't as soft and creamy as the Prismacolor. I still like to use them from time to time.
I die-cut some of the sides and did a dry fit to find the right backing for the openwork. I also was deciding if I wanted to do the inset on the flanges, too. I used a glittered cardstock behind the openwork on the panels for a touch of sparkle. I had considered using vellum (and even cut the vellum) but it just didn't look right. I also considered leaving them open, but I didn't think that would look as good with the solid image panel. Always so many decisions while crafting.
I used a Nuvo glitter marker to go over the edges of the image panel to add a touch of sparkle.
I thought this was going to be all the pieces, but ended up cutting a few more and not using the handle pieces. This was a lot of die-cutting. My Big Shot got a good workout on this project.
Even though I now have a Cricut Maker, I still like die cuts with the Big Shot. Plus I have a lot of dies I haven't used yet. I'm a sucker for a sale sometimes especially when the item on sale is too pretty to pass up.
I added the side panels to the hexagon base with double-sided tape.
To cover up where the sides were added, I cut a slightly smaller hexagon with stitch detail and added it over the side tabs with more double-sided tape.
To build the sides, I used double-sided tape on the inner side of the flange and tape runner on the outer.
The white backs of the glittered cardstock was bugging me, but it wasn't until I put up the two sides next to the image panel that I decided the white needed to be covered. Back to the Big Shot to cut five more panels. More work but it looks so much more finished.
I got the basket done and then decided I didn't want to use the handle. The basket is 4" across each hexagon side at the bottom and 6" at the top. It would be great to hold some light bottles or even a cellophane bag of yummy treats for a gift.
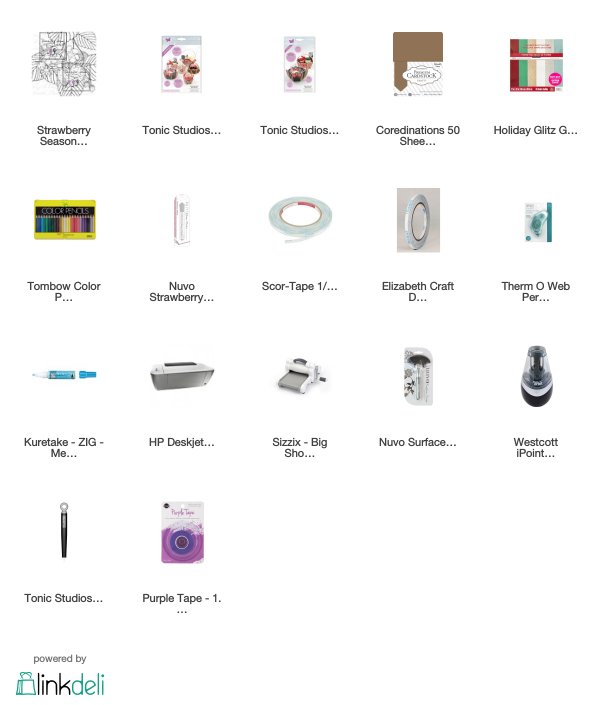
Supplies
Challenges
Be sure to come join us in the Sheepski Designs blog challenge. For March 2020, the theme is Die Cuts and/or Punches.
Outlawz Twisted Thursday: Hoodie Hoo! (Spring is coming!)
Creative Moments: For the Girls
Simon Says Stamp Wednesday: Anything Goes
Through the Craftroom Door: Anything Goes
Outlawz Twisted Thursday: Hoodie Hoo! (Spring is coming!)
Creative Moments: For the Girls
Simon Says Stamp Wednesday: Anything Goes
Through the Craftroom Door: Anything Goes


Amazing project Rijacki, so much work went into this resulting in a beautiful strawberry basket
ReplyDeleteAndrea x
What an amazing project to share and a fabulous tutorial to boot .Well done with recipe and photos .Thanks for sharing and joining in the anything goes challenge from TTCRD . https://ttcrd.blogspot.com/
ReplyDeleteGood luck with your entry and hope we see more of your talent here again soon .
Shirley-Anne DT
https://shirley-anne-stampingforjoy.blogspot.com/
WOW! Beautiful. Love your creation. Thanks for sharing with us at Creative Moments.
ReplyDelete