

Snow has always been magic for me. Snowflakes on my nose and my lashes really are one of my favourite things. I created a mixed media piece with die cuts, embossing folder, stencil, and a bit of crystal accent.
Putting It Together
I am really missing the snow this year. It's a very mild winter in my part of BC this year.
Late in the evening, as I was unpacking new stuff I got, I noticed the A2 embossing folder fit nearly perfectly in the 5x7" frame I got on clearance. This started my idea with snowflake dies, Winter and Magic dies, and the snowflake 3D embossing folder.

I first applied a thick layer of gesso on the frame with a silicone brush. For this job, the silicone brush is better than a palette knife or bristle brush.

For a bit of texture, I laid a stencil over the gesso and pressed it down with deli paper.

I then had to let the textured gesso dry fully. I left it overnight just because I had run out of my time to craft.

The next day, I used Cosmic Shimmer, Pearl Lustre, to go over the frame and give it some shine.

For the embossed panel, I took a white panel and used a blender tool to cover it with Cornflower Nuvo Mousse.

After letting it dry, I ran it through the Big Shot with the embossing folder. To accent the embossing, I used more Cosmic Shimmer: Pearl Luster, Enchanted Gold, and Silver Dream.

The panel is so shimmery.

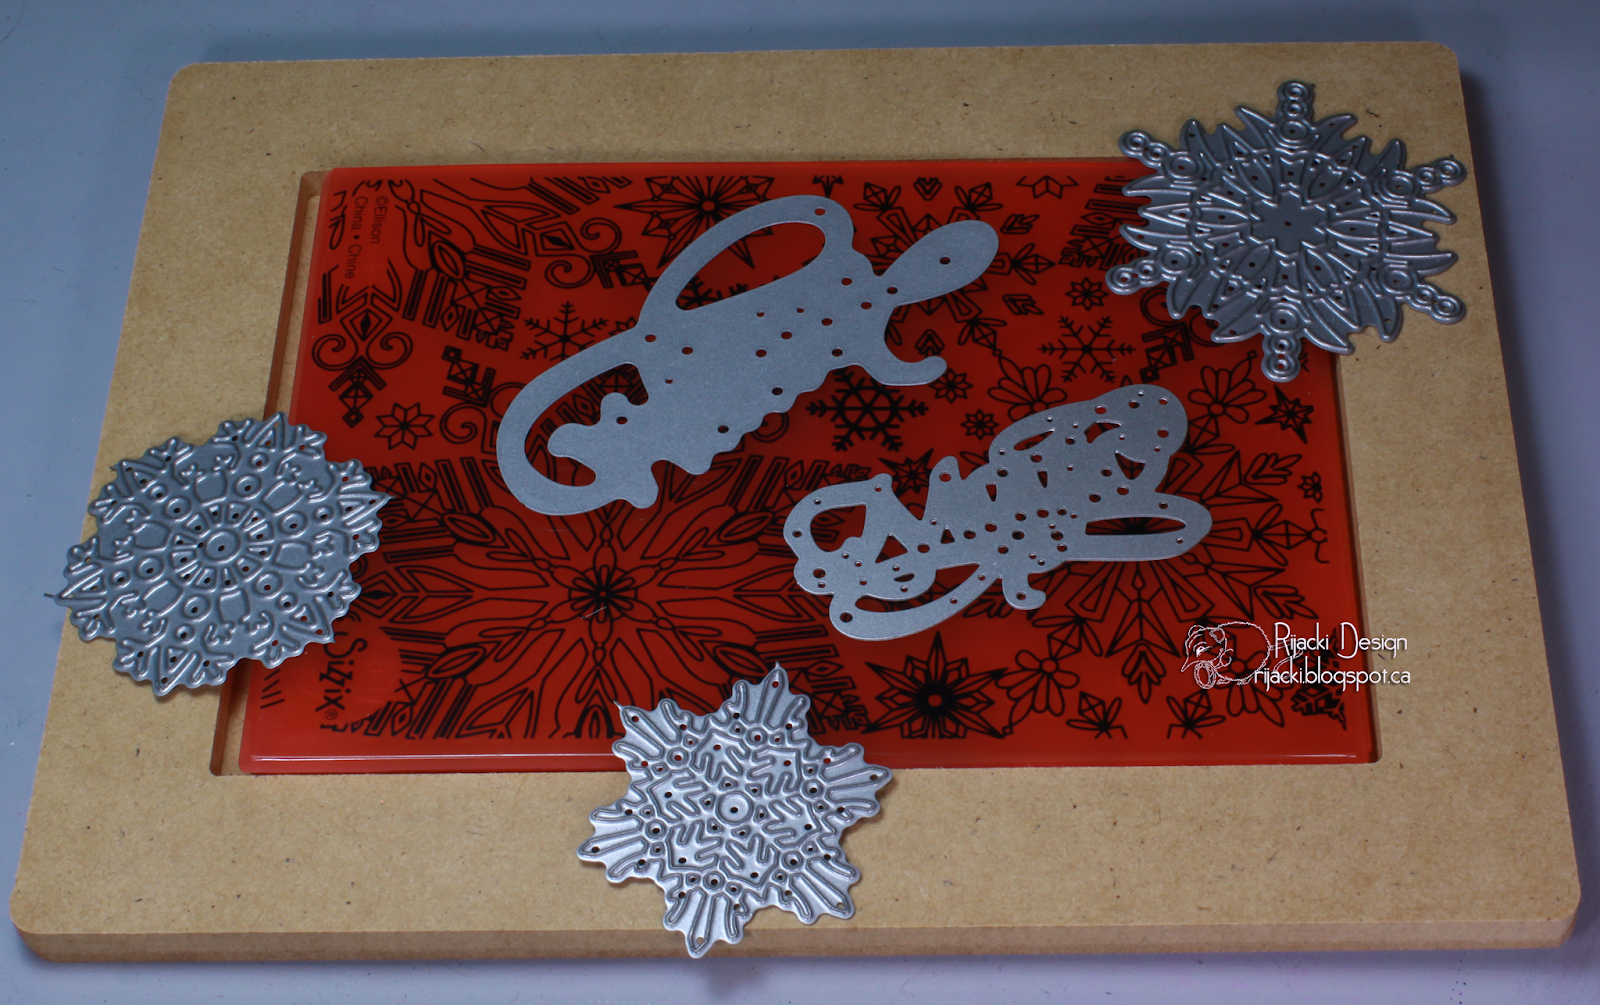
I die cut snowflakes, using a toothpick to weed out all the bits.

I die cut snowflakes from the three of white-ish Neenah metallics.

I die cut the words from silver holographic foiled cardstock and dry fit the words and snowflakes with the background and frame.

It needed something more, so I added some Aurora Borealis cupchain and crystal to the dry fit. I decided this works and would be my project.

I wanted to add the embossed panel before putting the frame together, to sandwich it between the frame and back. I put down a thin double-sided tape around the edge. To make it easier to position the panel, I used clips of the release paper perpendicular to the tape.

I positioned the frame over the embossed panel and then, when it was where I wanted it, I slipped the release paper out.

I used liquid glue on the back to add it to the frame.

I cut heavy white cardstock words to stack them with the holographic ones.
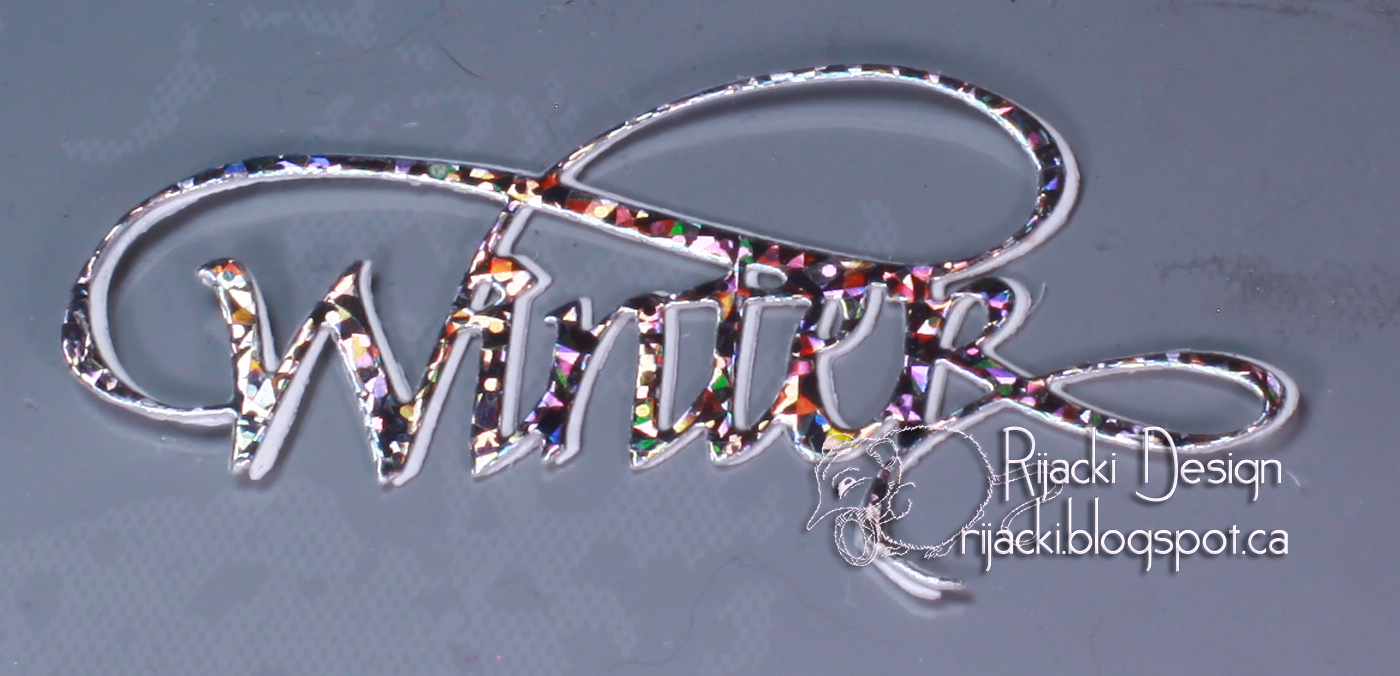
I used glue pen to stack the words and slightly offset them.

I used a flush cutter to trim the cupchain.

I used a thin double-sided tape to adhere the cupchain and glue pen for the snowflake, words, and the other crystal.
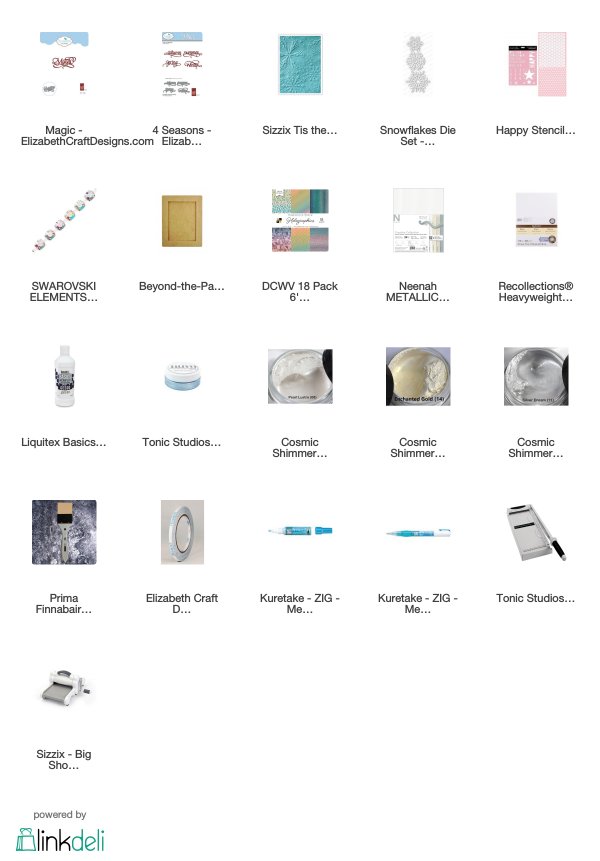
Supplies
Challenges
Creative Craft Cottage: Winter
Dies R Us: Anything New (3D embossing folder and Magic die)
Try It On Tuesday: Something New
Creative Moments: Anything Goes
Outlawz Festive Fridays: Theme - Anything Goes
A Bit More Time to Craft: Anything Goes
More Mixed Media: Blue
A very beautiful project, with lots of lovely detail and in my favourite colours! I'm afraid I don't miss the snow, pretty though it may be and lovely to be in when it is falling.
ReplyDeleteThank you for sharing with us at Try it on Tuesday.
Cath x
Simply GORGEOUS! What a fantastic project! Thank you for joining us over at Try It On Tuesday!
ReplyDeleteoxo Susi
WOW! Absolutely GORGEOUS! Thanks for the directions ... might have to give this a whirl myself! Thanks so much for playing in our ‘Anything NEW’ challenge at Dies R Us. Good Luck and please come back again soon!
ReplyDeleteDarlene (DRU Blog Leader)
DIES R US CHALLENGE BLOG
DAR’S CRAFTY CREATIONS Please stop by for a visit.
A gorgeous project with lovely details. Thank you for joining us at Try it on Tuesdays.
ReplyDeleteYvonne
Amazing winter project. I love the icy touch of it. Perfekt making of photos.
ReplyDeleteDear Greetings
Sabine
A gorgeous project full of winter sparkle.
ReplyDeleteThanks for sharing with us at Try it on Tuesday
Avril x
This is lovely and what a great tutorial- Thank you for sharing your creation at Creative Moments
ReplyDeleteLovely work. Thank you for joining the More Mixed Media challenge and A Bit More Time to Craft. Hope to see you again next time.
ReplyDelete