

O Tinsel Tree, O Tinsel Tree,
How silver are your branches?
O Tinsel Tree, O Tinsel Tree,
How sparkly are your branches?
Today we are celebrating the amazing CHRISTMAS release of ALL of the NEW October Kraftin' Kimmie Stamps!!!

ALL FOUR new sets are NOW available in the Krafty Shop! ANGELICA ANGEL!, EVANGELINE ANGEL!, MERRY & BRIGHT BIRDIES!, and REINDEER GAMES!


ALL FOUR new sets are NOW available in the Krafty Shop! ANGELICA ANGEL!, EVANGELINE ANGEL!, MERRY & BRIGHT BIRDIES!, and REINDEER GAMES!

Kraftin' Kimmie Stamps is celebrating the 8th Anniversary! As an ANNIVERSARY SPECIAL, all orders of $80+ get to CHOOSE one of FOUR FREE stamp sets!! (You are My Sunshine, Ewe are Amazing, Book Dragon or Christmas Blessings Sentiments!)
My card for the new release features Evangeline Angel, the set which was part of the Surprise Christmas kit for October!
In the 70's when I was but a young child, my mom's parents, my Opa and Oma, would host the Christmas festivities for the family and the house my Opa built in Anaheim, California. Every Christmas they would put up their tree, a wooden dowel with stiff wires as branches, wrapped with silver tinsel. I don't know if it was a store bought tree or one my Opa made. They had a colour changing spot light pointed at the tree which would rotate and bathe the silver branches in different colours. It was mesmerizing and a bit magical. I made my card today as an homage to that Tinsel Tree of my childhood.
The tree is embossed on acetate with silver and Evangeline is paper pieced with patterned papers for her pants and blouse with the rest of her body as watercolour pencil on watercolour paper. Her hat is glitter paper and there are accents of Liquid Pearls and Stickles on her wings and the tree. The sequins of the shaker represent the changing colour of the spot light on the Tinsel Tree of my childhood.

So let's have a big happy hop around the design team blogs and check them all out in action! Grab a nice hot beverage, sit back and relax while you hop around and enjoy all the amazing creations!!
Putting It Together
I got the idea for this card when I was doing some embossing on acetate for a different project. I thought about silver embossing on clear and memories of those childhood Christmases stuck in my head.

I cut a 5 1/2" x 4 1/4" panel of heat resistant acetate and embossed it with silver.

The back of the embossing looks really cool giving me ideas for a future project.

I stamped part of the image on a scrap of watercolour paper, making sure to have all her body parts on the paper.

Using red-purple and light peach watercolour pencils, I started her skin.

I used a waterbrush to blend the pencil and pull it into the rest of the area.

The blended skin.

I used watercolour pencil and waterbrush to finish her hair and eyes.

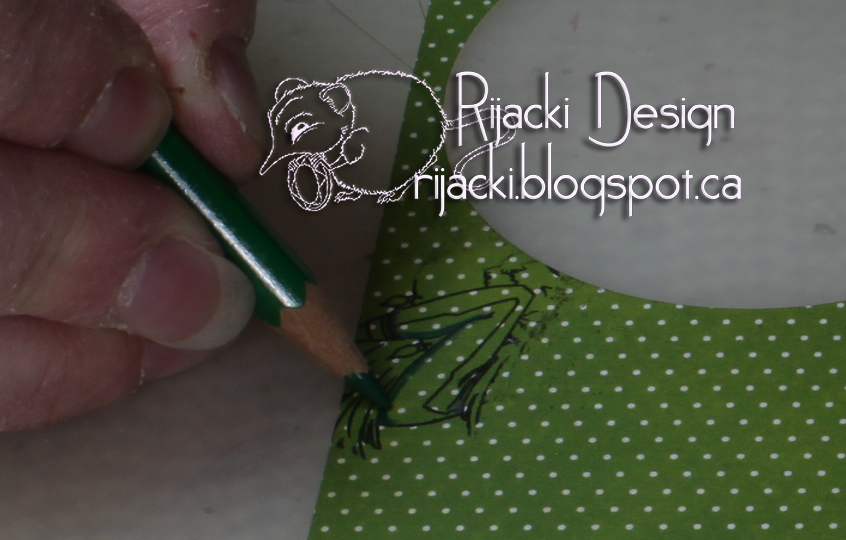
For her pants, I stamped her legs on a spotty green paper using masking to just stamp the area I needed.

For the blouse, I stamped on a golden paper, using marking to only stamp in the area I needed.

I added shading to the pants with watercolour pencil and waterbrush,...

... and fussy cut the pants.

I scribbled green watercolour pencil on my plastic work surface,..

... and used the scribble and waterbrush to colour the cut edges.

I used Zig glue pen to adhere the pants to the embossing.

I added shading to the blouse.

I fussy cut the blouse pieces and used the glue pen to adhere them. I also fussy cut the head, and skin areas and adhered them as well.

I stamped the star hat on glitter cardstock, fussy cut it, and adhered it to the panel.

I cut a 5 1/2" x 4 1/4" panel from a dark green Stardream paper and white soft finished cardstock. I then used two of the Spellbinder's dies to cut the inner areas. I planned to sandwich the clear panel between them.

I used the glue pen to adhere the Stardream paper to the front of the clear panel. The back of the pieced areas looks odd but cool.

I used a very narrow (3mm) strip of adhesive tape under the Stardream frame and glue pen where the frame areas were too thin.

I added the white frame to the back of the acetate panel.

The Stardream frame hides the adhesive to hold the white frame.

I added a thicker adhesive tape to the white frame..

To adhere the fun foam to make the shaker chamber.

I dry fit a background panel.

I added a mix of sequin colours,..

...and adhered the back panel. This makes a single piece for the shaker which can then be adhered to a card base easy peasy.

I added Liquid Pearls, Stickles, and Nuvo Glitter Drops to embellish the tree and the angel's wings.

I added a scrap of patterened paper to the inside of the card and a sentiment.


I cut a 5 1/2" x 4 1/4" panel of heat resistant acetate and embossed it with silver.


I stamped part of the image on a scrap of watercolour paper, making sure to have all her body parts on the paper.

Using red-purple and light peach watercolour pencils, I started her skin.

I used a waterbrush to blend the pencil and pull it into the rest of the area.

The blended skin.

I used watercolour pencil and waterbrush to finish her hair and eyes.

For her pants, I stamped her legs on a spotty green paper using masking to just stamp the area I needed.

For the blouse, I stamped on a golden paper, using marking to only stamp in the area I needed.
I added shading to the pants with watercolour pencil and waterbrush,...

... and fussy cut the pants.

I scribbled green watercolour pencil on my plastic work surface,..

... and used the scribble and waterbrush to colour the cut edges.

I used Zig glue pen to adhere the pants to the embossing.

I added shading to the blouse.

I fussy cut the blouse pieces and used the glue pen to adhere them. I also fussy cut the head, and skin areas and adhered them as well.

I stamped the star hat on glitter cardstock, fussy cut it, and adhered it to the panel.

I cut a 5 1/2" x 4 1/4" panel from a dark green Stardream paper and white soft finished cardstock. I then used two of the Spellbinder's dies to cut the inner areas. I planned to sandwich the clear panel between them.

I used the glue pen to adhere the Stardream paper to the front of the clear panel. The back of the pieced areas looks odd but cool.

I used a very narrow (3mm) strip of adhesive tape under the Stardream frame and glue pen where the frame areas were too thin.

I added the white frame to the back of the acetate panel.

The Stardream frame hides the adhesive to hold the white frame.

I added a thicker adhesive tape to the white frame..

To adhere the fun foam to make the shaker chamber.

I dry fit a background panel.

I added a mix of sequin colours,..

...and adhered the back panel. This makes a single piece for the shaker which can then be adhered to a card base easy peasy.

I added Liquid Pearls, Stickles, and Nuvo Glitter Drops to embellish the tree and the angel's wings.

I added a scrap of patterened paper to the inside of the card and a sentiment.


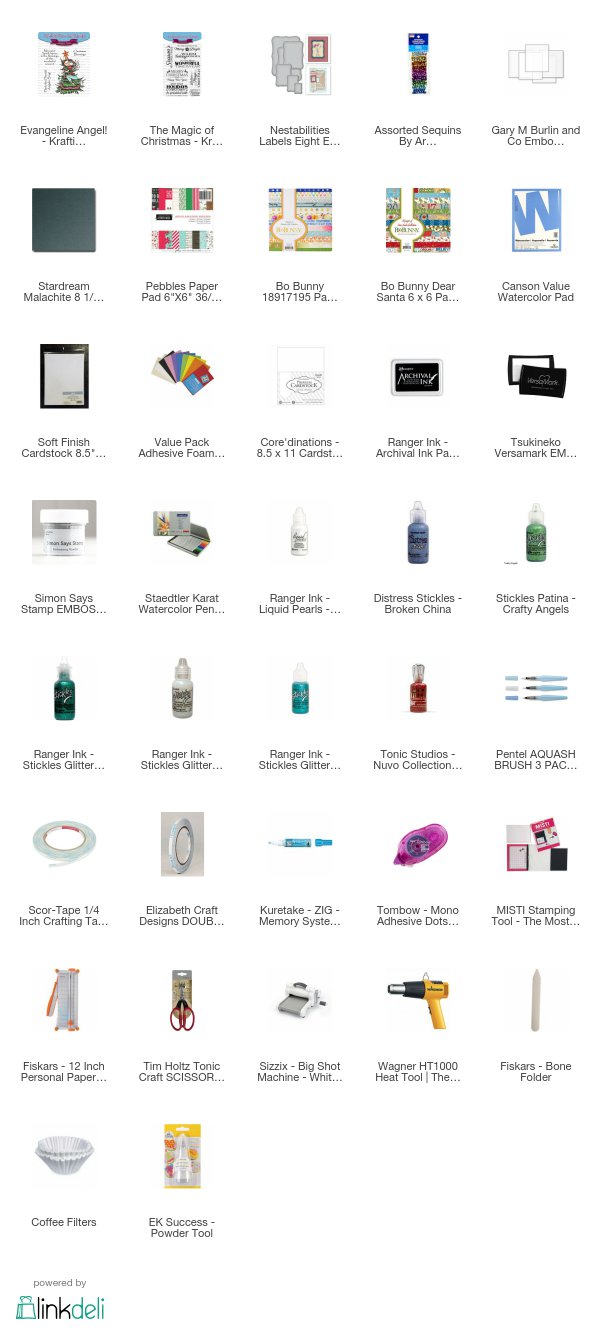
Supplies
Challenges
Addicted to Stamps and More: Holiday
Incy Wincy: Let's Celebrate
Crafty Hazelnut's Pattern Paper: Anything Goes
Crafty Hazelnut's Christmas: Anything Goes
Crafting From the Heart: Anything Goes
Penny's Paper-crafty: Anything Goes
Incy Wincy: Let's Celebrate
Crafty Hazelnut's Pattern Paper: Anything Goes
Crafty Hazelnut's Christmas: Anything Goes
Crafting From the Heart: Anything Goes
Penny's Paper-crafty: Anything Goes
Join in on the blog hop to see all the great new Kraftin' Kimmie sets in action!
This is a gorgeous shaker card and even more knowing the story behind it. Thanks for sharing.
ReplyDeleteWhat a beautiful shaker card and I like what you said about bathing the tree in other colors. Your coloring is wonderful and I think this is just a stunning card. WEll Done! Thanks for joining us at Penny's Challenges.
ReplyDeleteAbsolutely stunning card such a lot of thought went into the making of it. Thanks for sharing with CHN patterned paper challenge.
ReplyDeleteHugs
Margaret M DT
Great tutorial and card! I love shaker cards!!
ReplyDeleteThanks for sharing @ Penny's Paper Crafty challenge!
Hope to see you back again soon :)
What a fun way to celebrate your childhood memories.
ReplyDeleteThanks for sharing at ATSM. :)
Wow! lots going on here and so much to look at. Amazing shaker card. Thanks for sharing at Addicted to Stamps & More.
ReplyDelete