

I love you, even when you bug me :) My card features Krafty Kimmie inks, stamps set, and stencil with glitter applied with transfer gel, Copic colouring, and pencil colouring.
Putting It Together
This weekend I am at a virtual retreat Krafty Krop by Kourier. This is one of the cards I made for one of the prompts: Glitter.

I started with a white panel and added an ombre of blended ink using a blending sponge tool.

Over the ombre, I added Transfer Gel Duo using the Rainy Day stencil. It goes on white and needs to dry before it can be used. So, I set the panel away and did other stuff.

An hour or so later I was ready to continue with this project and so was the panel. The gel needs to be totally clear. This gel is still sticky when it's dry. It can be used with foil with or without heat (thus the 'duo' in the name) and anything else that will stick to the adhesive like gilding flakes, flocking, or glitter. Mmmm glitter.

I used the Cosmic Shimmer Silver Rainbow Sparkle Shaker which is microfine holographic silver glitter. It comes in a shaker bottle so you can't put the excess back in the bottle easily, but it does make it easy to apply. When working with glitter, I put down a sheet of Swiffer dry cloth and put my panel over a coffee filter.

After shaking on the glitter, I used a soft dollar store makeup brush to brush away the excess. Usually, I would pour that back into the bottle, but I have a little re-sealable baggie instead.

After I made the panel, I needed to figure out what to use it with. I looked through my stash and the ladybug couple were beckoning to me. The set also has a flower that I could use as an umbrella.

I used Copic markers to colour the images. I recently got my Copic collection more than doubled by my mom offering to buy me a bunch. I had been learning alcohol marker techniques with other much less expensive markers and am so glad I can expand my skills with Copics. But, if not for the other less expensive markers I wouldn't have wanted to get more into alcohol makers. For Copics, I have a mix of all three types: original, Ciao, and Sketch. Before my mom's offer, most of my collection were bought second-hand. With my mom's offer, to make it stretch to the most markers possible, I got mainly Ciao 'cause they're cheaper but the same exact brush nib as the Sketch. Originals have a bullet nib instead.
C2, C5, C7, C9, E15, E18, E59, G20, G24, G28, R14, R27, R59, Y11, Y35, YR09, YR15

I trimmed the raindrop panel and added it to a black card base with the couple and their flower umbrella. I popped up the images with foam mounting tape. The shimmery holographic glitter is gorgeous but hard to capture the colour changing sparkle in pictures.


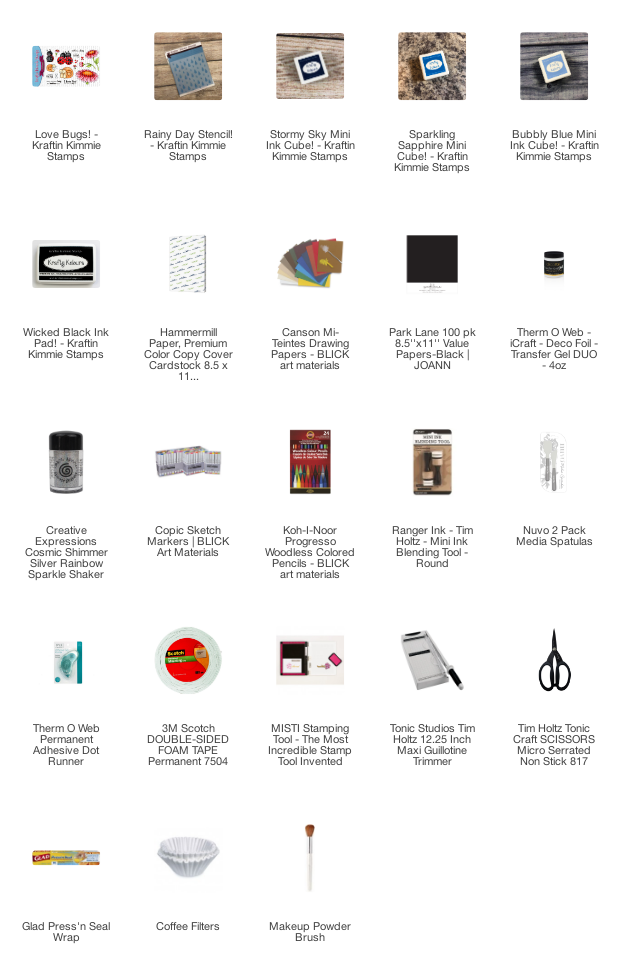
Supplies
Challenges
Krafty Retreat by Kourier, Challenge #4: Glitter
Simon Says Stamp Wednesday: Humorous/Fun
Outlawz Festive Friday: Nature
No comments:
Post a Comment
Thank you for your comments. I do read every one. Your comments help me to grow as an artist. It warms my heart to see wonderful comments and constructive criticism.