

A few months ago I bought a sealed clearance bag of ten 12x12" sheets of paper for $1. The papers weren't ones I would have chosen off the rack, but had their own charms. This red with white flowers was one of the papers. When I saw it I was a bit baffled for what to do with it and let it sit in my stash waiting for an idea to brew. A challenge by a Facebook group to use "DSP" (designer series paper, Stampin' Up's term for patterned paper) and the SSS blog challenge for Flowers were the inspiration for me to look at this paper again. I've also been meaning to make a Thank You for the person who helped my sweetie and I become permanent residents in Canada. This is for her.
Supplies


Putting It Together
This card was started with a paper and a vague thought of something with flowers and a thank you.

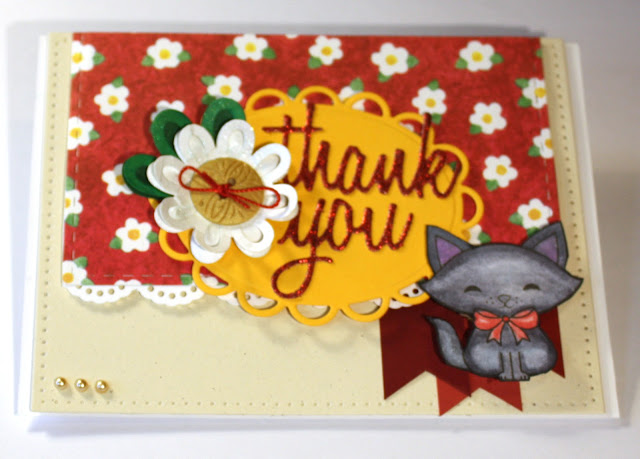
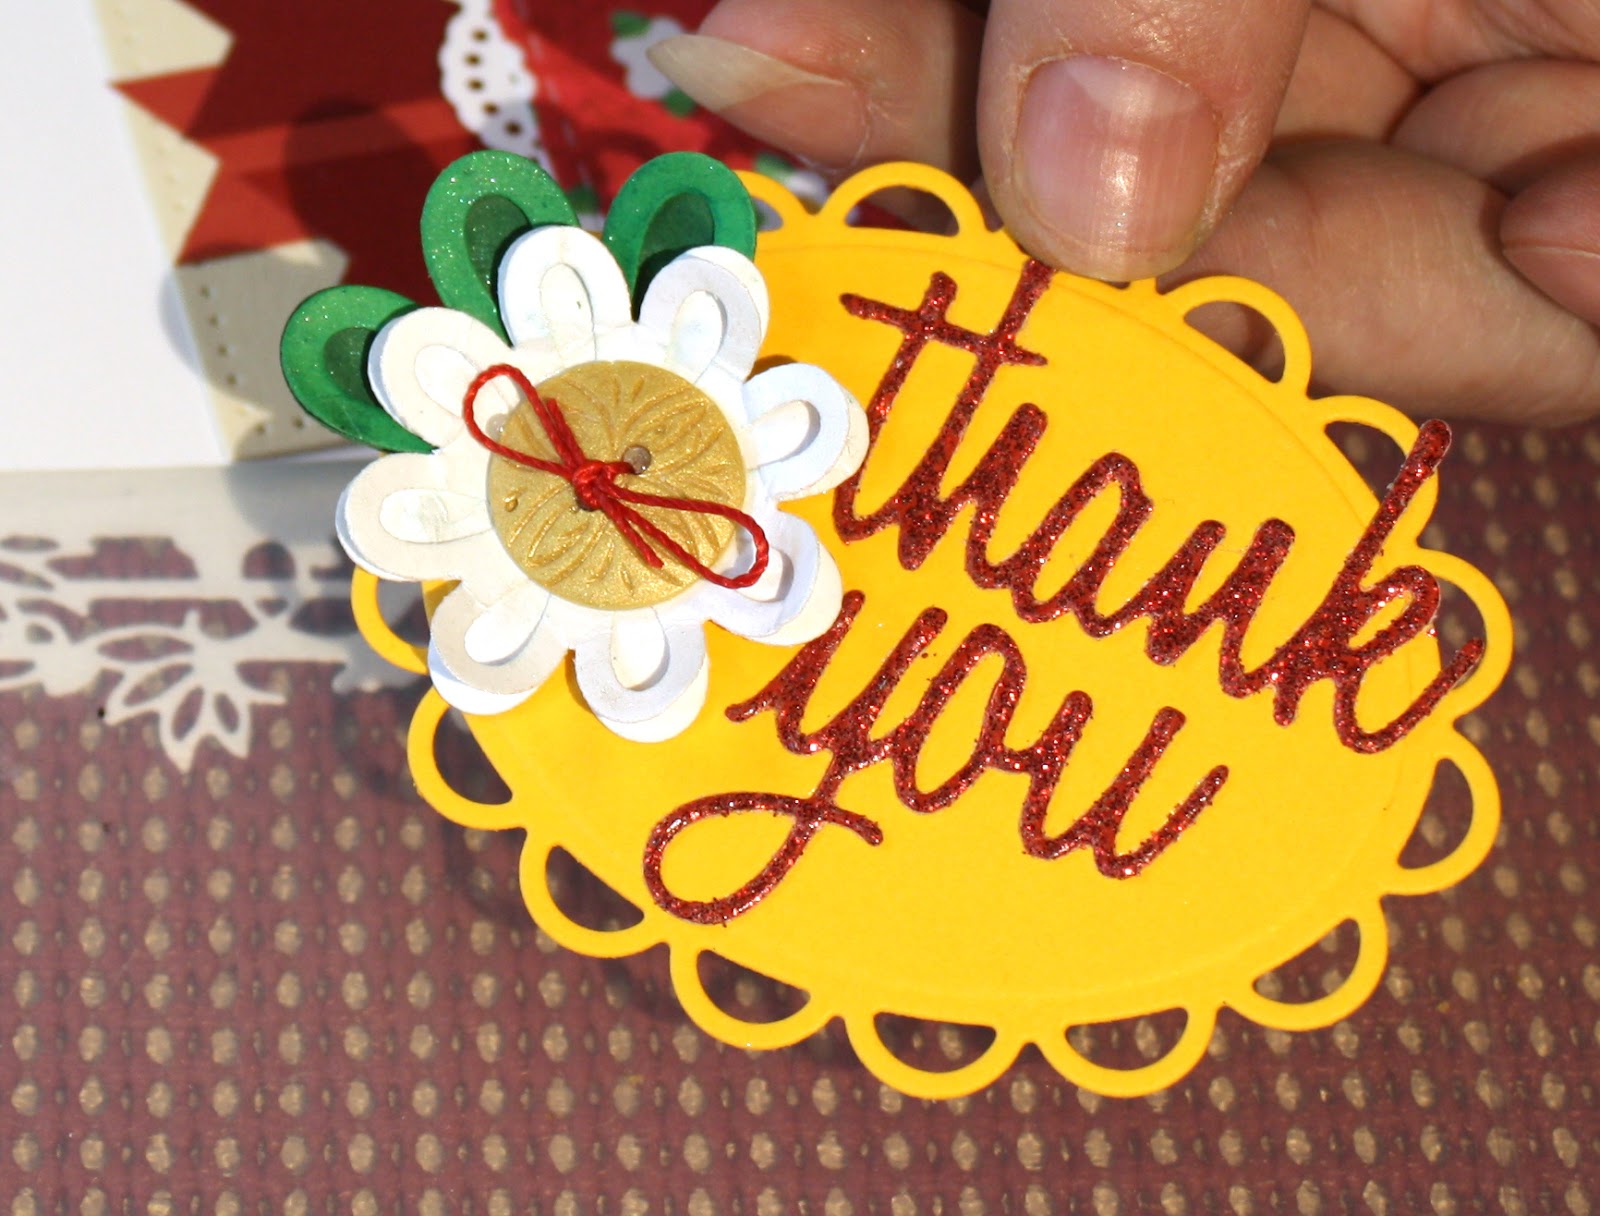
I started with the pattern paper and worked to match and enhance it. The Stampin' Up Summer Sun cardstock matches quite well with the flower centres. I got an oval die a couple days ago and decided it would be perfect with the orangey-yellow with glittery red wording. The rest fell together from that.

Using a Spellbinders petals die, I created a daisy to echo the white flowers in the paper. I used two greens and white Recollections paper for the leaves and flower. I accented them with Perfect Pearls for a subtle sparkle and shaped the paper. For the flower centre, I used a button I had made with Resin Obsession Super Clear resin and Pearl Ex pigment powder. I tied the button with a little bow of red nylon cord.

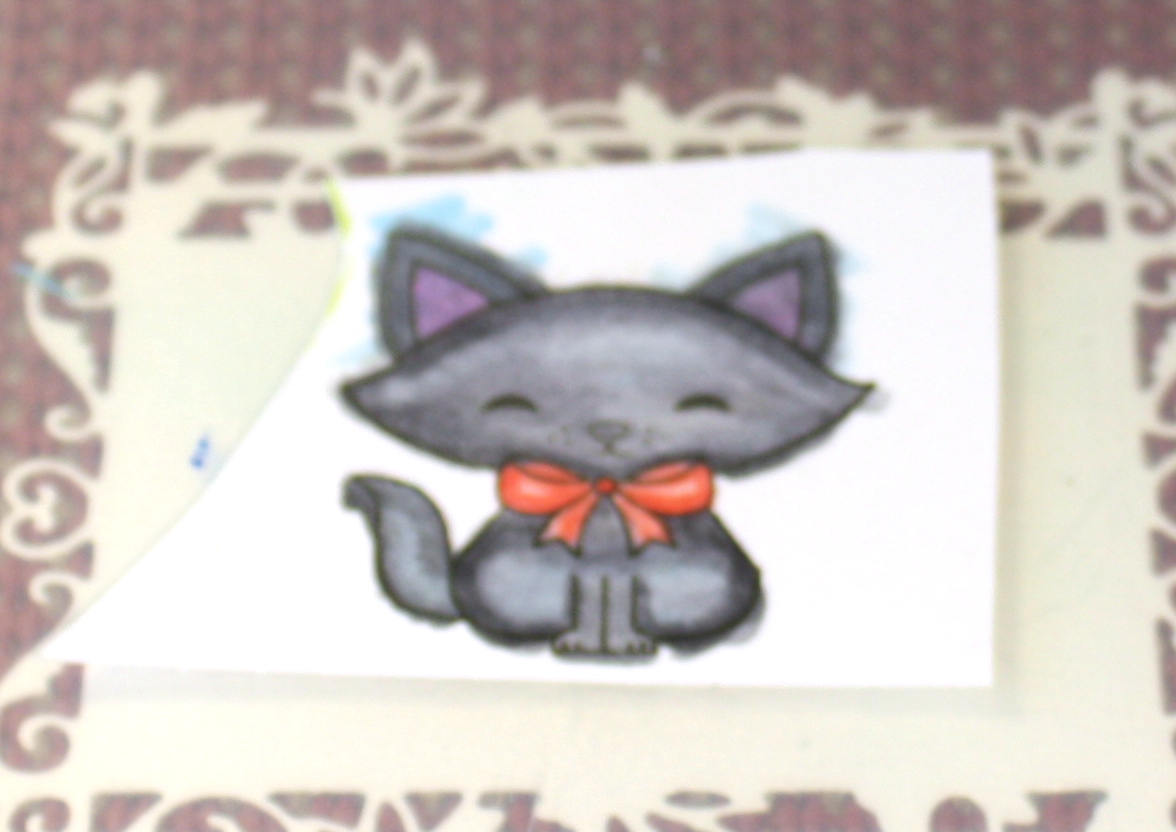
Wanting a stamped accent, I decided to use a kitty from A Purr-fect Day. I stamped on to X-press It which is really lovely for alcohol markers.
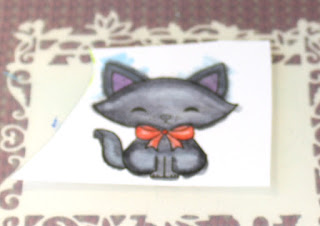
I coloured the kitty to be a representation of my black kitty, Scout. I made his bow red to tie into the red from the paper. Since I intended to fussy cut the kitty, I wasn't concerned with colouring outside the lines.

I did a dry fit of the elements to get an idea of placement. The script words are cut from red glitter silk paper. In this picture, they're still in the die. I had cut the flower paper with a stitched rectangle. This dry fitting showed me the ivory paper needed it as well. Everything else looked like it was going to work.

After fussy cutting the kitty, cutting a new ivory base with a dot stitched border, and trimming the pattern paper, I did another dry fit to see what more was needed. I really like the Elizabeth Craft Designs stitched rectangle because the layers alternate long stitch and dot. The top of the red patterned paper is trimmed without any stitching to be flush to the top of the card.
I decided to add a few more accents.

Using the Tonic Studios dotty border, I cut a lacy scalloped edge from white.

I decided to have the scalloped as just a hint along the paper's bottom edge.

I adhered the white scallop to the back of the paper to be one unit and trimmed the sides with scissors. This was the start of bringing the card together.

Another dry fitting, to see how flags would look. I like it. I used three shades of red all cut to 3/4" wide and then a notched bottom cut. To make an easy quick notched edge, cut up in the centre approximately the same distance as half the width of the tag. Then cut angles from the sides to meet at the top middle point. This is one of the many tips I have learned from watching too many Jenny McGuire videos.

With a pencil, in the area that would be hidden by the top panel, I marked how the flags fit together. I ran adhesive on the two top flags and fitted them on the bottom one.

With them as one unit, I adhered the flags to the bottom panel. I debated popping them up but didn't want the card to get too high.

I added foam mounting tape to the back of the red flower panel...

... and added it over the top of the back panel.

To make it easier to place the words, I decided to sticker-i-fy them with my Xyron. Put in the item and slide it out the other side in the strip.

I'm still a bit new to the tool so am probably more wasteful than I will be later.

Use a bone folder or even a toothpick to rub into all the nooks and crannies or the adhesive will have 'spider web' bits where you don't want sticky stuff.

Putting adhesive on with the Xyron makes it easy to place the words exactly where you want with no mess.

I added half a glue dot in the cupped shaped leaves...

... to attach the leaves to the flower. The other layers of the flower and the button are adhered with multi-medium.

The other half of the glue dot went on the bottom of the flower...

... to attach it to the oval.

I put foam mounting tape on the oval and added it to the card.

In order for the kitty to be above the oval, and since the oval is 1 layer above the flower panel, I had to raise the bottom of the kitty up 3, and the side off the oval but over the flower panel up two. Stacks of mounting foam on the back allow the kitty to be level but looks rather funny from the bottom.

At this point everything is attached to the back matting and just needs the card base.

Foam mounting round the edges and another through the middle should hold the card's elements in the right places. I also added three pearl stickers to balance the card.
I matched the envelope to the card by using the same flower die as an emboss on the back flap.

Since this card is going to be mailed, I considered how to make sure the flower and kitty don't get squashed.

A bit of recycled packaging, cut as a sheet for over the front of the card.

The envelope is a bit thick so likely will have a small additional charge, but it should go through the mail just fine.

I started with the pattern paper and worked to match and enhance it. The Stampin' Up Summer Sun cardstock matches quite well with the flower centres. I got an oval die a couple days ago and decided it would be perfect with the orangey-yellow with glittery red wording. The rest fell together from that.

Using a Spellbinders petals die, I created a daisy to echo the white flowers in the paper. I used two greens and white Recollections paper for the leaves and flower. I accented them with Perfect Pearls for a subtle sparkle and shaped the paper. For the flower centre, I used a button I had made with Resin Obsession Super Clear resin and Pearl Ex pigment powder. I tied the button with a little bow of red nylon cord.

Wanting a stamped accent, I decided to use a kitty from A Purr-fect Day. I stamped on to X-press It which is really lovely for alcohol markers.
I coloured the kitty to be a representation of my black kitty, Scout. I made his bow red to tie into the red from the paper. Since I intended to fussy cut the kitty, I wasn't concerned with colouring outside the lines.

I did a dry fit of the elements to get an idea of placement. The script words are cut from red glitter silk paper. In this picture, they're still in the die. I had cut the flower paper with a stitched rectangle. This dry fitting showed me the ivory paper needed it as well. Everything else looked like it was going to work.

After fussy cutting the kitty, cutting a new ivory base with a dot stitched border, and trimming the pattern paper, I did another dry fit to see what more was needed. I really like the Elizabeth Craft Designs stitched rectangle because the layers alternate long stitch and dot. The top of the red patterned paper is trimmed without any stitching to be flush to the top of the card.
I decided to add a few more accents.

Using the Tonic Studios dotty border, I cut a lacy scalloped edge from white.
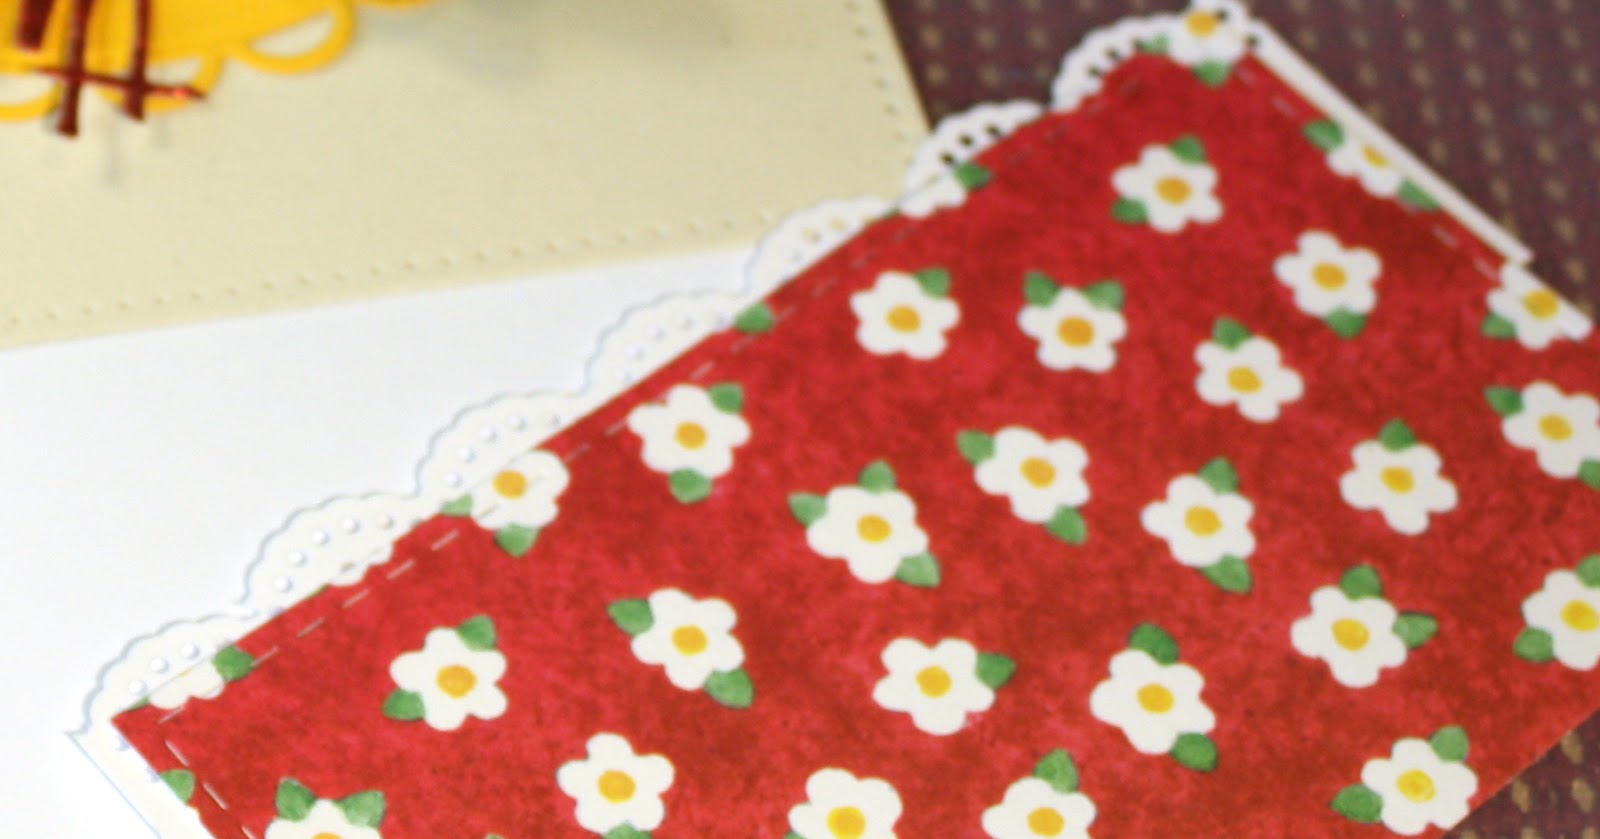
I decided to have the scalloped as just a hint along the paper's bottom edge.

I adhered the white scallop to the back of the paper to be one unit and trimmed the sides with scissors. This was the start of bringing the card together.

Another dry fitting, to see how flags would look. I like it. I used three shades of red all cut to 3/4" wide and then a notched bottom cut. To make an easy quick notched edge, cut up in the centre approximately the same distance as half the width of the tag. Then cut angles from the sides to meet at the top middle point. This is one of the many tips I have learned from watching too many Jenny McGuire videos.

With a pencil, in the area that would be hidden by the top panel, I marked how the flags fit together. I ran adhesive on the two top flags and fitted them on the bottom one.

With them as one unit, I adhered the flags to the bottom panel. I debated popping them up but didn't want the card to get too high.

I added foam mounting tape to the back of the red flower panel...

... and added it over the top of the back panel.

To make it easier to place the words, I decided to sticker-i-fy them with my Xyron. Put in the item and slide it out the other side in the strip.

I'm still a bit new to the tool so am probably more wasteful than I will be later.

Use a bone folder or even a toothpick to rub into all the nooks and crannies or the adhesive will have 'spider web' bits where you don't want sticky stuff.

Putting adhesive on with the Xyron makes it easy to place the words exactly where you want with no mess.

I added half a glue dot in the cupped shaped leaves...

... to attach the leaves to the flower. The other layers of the flower and the button are adhered with multi-medium.

The other half of the glue dot went on the bottom of the flower...
... to attach it to the oval.

I put foam mounting tape on the oval and added it to the card.

In order for the kitty to be above the oval, and since the oval is 1 layer above the flower panel, I had to raise the bottom of the kitty up 3, and the side off the oval but over the flower panel up two. Stacks of mounting foam on the back allow the kitty to be level but looks rather funny from the bottom.

At this point everything is attached to the back matting and just needs the card base.

Foam mounting round the edges and another through the middle should hold the card's elements in the right places. I also added three pearl stickers to balance the card.

I matched the envelope to the card by using the same flower die as an emboss on the back flap.

Since this card is going to be mailed, I considered how to make sure the flower and kitty don't get squashed.

A bit of recycled packaging, cut as a sheet for over the front of the card.

The envelope is a bit thick so likely will have a small additional charge, but it should go through the mail just fine.
Challenges
Simon Says Stamp blog 11 May Wednesday Challenge: Flowers
Kraftin' Kimmie Stamps blog 14 May Saturday Challenge: Anything Goes
Kraftin' Kimmie Stamps blog May Sketch:

Kraftin' Kimmie Stamps blog 14 May Saturday Challenge: Anything Goes
Kraftin' Kimmie Stamps blog May Sketch:

 |
Super cute and so adorable!! Thanks for joining our challenge this week with Kraftin Kimmie Stamps.
ReplyDeleteMarilyn DT