

Kraftin' Kimmie Stamps' June Krafty Peeks.....Day ONE!
SWEET AS CAN BEE and NEW Krafty Kolours Hybrid INKS!
Welcome, welcome, welcome!
Today we are kickin' off our JUNE Krafty Peeks
at Kraftin' Kimmie Stamps!
We've got a super sweet stamp set to share with you today!
This one is from artist Becky Pearce and it's called
SWEET AS CAN BEE!
This BEE-utiful set was included in our Summer Krafty Kit along with TWO BRAND NEW Krafty Kolours Hybrid Inks!!! The set comes with SEVEN main images, some cute accessory stamps and FIVE fabby sentiment stamps for a total of FIFTEEN stamps in the set!
The gorgeous new Krafty Kolours Hybrid Inks we are introducing this month are YUMMY YELLOW and MARVELLOUS MOCHA!!! You can get them in large ink pads, mini cubes and also refills!! They go perfectly with this release!!
Check out this BUZZ-worthy set in action as you hop around the Krafty blogs today! You'll see the list of Krafty design team members PLUS special Krafty Guests below and be sure to leave some love at each stop because one lucky commenter is going to WIN a gift voucher to the krafty shop! Plus we're doing a GIVEAWAY of the ENTIRE release on the Krafty Friends facebook page!
You'll get to see all the incredible creations for June as we share them each day this week! Be sure to join us at the LIVE Online Release Party on Saturday afternoon at 1pm EST! We'll be checking out all FOUR new clear stamp sets, sharing fabulous creations, giving away prizes and having tons of krafty fun!

Those of us who purchased the Summer Super Sekret Krafty Kit are joining in to help introduce this wonderful new stamp set and inks. I created a box, a Bee Box, using the stamps and new inks.
Putting It Together
I like the surprise kits. It's such fun getting to play along with the introduction of a stamp set and now new inks. Kim also packs the kit with lots of fun stuff, even if I don't often use them on the introductory projects.

The bees are a delightful size and I can see using them in a variety of ways. For this project, I stamped them with the Marvelous Mocha ink and then embossed them with clear.

I used the Yummy Yello pad to paint the bees with a dollar store brush. The embossing acted as a resist to keep the brown stamping.

I fussy cut the bees.

I used Spectrum Noir alcohol ink markers to add shading and give the bees visual dimension.

My cutie bees all done up.

I stamped one of the sentiments on a tag I've gotten in some kit. I used the Marvelous Mocha. I then rubbed Versamark roughly on the tag.

I covered the tag with the lovely chunky Vintage Beeswax embossing powder from the new Baked Texture line from Emerald Creek. And melted it with my heat tool. I double embossed the tag, to make it look honey drippy.

I added one of the bees with a snip of foam mounting tape.

To make the box, I used the box die that came with the Big Plus starter kit and a hexagon die to cut windows. To cover the windows, I trimmed packing plastic. The plastic would also give the sides more structure to make up for the window cut outs.

I used the Honeycomb embossing folder to emboss the sides and top. I then used Versamark and the Vintage Beeswax to add rough patches and drips to look like honey.

I ran the plastic panels with the Hexagons dynamic embossing folder.

I rubbed the plastic with the Yummy Yellow ink.

I heat set the ink, being careful to not heat set out the embossing. (I should have inked them and then embossed them).

I used a dry cloth to wipe the panels and remove some of the still wet ink.

I added some Chocolate Bronze - Cosmic Shimmer to add a bit more visual dimension, shimmer, and grunge.

I glued the plastic panels in place and assembled the box.


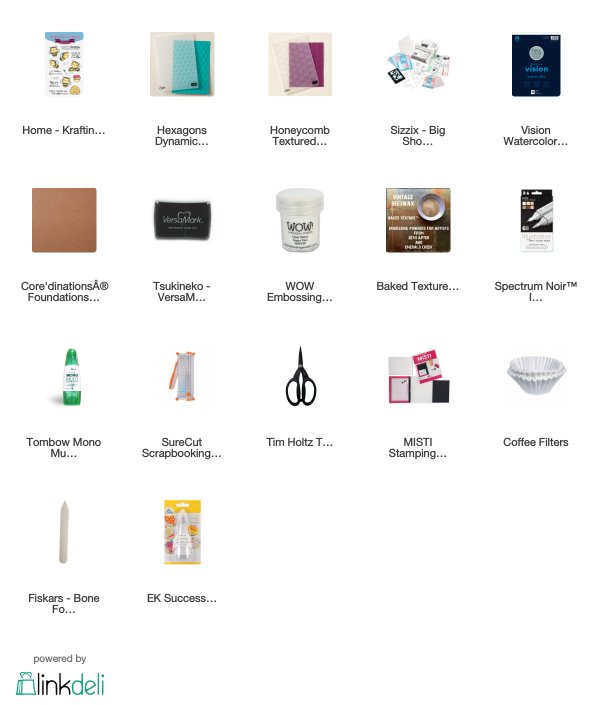
Supplies
Great idea and awesome tutorial!
ReplyDeleteThat you for the detailed description. Lively
ReplyDeleteFun box
ReplyDeleteSo creative
ReplyDeleteWhat great idea! Fabulous box!
ReplyDeleteSuch a great idea! Thank you for the step by step guide!
ReplyDeleteWhat an awesome box, anyone would love to receive it!
ReplyDeleteWhat a great idea and tutorial!!
ReplyDeleteYour creation is amazing and thank you for your awesome tutorial! I love your creation and design!
ReplyDeleteOh holy wow! You do such an amazing job Kate! Love how you share it all with us!
ReplyDeleteWonderful techniques on your cute bee box!
ReplyDeleteI absolutely love your box, thank you so much for the step by step
ReplyDeleteHow fun and creative! I love the honey comb box.
ReplyDeleteGorgeous box! Very creative and cute.
ReplyDeleteCute tag and box! Love the honeycomb design and the darling bee!
ReplyDeleteAbsolutely amazing box and tag!!! Thank you for teaching all the techniques involved in your creation. Love it!
ReplyDeleteOh My Gosh, this is such an adorable idea!
ReplyDelete