

Today is my first post with an inspiration for the Sheepski Designs challenge blog!
When I looked at the Flutterby digital stamp by Sheepski Designs, I had a mental image of it embossed on copper. So, I had to make it so. I did a card as well because the image is so lovely.
Facebook Group
Come join us in the challenge! Anything Goes! https://sheepski-designs-challenges.blogspot.co.uk/
The card practically put itself together. My layout was inspired by a card that a friend (and Stampin' Up demonstrator) had made.


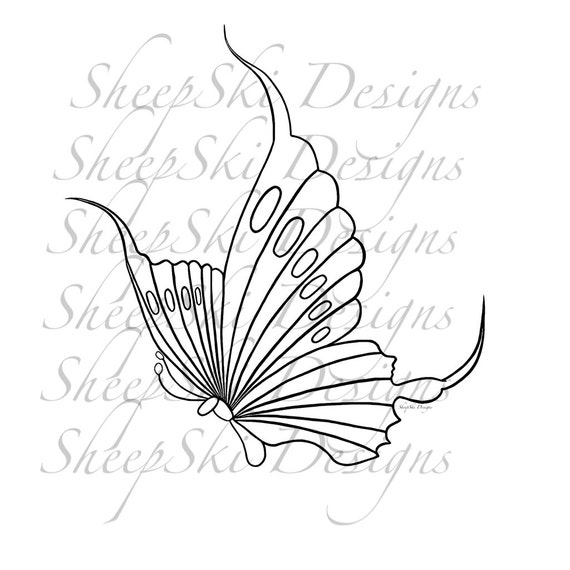
The focus of the card is Flutterby, a great butterfly digi by Sheepski Designs. I printed the image on to light weight watercolour cardstock.

I wanted a shimmery butterfly so I decided I wanted to watercolour with Perfect Pearls. I also decided I wanted to emboss the lines. After printing the image, I used the nib end of the VersaMarker to trace the lines. I added Wow clear gloss embossing powder, and used the heat tool. With the embossing as a resist, adding in the colour was easy. I used Grape Fizz first on the upper part of the wings and then went over that with Forever Violet. I used Blue Patina, a dark teal, on the lower part of the wings and accented it all with Gold. For the body, I painted on Pewter and then Gold. I fussy cut the butterfly out with scissors.

I used the Stampin' Up thinlet Detailed Florals to cut the openwork from aqua textured paper and paired it with a mixed media-ish paper for the background. I added a thin gold diamond washi tape, leaving the bottom white for the sentiment. I wrapped the washi around to the back to better anchor it.

I used the Misti to position and stamp the sentiment from Hero Arts. I attached the decorated panel to the card base and used foam mounting tape to add the butterfly.

Putting It Together: Necklace
I have zero formal training in any of the arty/crafty things I do. I will never say I do things the 'right' way because I often don't. I also will get an idea in my head that I want to make something a particular way and... well.. if possible adapt what I have to make what will fit, or mostly fit, the idea rattlin' around in my head.
I am also a rather horrid impulse shopper who has a great love of doing all sorts of things (or wanting to do all sorts of things) and.. umm.. yeah. I have a stash of tools and supplies from all that impulsing and some times I get distracted by new things that come my way (I'm part Magpie, I swear... ooo shiny!). So, mid-Summer 2012 (a couple months before moving from California to Canada), I started making jewelry with bead stringing which lead to off-loom bead weaving which also led to some wire wrapping and then to polymer clay and then epoxy clay and resin. I first bought a Big Shot in October of 2015 because I wanted to do metal cutting embossing... and got distracted by.. ooo shiny.. papercrafting *laugh* The pendant foe Flutterby is me finally going back to fulfilling the original reason for which I bought the BigShot.

Supplies : Necklace


I used a Bigz die and 26 gauge copper (and 28 gauge brass showing in some of the pictures) to make the large oval blank. The Bigz dies are capable of cutting a wide variety of materials but are the more pricey of all the the die types, so I don't have too many of them, yet. 26-28G sheet is a decent weight for jewelry blanks. It's not floppy and holds shape wonderfully but not so rigid you can't manipulate it easily. For metals, the bigger the number the thinner it is.
The die cut the oval out most of the way from the sheet metal and I helped the rest along with a pair of metal shears. this is heaps easier, and neater, than cutting entirely with shears or a jewelry saw. The copper sheet has a blue protective film over it.

After removing the protective film I used a metal file to ensure there were no burrs on the edges. I should have done this with gloves since the little itty bitty filings can become nasty splinters.

And thus I got two nice large oval blanks. I decided to use the copper one for this project.

I printed the image on printer paper sized to fit the blank.

I used some removable adhesive and attached the paper to the blank, positioning the butterfly by looking through the paper. The paper was larger than the blank so overlaped the sides. In retrospect, I should have fussy cut wide around the butterfly to fit the paper on the blank.

I have a very limited selection of metal stamps. I have a set of very basic letters with the "I" a simple straight line. This would be my tool to stamp the lines of the butterfly.

Using a hard rubber block under the copper, I used the stamp to go over the lines of the image. I used a dead weight brass hammer to give the stamp one good thwack for each impression.

The blank curved up while imprinting the image so I flattened it back down by twacking it from the backside.

The lines stamped in.

I decided I wanted a bit of texturing to the background, so I used the ball side of a chasing hammer for simple texture on the background. I also slightly curve the edge of the oval toward the back.
 You can barely see the texturing in this picture. The light wasn't hitting the copper as well as above.

To bring out the texture and the image, I used Patina Ink from Vintaj. I used Onyx for a simple black patina. I used a bit of shop towel to rub it over the copper.

With the patina applied over the surface.

To take off the patina from the high points and to polish the copper, I used the Vintaj Metal Relief Block. The block as very fine grit sand paper and buffing surfaces, just perfect for finishing on metal.

The last step to the pendant was adding a hole at the top with a hole punch pliers and then a bail.

I used a jewelry layout board to assemble a pleasing pattern of beads for the necklace. I chose turquoise coloured marcharzite in two shapes and copper plated beads out of my stash (which has been mostly untouched for a bit over a year). The bail is also copper. I did the layout before putting the hole in for the bail.

I used brown nylon cord to thread the beads and pendant finishing it with copper knot covers, split ring, and lobster clasp (not shown in the pictures).


I printed the image on printer paper sized to fit the blank.

I used some removable adhesive and attached the paper to the blank, positioning the butterfly by looking through the paper. The paper was larger than the blank so overlaped the sides. In retrospect, I should have fussy cut wide around the butterfly to fit the paper on the blank.

I have a very limited selection of metal stamps. I have a set of very basic letters with the "I" a simple straight line. This would be my tool to stamp the lines of the butterfly.

Using a hard rubber block under the copper, I used the stamp to go over the lines of the image. I used a dead weight brass hammer to give the stamp one good thwack for each impression.

The blank curved up while imprinting the image so I flattened it back down by twacking it from the backside.

The lines stamped in.

I decided I wanted a bit of texturing to the background, so I used the ball side of a chasing hammer for simple texture on the background. I also slightly curve the edge of the oval toward the back.


To bring out the texture and the image, I used Patina Ink from Vintaj. I used Onyx for a simple black patina. I used a bit of shop towel to rub it over the copper.

With the patina applied over the surface.

To take off the patina from the high points and to polish the copper, I used the Vintaj Metal Relief Block. The block as very fine grit sand paper and buffing surfaces, just perfect for finishing on metal.

The last step to the pendant was adding a hole at the top with a hole punch pliers and then a bail.

I used a jewelry layout board to assemble a pleasing pattern of beads for the necklace. I chose turquoise coloured marcharzite in two shapes and copper plated beads out of my stash (which has been mostly untouched for a bit over a year). The bail is also copper. I did the layout before putting the hole in for the bail.

I used brown nylon cord to thread the beads and pendant finishing it with copper knot covers, split ring, and lobster clasp (not shown in the pictures).

Challenges
Creative Craft Cottage: For the Girls
Addicted to Stamps and More: Photo Inspiration (butterfly, teal)
Crafty Friends: The Letter "B" (butterfly, bead)
Crafty Cardmakers: Spring Into Spring
Simon Says Stamp Monday challenge: Things With Wings
Simon Says Stamp Wednesday challenge: Anything Goes
Simon Says Stamp Work It Wednesday: Spring
Simon Says Stamp Monday challenge: Things With Wings
Simon Says Stamp Wednesday challenge: Anything Goes
Simon Says Stamp Work It Wednesday: Spring


Hello... it’s so lovely to see you have shared one of your gorgeous cards with us. Thank you for entering your Butterfly card into our ‘B is for…’ Challenge. Enjoyed reading your post and the necklace is really pretty. Good luck in the draw and hope you will come back again soon.
ReplyDelete[Diane Louise, Team Leader for Crafty Friends Challenge Blog]
I've been so looking forward to reading how you did this. The card is just gorgeous and the pendant AMAZING! So fantastic to see my image in a different medium
ReplyDeleteAndrea x
SheepSki Designs
Very pretty! Thank you for joining us at Creative Craft Cottage. Cindy (DT)
ReplyDeleteA fab card and a beautiful necklace.
ReplyDeleteSo pleased you linked up at ATSM. :)
WHat a fabulous combi of the card and the necklace. Never made a necklace like that, gorgeous. Thank you so much for joining us at Simon Says Stamp Monday Challenge. Hugs, Sandra
ReplyDeleteA lovely card and necklace. Thank you for sharing with Crafty cardmakers.
ReplyDeleteMary
So beautiful. Thanks for sharing the tutorial. Love it. Thanks for playing along Simon Says Stamp Anything Goes Challenge. Gayatri xx
ReplyDeleteOh my gosh that pendant is amazing!!! What a fantastic gift and I just love the card too! Hugs, Autumn
ReplyDeleteWow - love both projects! That pendant is really gorgeous. (DT Sis)
ReplyDelete