

Flying high over all the maps, travelling with a friend, this pilot is living the life of his dreams.
I used Krafty Kolors on a Kraftin' Kimmie stamp and paired it with Distress Oxides on glossy photo paper, die cut clouds, and maps from a 7 Gypsies paper pad. Let your dreams take flight!
Putting It Together
My co-worker is retiring after many years working in software development. He owns his own plane and is now going to get to fly a lot more than before, livin' the dream.

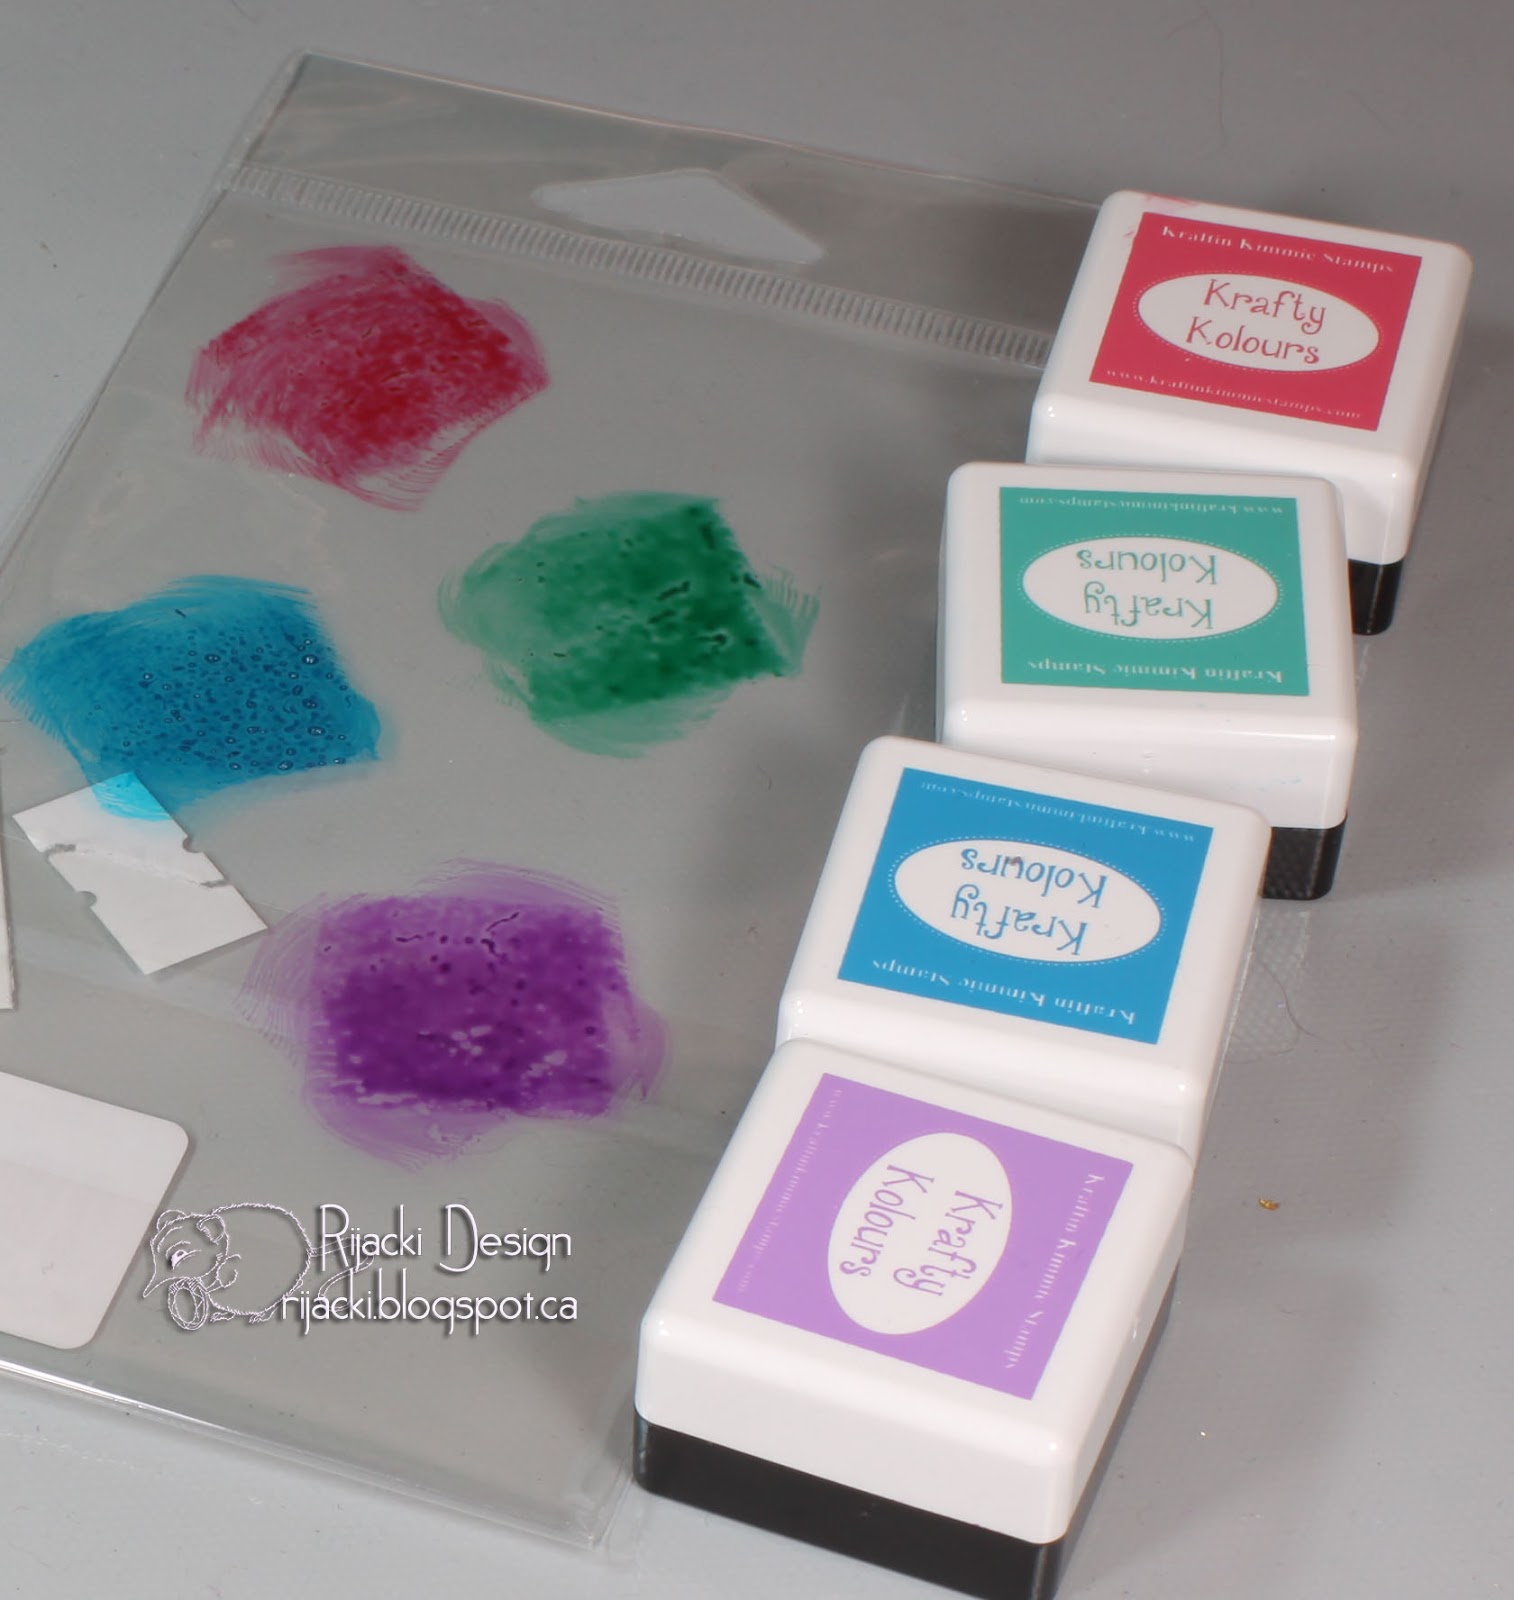
I stamped the flier with the new Krafty Kolors ink.

Since Krafty Kolors doesn't include a brown, yet, I used Distress Oxides Vintage Photo on his hat. For the fluffy lining of the hat, I used the snow marker. The ink puffs up when heat is applied with a heat tool. It's a nice dimensional touch. I also used accents of gold and silver.

I fussy cut the image.

I added Wink of Stella to the plane for a subtle sparkle like a fancy paint job.

For the sky background, I decided to do a marbling with glossy photo paper. I started with squishing ink of a bit of plastic packaging: Distress Oxides, Faded Jeans and Salty Ocean, and Distress ink Picket Fence. Just a note: squish the white on before any colours, don't squish any white over the other colours or you will contaminate your Picket Fence. I think I got all the blue off of mine... oops.

I liberally wet the inks.

Then I smushed the glossy photo paper into the wet wet ink.

I then dried the ink with a heat tool. The ink will become very chalky as it dries.

So, wipe off the chalkiness with a wet wipe.

This will reveal the most amazingly vibrant colours. The white did add blotches, as I hoped, but also mixed with the Salty Ocean to make a soft blue. The marbling turned out nearly exactly as I hoped.

I decided to use the May sketch from Kraftin' Kimmie to build my card.

I die cut some clouds from pearl cardstock and dry fit the plane on the marbled glossy paper with a circle die.

After cutting the circle (slightly larger than the one I dry fit), I picked out some backing papers, vintage map patterned paper from a 7 Gypsies pad.

I created tiles from the papers following the pattern in the sketch. The brown is the back of one of the papers from the same pad. I love the leathery look of it. All of the papers are slick and glossy.

I dry fit the circle on the tiles, adding a sentiment.

I adhered the tiles on the background paper which I adhered to the square cardbase. To give the sky circle a touch of dimension, I cut 2 circles from heavy cardstock slightly smaller than the sky circle and stacked them. Making them smaller made them easier to line up and stay hidden and, since there's an overhang lip, it looks more dimensional.

I decided to make the sentiment as a banner with fishtails. I used a snip of foam mounting tape in the middle of the sentiment with the ends double folded. I also used foam mounting tape on the plane for more dimension. I let the clouds hang over the sides of the circle.

Inside, I used scrap from the marbled paper and one of the maps to create two fishtail banners and added a sentiment from another set which also has a plane, but of the whimsical paper variety. The rest I left blank for my handwritten message.

Even though he's here until Thursday, I gave my co-worker the card this morning and he loves it. He said it will be motivation on those days when he can't actually get up in the air with his plane.
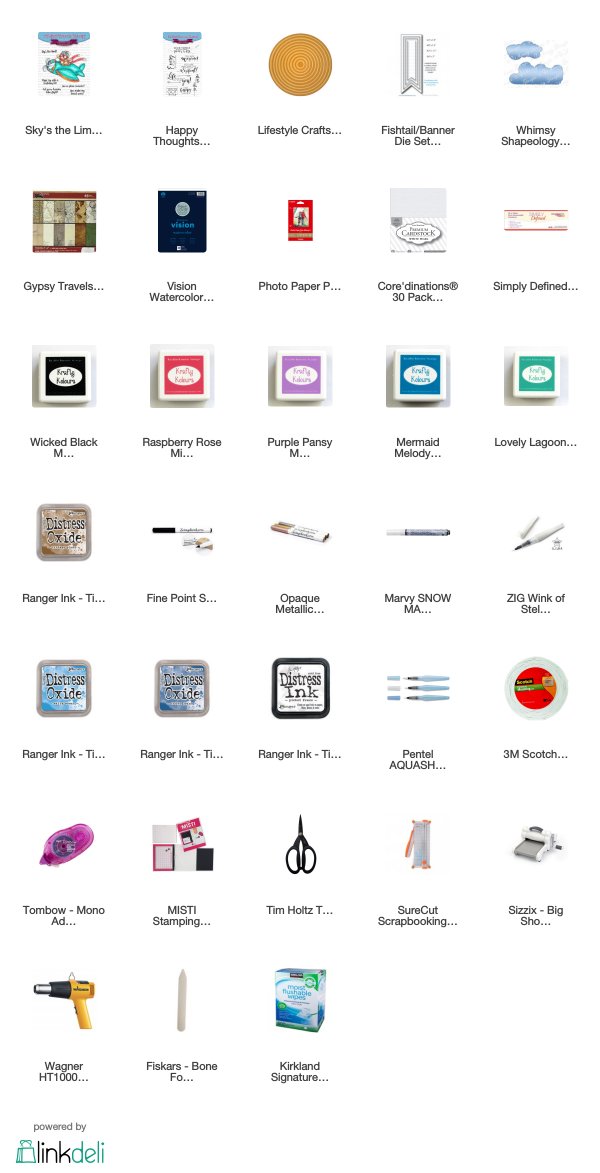
Supplies
Challenges
Kraftin' Kimmie Stamps: All About Dad
Simon Says Stamp Monday: Masculine
Scribbles Designs: Make It Masculine
Tuesday Throwdown: Create Your Own Background
Crafty Hazelnut's Patterned Paper: Anything Goes
Crafting From the Heart: Anything Goes
Crafty Gals Corner: Anything Goes
Simon Says Stamp Monday: Masculine
Scribbles Designs: Make It Masculine
Tuesday Throwdown: Create Your Own Background
Crafty Hazelnut's Patterned Paper: Anything Goes
Crafting From the Heart: Anything Goes
Crafty Gals Corner: Anything Goes
Lovely card, thanks for sharing with crafting from the Heart!
ReplyDeleteVery cute, love how the sky turned out. Thanks for participating with CraftyHazelnut’s Patterned Paper challenge!
ReplyDelete~~Heidi @ My Little Stamping Blog
super cute card, love the background and that adorable image, thank you so much for sharing with us at Simon Says Stamp Monday Challenge, hugs kath xxx
ReplyDeleteDon't you just love the marbling. Everyone is unique and yours is no exception. Perfect backdrop for your flier! Thanks for joining in the Tuesday Throwdown challenge, well done.
ReplyDeleteHello… Thanks for sharing your lovely card with us at Scribbles Designs… your card fits perfectly with our “Masculine” challenge theme… Hope you will be able to join us again very soon and Good Luck in the draw.
ReplyDelete[Diane Louise, DT Member, Scribbles Designs Challenge Blog]