

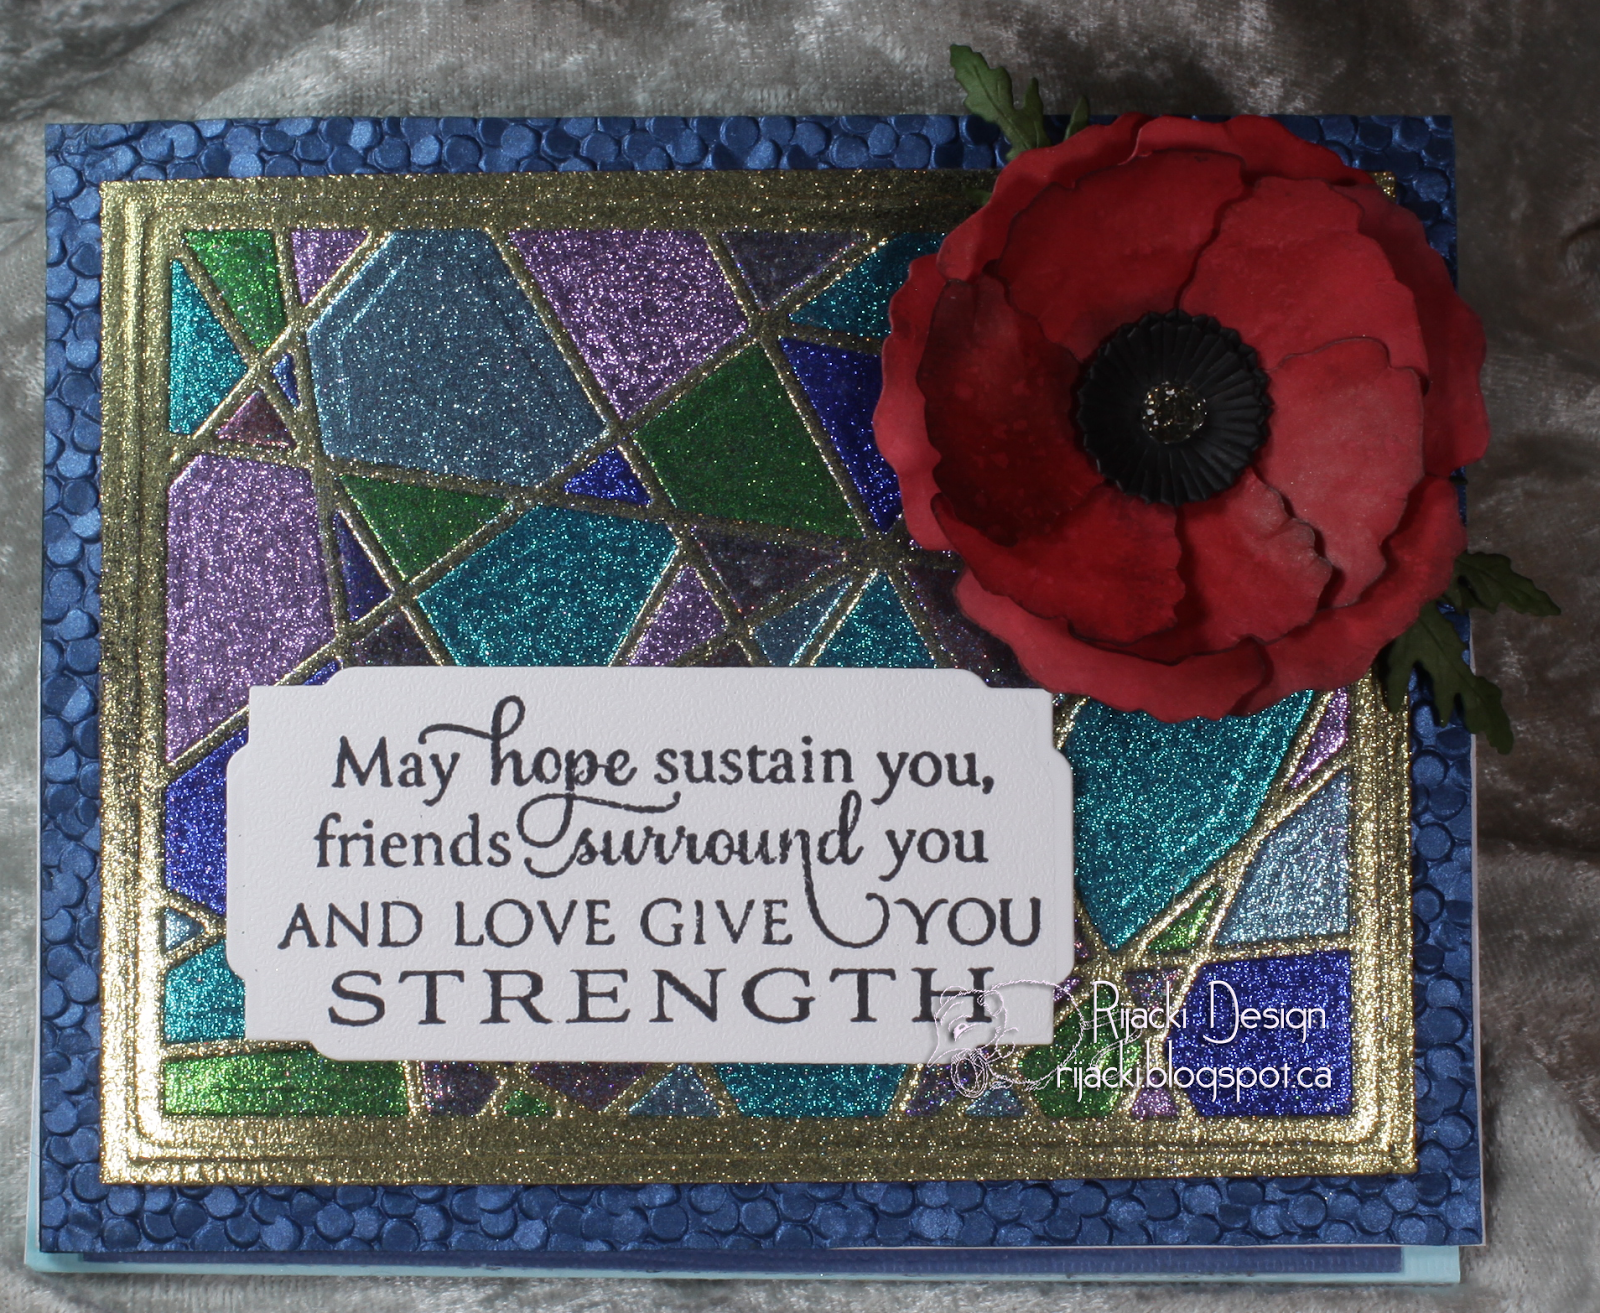
This was both the hardest card I have ever made and the most rewarding in so many ways. This is the memorial card I made for my brother who died at the beginning of January from brain cancer. I made the card between the time of his death and our departure to Texas for his funeral.
The stained glass is for my brother's faith. The poppy is for his service in the military. The poem is about flight and was his favourite. Blue is for the colour of the sky and the branch of the military in which he served. The clear rhinestones are for his purity of heart.
The "putting it together" section is long and has a lot of pictures since this was a very long and involved project. Prepping the images and writing this post is, like making the card, both difficult and rewarding, part of my grieving for my much loved brother. I will miss Dave horribly. I know so many others will as well.
Putting It Together
My brother was two years older than me and loved planes and flight from the earliest I can remember. His childhood wish to be a pilot was fulfilled. He flew for the US Air Force, taught pilots both in the Air Force and later civilians of many different countries. His last job as a pilot was with United Airlines, the job he had started shortly before his diagnosis of brain cancer grounded him.[picture]
My brother is survived by his lovely wife and 5 wonderful daughters.

To make the stained glass look, I used a background die from Spellbinders. I adhered together 2 layers of cardstock with an adhesive sheet on the top with the release sheet still covering the adhesive. Because of the thickness, the die cut through just the release sheet.
I removed parts of the release sheet and poured on Silk Microfine Glitter from Elizabeth Craft Designs. When I pour glitter (or embossing powder), I use a coffee filter to contain the excess.

I used a soft fluffy makeup brush to wipe away the excess.

I poured the excess back into the bottle by folding the coffee filter into a semi-funnel.

I then burnished the glitter into the adhesive and to shine it up.

A Swiffer cloth over the panel removes the last bits of loose glitter.

I repeated this with several colours, randomising where I put them.

This technique is vivid and beautiful. This technique works best with microfine glitter so it stays on the card and doesn't rub off later.

I don't have a die which exactly fits the sentiment I wanted to use so I did a double cut to make the sentiment panel size I wanted. I first stamped the sentiment with Archival black ink on soft finish white card stock (scrap from a previous project). I framed one side of the sentiment with one side of the die.

After making the first cut, I shifted the die to frame the other side. I "locked" the sides of the die against where the first pass cut.

This gives me a sentiment panel to fit my sentiment exactly. I also used the outside frame of the background die to trim the stained glass panel. I dry fit the two pieces together. I was originally planning to make an upright card. The trimmed panel is an A2 card size, 5 1/2" x 4 1/4".

To make the poppy, I used a die set from Spellbinders and Simply Defined coloured cardstock from Scrapbooking Made Simple. My good friend gave me the Spellbinders Main Attraction and it helped wonderfully to keep track of the small dies in the set.

I die cut several of the petals and used Distress ink to give them character: Aged Mahogany and Ground Espresso.

On the leaves, I used a little Pine Needles and Ground Espresso.

To shape the petals, leaves, and other flower parts, I used a small mouse pad and a clay shaper, using the ball ends to roll on the paper.

To build the flowers, I used Tombow glue pen.

With adhesive on the star-shaped bottom of the flower, I added each petal.

The petals overlap in the circle.

I made two petal 'cups' using the medium and small petal dies, 6 petals of each.

I layered the two 'cups' together with adhesive in the centre to leave the petals free. I added the black fuzzy-ish stamens and a black glittered gumdrop at the centre to finish the flower.

I used the glue pen to attach the leaves to the back of the flower so they would peak out. I glued down only the leaves only at the innermost section so they, too, would be free.

I dry fit the poppy on the stained glass panel with the sentiment panel. I wanted to give the card a more personal touch so I didn't want to finish it here.
Family and friends were reminiscing about my brother on Facebook and there was mention of his favourite poem, one about flight by John Gillespie Magee written during World War I as he was a pilot for the Canadian military.
High Flight
:
"Oh! I have slipped the surly bonds of Earth
And danced the skies on laughter-silvered wings;
Sunward I’ve climbed, and joined the tumbling mirth
of sun-split clouds, — and done a hundred things
You have not dreamed of — wheeled and soared and swung
High in the sunlit silence. Hov’ring there,
I’ve chased the shouting wind along, and flung
My eager craft through footless halls of air....
Up, up the long, delirious, burning blue
I’ve topped the wind-swept heights with easy grace.
Where never lark, or even eagle flew —
And, while with silent, lifting mind I've trod
The high untrespassed sanctity of space,
– Put out my hand, and touched the face of God."
This gave me an idea.

Many months ago I discovered I could emboss a freshly printed sheet from the printer in my workshop. I used a couple different fonts with Photoshop to print out the poem on vellum. As soon as I printed the sheet, I embossed it with Rose Gold from Simon Says Stamp. I thought the slightly coppery look would be a good balance with all the blue.

For the background under the vellum, I wanted to use an image of my brother or one of his planes, but I didn't have any in a good resolution that would turn out right with my printer (I tried a few), so I decided to use a forest scene instead. I stamped the Forest Background by Kraftin' Kimmie Stamps on watercolour paper with Archival black ink. The pencil mark on the side is a notation for myself marking the absolute furthest to the side the panel would be under a frame.

I used Distress ink to quickly watercolour the image: Pine Needles, Evergreen Bough, Pumice Stone, Tumbled Glass, Salty Ocean, Mowed Lawn, Peeled Paint, Gathered Twigs, Crushed Olive, Frayed Burlap, Vintage Photo. I also used a stencil from Elizabeth Craft Designs to add in clouds and the blue sky.

I die cut a frame using the largest of the nested set I used for the sentiment earlier, cutting a window in a panel of Core'dinations Tim Holtz cardstock. I dry fit the vellum and background with the frame.

I adhered the frame, vellum, and background together to be a single piece as my poem panel. I dry fit the poem panel with the stained glass panel to get a feel for how the easel would look. The addition of the poem panel also changed the orientation of my card.

To give a base for the easel to stand, I needed to make the card larger than the poem panel which also meant larger than the stained glass panel, too. The poem panel is a little smaller than A2, but not enough to give the easel standing room. I decided to give the poem panel a "card" base to make a tri-fold easel. In my stash I found a robin's egg blue that looked good with both the stained glass and the poem.

I cut it into a strip a bit wider than an A2 card base. Since I wasn't going to be mailing the card, envelope size didn't matter. I made the base 6" wide by 9" long. I scored the blue base at 4 3/4" to have an unequal inner flap.

I dry fit the poem panel on the blue base.

This also meant I had to enlarge the stained glass panel. I have this really lovely blue metalic-ish pebbly embossed paper in my stash and thought it would look great with this card. I cut a piece of it and adhered it to a 4 3/4" x 6" panel, trimming away the excess by fussy cutting since the embossed paper doesn't cut very well with a trimmer.

I love this paper but this is the first time I have found a place to use it.

I dry fit the stained glass on the newly created pebble panel and it was the perfect background.

The stained glass panel is heavy and the pebbly embossed surface is very dimensional. To make sure they stayed well adhered, I used double-sided adhesive tape. I put long strips on the back of the stained glass panel.

Unlike tape runner, double-sided adhesive sticks permanently as soon as it makes contact. Tape runner has a bit of repositioning time which makes it easier to get something into the right place. To make it easier to position, cut strips of the release sheet and turn them perpendicular to the strips of adhesive. Make sure they all extend off the edges.

When you put the panel in place, the strips of release keep it from adhering until you can get it positioned.

Then simply press down and pull out the strips. I always then flip the item over (if possible) and smooth it out from the backside to make sure all the adhesive has full contact.

One last dry fit.

To build the easel base, I cut a strip 6" x 9 1/2". I scored it at the half-way point and then, on one side, at the half again.

To counter the weight of the stained glass panel, I again used double-sided adhesive tape. I added the adhesive only to the outer half of the scored side.

I added an inner sentiment to be covered by the poem panel as the inside of the tri-fold. This is also where we added our personal, hand-written sentiments. I then adhered the blue base to the inside of the unscored side of the easel base.

The stained glass panel was added to the front of the easel, the poem to the front of the blue base. You can see in this side view how the tri-fold works, too.


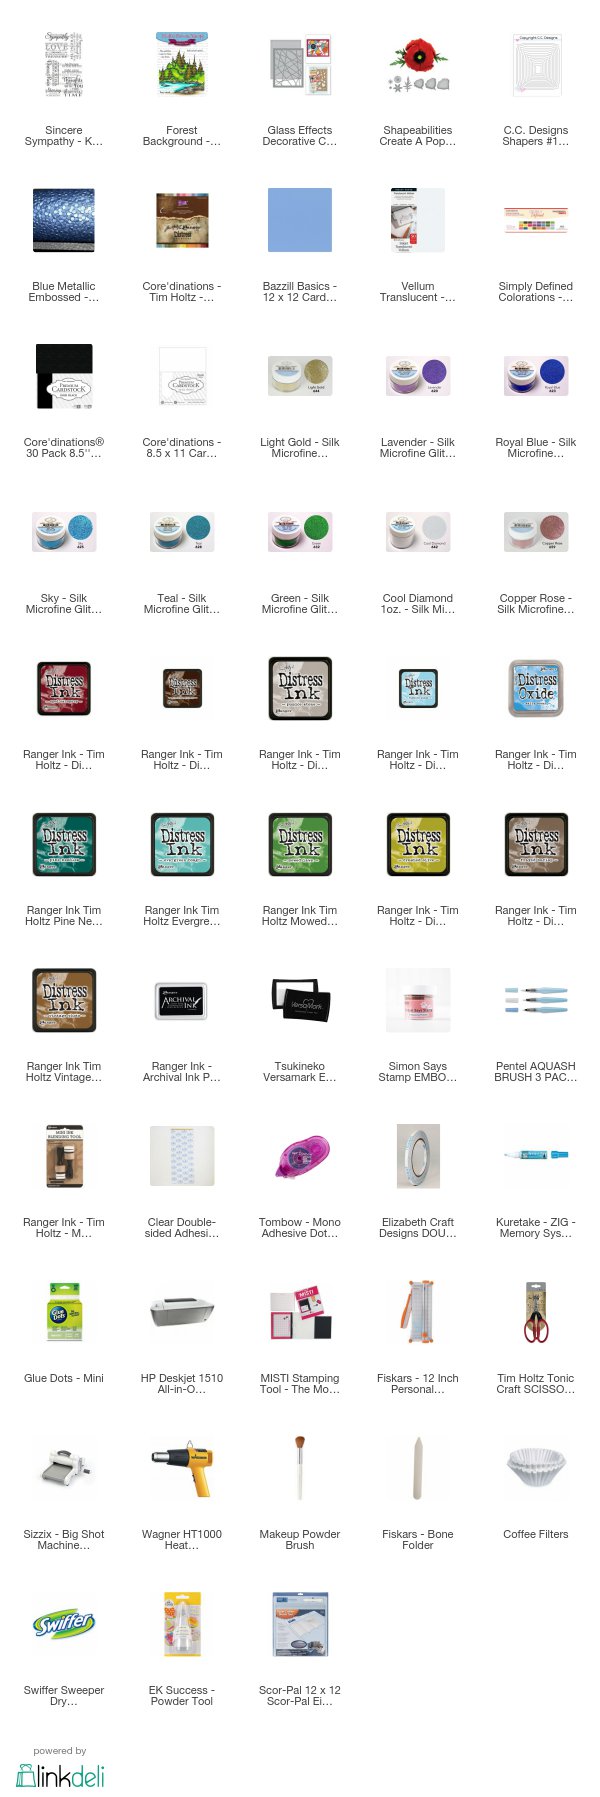
Supplies
Challenges entered
Kraftin' Kimmie Stamps: Sentiments
Simon Says Stamp Wednesday: Add a Sentiment
Creative Craft Cottage: January Blues
Inspiration Destination: Embossing
Crafty Gals Corner: Anything Goes
A Bit More Time to Craft: Anything Goes
Love to Scrap: Anything Goes
Simon Says Stamp Wednesday: Add a Sentiment
Creative Craft Cottage: January Blues
Inspiration Destination: Embossing
Crafty Gals Corner: Anything Goes
A Bit More Time to Craft: Anything Goes
Love to Scrap: Anything Goes
A labor of love. The beauty of it is not just in the making but the telling of your brother. I'm so sorry for your loss. Hugs. [Bunny]
ReplyDeleteThis is such a stunning card! And a beautiful tribute! Thank you so much for entering our challenge at Crafty Gals Corner Challenges this week. Be sure to join us next week too!
ReplyDeleteBlessings,
CGC DT
Scrapbookingmamaw {My Blog}
Crafty Gals Corner Challenges
Wow so much work in this and well worth it it is beautiful . Thank you for joining us at Creative Craft Cottage challenge good luck Ginny DT for Creative Craft Cottage
ReplyDeleteMy Blog As I do Rodos
Such a stunning, thoughtful card. The stained glass is gorgeous.
ReplyDeleteThank you for joining us at Simon say Stamp Wednesday Challenge.
luv
Debby
I am so sorry for your loss Rijacki. Your card is a beautiful tribute to your dear brother! Thank you for sharing with us over at Love To Scrap! Hope to see you again!
ReplyDeleteSherry x - DT for Love To Scrap
So sorry for your loss.Stunning card and very well thought!Perfect for the occasion!Sorry for commenting so late I've been fighting a bad cold still.Thank you for sharing with us at the Crafty Gals Corner!Hope you join us again soon!
ReplyDeleteHugs
Kleri DT
http://craftygalscornerchallenges.blogspot.co.uk/
http://kefartworx.co.uk/ (My blog)