

This card features a simple thank you on a shaped card with glittered lace.

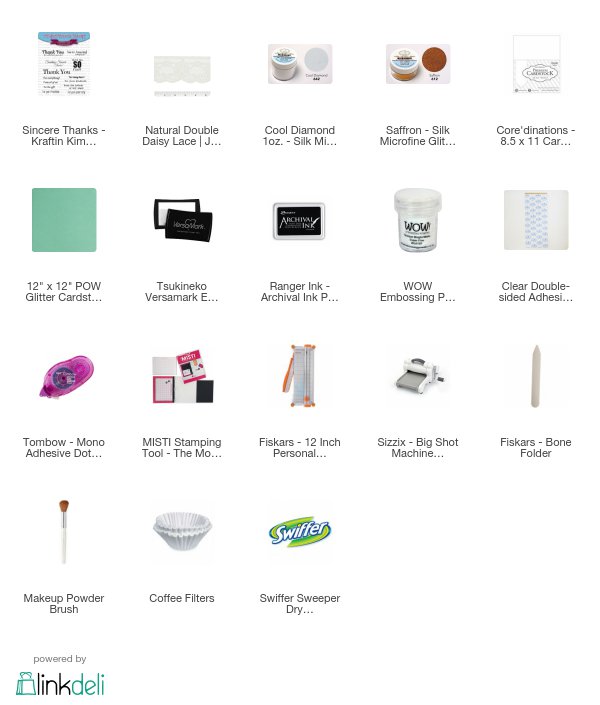
The stamp set is Kraftin' Kimmie Stamps, the lace is from Joanns, the glitter is Silk Microfine from Elizabeth Craft Designs, the die is from Scrapbooking Made Simple / Sizzix, and the embossing powder is from Wow!.
Putting It Together
I absolutely love the effect of lace used as a stencil for glittering. I went to Joanns yesterday (45ish miles one-way plus border crossing) and decided to pick up some various lace bits. Each of the lace swatches I bought were 1/4" yard, since you don't need much for this technique, so the cost was rather inexpensive and each swatch is reusable. The colour is also irrelevant since the actual lace isn't in the finished project. Thin nylon lace works best for this technique.

I put adhesive sheet on a strip of card stock, removed the release sheet and laid the lace on the adhesive. I used the release sheet and burnished the lace into the adhesive. You want to make sure it is fully adhered.

Cascade the background glitter over the lace and the rest of the exposed adhesive. Use a coffee filter on a bed of Swiffer cloth to contain the mess. This technique works best with microfine glitter. Elizabeth Craft Designs has a wide range of lovely colours.

Use a soft fluffy brush, like a dollar store makeup brush, to whisk away excess glitter. Pour the coffee filter captured glitter back into the bottle. The technique actually uses very little glitter in the end.

With a finger, burnish the glitter into the adhesive both in the wide areas and through the lace.


Cascade the second, contrasting colour.

Brush away the excess and burnish it as before.

I did two strips of the glitter lace and added a strip of glitter card stock which I had embossed with opaque white. I used an oval from Scrapbooking Made Simple / Sizzix to die cut the shape.

I used the same die to die cut the card base, making sure there was uncut area at the hinge.

I simply adhered the lace oval to the card base front.

Inside I stamped 4 companions to the front sentiment.


Supplies
Challenges
Kraftin' Kimmie Stamps Krop: #3 Tic-Tac-Toe - Lace, Glitter, Green
Simon Says Stamp Wednesday: Add a Sentiment
The Paper Shelter: Shape It Up
Crafter's Cafe: Lots of Bling

Simon Says Stamp Wednesday: Add a Sentiment
The Paper Shelter: Shape It Up
Crafter's Cafe: Lots of Bling

Fabulous card and great to see the process. A great card for our BLING! challenge at The Crafters Cafe, thank you for sharing, CarolG
ReplyDeleteSuper pretty card with great design and lovely colours. Thanks for joining us over at TPS this week.
ReplyDeleteLove n hugs
Marie
Such a lovely card! I have seen this technique before, and I love the look of it, but I always forget to try it! :)
ReplyDeleteWonderful card Rijacki! The sparkly lace is so pretty.
ReplyDeleteThanks for joining us at Simon Says Stamp Wednesday Challenge
Mandy xx
Great card and the tutorial was fab as well. Never tried this technique with lace but will give it a try now! Thank you for joining in The Paper Shelter Challenge this time. Hope to see you again.
ReplyDeleteApologies for the late comments but January was a bit crazy for me!
Hugs, Vannessa
The Paper Shelter DT