

Arrrrr!! I love the Treat Bag die from Craftin' Desert Divas! It's just too darn cute. I decided to make it a Booty Bag by adding a pirate ship from a Craftin' Desert Diva's set.
Supplies


These are not affiliate links just the products I use and where you can find them, too (if they're not retired).
I decided on a nautical theme for the bag and used Dolphin cardstock out of my stash and then, on a whim, I decided on the pirate ship making this a Booty Bag.

I firs used the die set to cut two of the bag, front and back. When using such a directional pattern, I have to keep reminding myself which is up on the die to match the up on the pattern.

I dry fit the pirate ship in the window and giggled with glee.

For the back, I decided to have gold dots (which was actually my first thought for both windows) since it does fit with the pirate-y idea. Gold be me booty! I dry fit a panel of the dotty acetate.

To secure the acetate, I decided to used adhesive tape. The 3mm tape from Elizabeth Craft Designs is just the right size for the sides of the window.

I secured the acetate on the inside of the bag.

I used a bone folder to go over all the crease lines and make them crisp.

I added wider adhesive tape to the flaps that would go on the inside of the bag to hold it together.

To line up the pirate ship, I used a bit of removable adhesive to anchor the clear acetate panel in place and then put the ship in its location. I stamped the ship with VersaMark after using the powder tool on the panel.
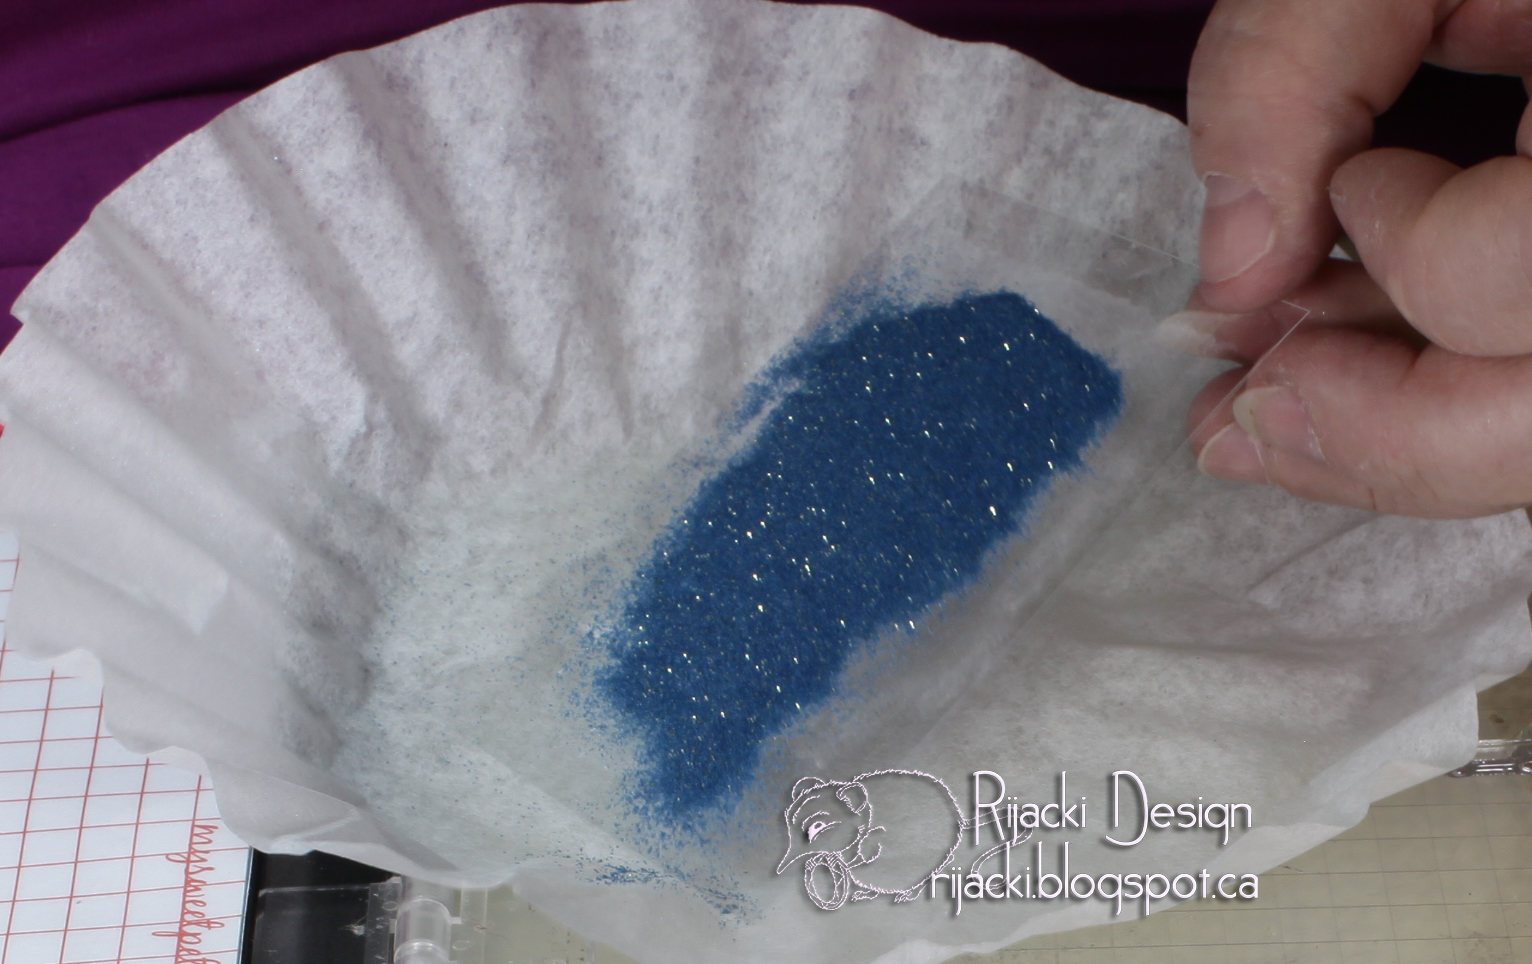
I carefully removed the acetate from the bag and cascaded the embossing powder over it using a coffee filter to catch the excess.

I heat set the embossing and then used a Swiffer to wipe away the powder from the tool.

I make a funnel of the coffee filter and pour the excess back in the bottle. Coffee filters are anti-static so it makes this easy.

I dry fit the pirate panel in place.

I decided it needed a bit of colour, so I used my Spectrum Noir alcohol markers to simply colour the ship on the front side.

Like the dotty panel, I secured the pirate panel inside the other window.

I added some additional adhesive to one of the bottom panels.

To make it easier to get all the panels in place, I put strips of the release where they would sick out on the edges.

I used my bone folder to go over the adhesive areas to make sure they're well adhered. Sorry for the blurry picture, the focus was in the wrong spot.

While stamping the pirate ship, I thought about the map that's part of the set. I dry fit it on one of the tiny tags in the treat bag set.

I die cut the tiny tag from scrap and stamped the pirate map with Vintage Photo Distress Oxide. To hold it in the Misti while I stamped, I used a bit of removable adhesive to anchor the die cut.

My hole punch walked off and hid somewhere in my workshop. So.. I used a metal punch plier. I made two holes on the front and back to make it easier to tie a cord.

Since the holes were a bit small, I used a knotting awl to make them a bit bigger.

I slipped some Divine Twine through the holes and the tags and tied a bow. To make it easier to thread the cotton twine, I used a little bit of Multi-medium matte on the tips.
Empty bag front
Empty bag back
I found some stripped fish candies to fill the bag.


Challenges
Craftin' Desert Divas: July Mood Board
Simon Says Stamp Monday: Get In Shape
Fab 'n' Funky: Use a Patterned Paper
Happy Little Stampers with Dies: Anything Goes
A Bit More Time to Craft: Anything Goes
Crafty Hazelnut's Patterned Paper: Anything Goes
Penny's Paper-crafty: Anything Goes

Love your fun and beautiful creation! Thank you so much for sharing with us at Simon Says Stamp Monday Challenge. :)
ReplyDeleteThank you for sharing your lovely crafting for Penny’s challenge 338 – hope to see you again soon – Hazel DT x
ReplyDeletesuch a fun project
ReplyDeletethanks for joining us at HLS
Barb Housner (DT)
Lovely idea and great tutorial. Thanks for sharing with Craftyhazelnuts patterned paper challenge.
ReplyDeleteHugs
Margaret M DT