

Welcome to November and my inspiration for Sheepski Designs challenge blog! The theme this month is Sparkle & Shine! I chose Daisy this month and made a wedding card.
Daisy is painted with Liquid Pearls and paired with a calligraphy die cut from Elizabeth Craft Designs as well at an embossed background layered with a die cut and festooned with rhinestone studded daisies.
SheepSki Designs Challenge Blog
SheepSki Designs Etsy shop
SheepSki Designs FaceBook group
Putting It Together
When I was looking through my collection Sheepski Design images, I got an idea. It was almost like the cartoon light bulb over my head, but I was at my day job so I had to wait until I was home to try it.

I print the image several weeks ago when I intended to make it as a one-layer card.. and printed it too far over right next to the edge of the paper. Oops. So I trimmed it to a panel and put it in my pile of images for a future day.

While looking for a colour of Liquid Pearls, I noticed the description included a mention of using it with water to paint. Hmm.. thinks I, paint with water. I love water mediums so I had to give it a try. I squeezed a small amount on to a plastic sheet and added some water.

I used a waterbrush with the watered down Liquid Pearls, painting it as I would any watercolour or acrylic.

I also added some Distress ink for shading, tires, and the windows, Stickles for the rear lights, and Gelly Roll Glaze black pen for outlining.
Liquid Pearls: White Opal, Daffodil, Dark Chocolate, Onyx Pearl, and Flamingo
Stickles: Barn Door
Distress Ink: Tumbled Glass, Broken China, Hickory Smoke, and Black Soot.

I fussy cut Daisy which rescued it from the printed too close to the edge.

I left a narrow margin around the image because it was easier to for the train of cans.

I die cut the sentiment from black glitter paper and dry fit the two together on a card base. This was the idea that struck me in the morning, but.. it needed more.

I looked through my stash and die cut this lovely crinkly linen-like metallic-y paper from Micheals.
Better, but still needs more..

I embossed a panel of Neenah metallic white gold paper and.. getting closer.

I added a bit of Tumbled Glass to the edges of the embossed panel with the blender tool.

I then tried dry fitting some daisies from my stash. I got them at a garage sale last summer in a bag with a whole bunch of different flowers. This, this was it.

To give the sentiment a little dimension, I die cut a second time from black cardstock.

A ran both through the Xyron to make them into stickers.

Leaving the plain one on the release sheet, I stacked the glittered sentiment over it.

I added a few flowers with mini Glue Dots and then the sentiment. I had adhered the linen die cut to the embossed panel with tape runner.

I added foam mounting tape to the back of Daisy to pop it up.

I adhered it all to the card base, fully covering the front.

Inside, I used an Impression Obsession sentiment with an added daisy.


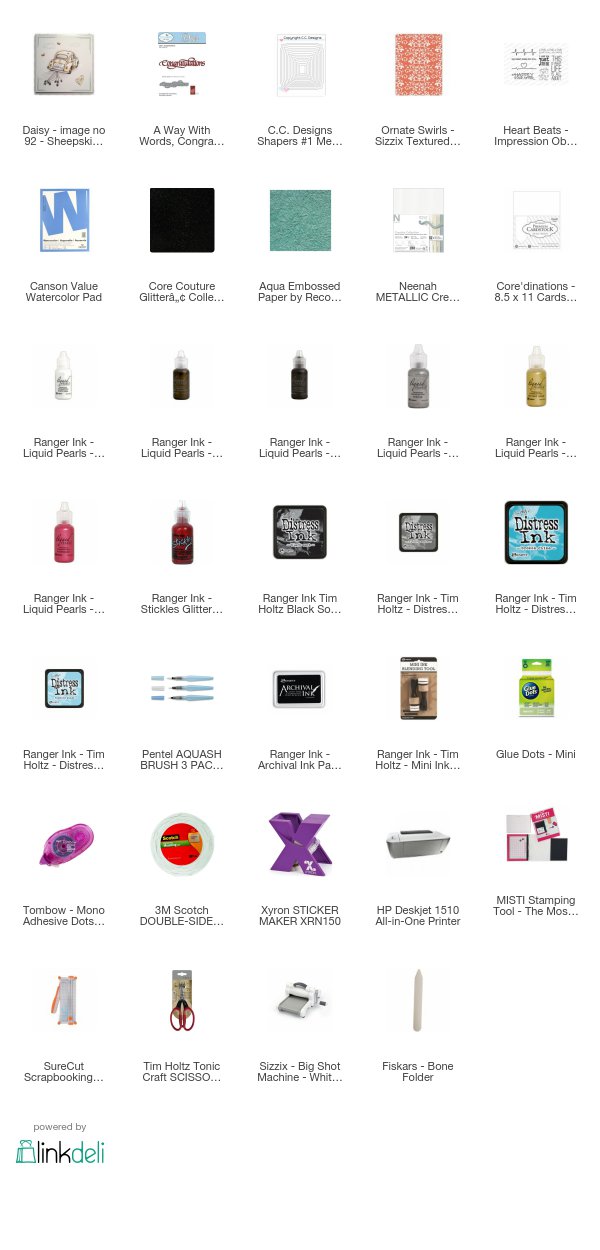
Supplies
Challenges
Creative Craft Cottage: Colour Inspiration - Teal and Silver
The Crafter's Cafe: Embossing
Simon Says Stamp Wednesday: Anything Goes
Watercooler Wednesdays: Anything Goes
Crafting From the Heart: Anything Goes
Crafty Gals Corner: Anything Goes


The Crafter's Cafe: Embossing
Simon Says Stamp Wednesday: Anything Goes
Watercooler Wednesdays: Anything Goes
Crafting From the Heart: Anything Goes
Crafty Gals Corner: Anything Goes

This is super cute. You did a wonderful job on it. [Bunny]
ReplyDeleteOh my, Kate, what a journey but what a fantastic finish! I followed the steps you took with interest. It's interesting when a card "speaks" to you and demands more. And more. But all the "more" which you added brings the card to life and makes it totally "wow". Love it! Thanks so much for joining our Watercooler Wednesday Challenge this week.
ReplyDeleteA great result. Always nice to try something new. So glad you joined us for our Embossing challenge at the Crafters Café, CarolG
ReplyDeleteWhat a fantastic creation Rijacki, I love all the details it's beautiful and the sparkle on the car is just perfect
ReplyDeleteAndrea x
A stunning wedding card, I love how you decorated the car and the rest of the card, just perfect. Thank you for sharing with us at Creative Craft Cottage and good luck in the draw. Jennifer DT member x
ReplyDeleteThanks so much for sharing your fabulous wedding card with us at the Watercooler Wednesday Anything Goes challenge this week. I love how you painted the car and popped it up on the card base. The embossing and crinkly metallic paper go well together and really show case the car. Great job!
ReplyDeleteWow! Wonderful tutorial! And I love your card! Thank you for joining us this week at
ReplyDeleteCrafty Gals Corner Challenges .
Scrapbookingmamaw {My Blog}
Blessings! Jeanie Ellis, DT, Crafty Gals Corner
www.craftygalscornerchallenges.blogspot.com
Wonderful card! It's so sweet and so pretty.
ReplyDeleteThanks for joining us at Simon Says Stamp Wednesday Challenge
Mandy xx
Thank you for entering your wonderful creation at The Crafter's Cafe this fortnight for our "Embossing" challenge.
ReplyDeleteWonderful card!Perfect for the occasion!Thank you for joining our challenge this week at the Crafty Gals Corner!Hope you join us again soon!
ReplyDeleteHugs
Kleri DT
http://craftygalscornerchallenges.blogspot.co.uk/
http://kefartworx.co.uk/ (My blog)