One of the hardest things in January is putting away the decorations. The wonder and joy of Christmas should live in our hearts year 'round. My card features Kraftin' Kimmie stamps, watercolouring with Daniel Smith paints, Marabu fashion spray, and layers with CC Designs dies.
Putting It Together
A few parts of this card were actually made weeks ago. This project just brought them together.
Early in December, I did some colouring at lunch while at my day job. I used Daniel Smith watercolour paints and waterbrushes to paint the adorable mouse carrying decorations.
A few weeks ago I got a set of Marabu fashion sprays and did some experimenting, making a few background panels to set aside for another day.
I decided to join these two together in a card. I was originally thinking to use light string ribbon to tie them together. I found one of the CC Designs die set to perfectly fit the image.
I decided to use the die set for all my layers 'cause I like the corner detail. However, the biggest of the dies in the set, just slightly rectangle vs square, wouldn't have filled my card like I wanted. So I decided to use partial die cutting to get the size I wanted. I partial cut on one side of the panel and then lined up the die with the top and bottom edge for the other side.
To make sure I didn't cut through the middle of the panel, I placed a cut plate to not cover the side I didn't want to cut. When the die isn't sandwiched, it doesn't cut.
This let me get a larger panel from a smaller die.
I die cut the white glitter cardstock and then found the slightly smaller holographic panel in my stash unused from a previous project. Both of them stacked perfectly with the image. This is where I started doubting the ribbon since so little of it would be visible.
As I was matting the image to the holographic panel, I decided to give the image some sparkle and shine of its own. I used Aqua Shimmer in gold and silver to highlight the decorations.
To give the light string a bit more va-voom, I used a gel pen to dab each light with a touch of colour.
I used a mix of tape runner and Glue Dots to adhere the elements of the card. I decided on a red plaid ribbon with gold accent instead of the light string ribbon. I also added a trio of foiled snowflake stickers for a winter touch.
Inside, I added a sentiment from another Kimmie set.
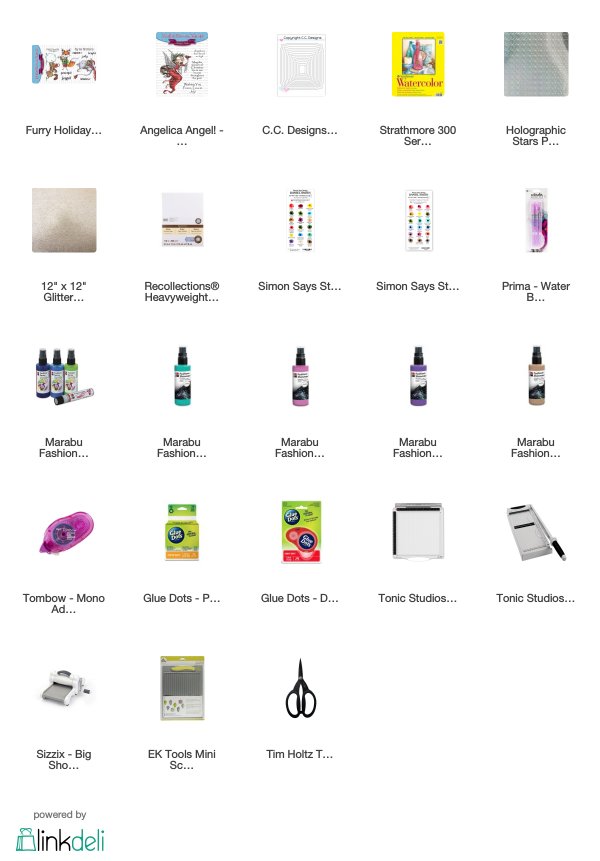
Supplies
Challenges
Kraftin' Kimmie Stamps Make It: Nov, Dec, and winter sets
Outlawz Twisted Thursday: Layers
Outlawz Saturday Paper ala Mode: Winter/Snow
Crazy 4 Challenges: Celebrate
Crafty Hazelnut's Christmas: Anything Goes
Watercooler Wednesday: Anything Goes
Simon Says Stamp Wednesday: Anything Goes
Addicted to Stamps and More: Anything Goes
Outlawz Twisted Thursday: Layers
Outlawz Saturday Paper ala Mode: Winter/Snow
Crazy 4 Challenges: Celebrate
Crafty Hazelnut's Christmas: Anything Goes
Watercooler Wednesday: Anything Goes
Simon Says Stamp Wednesday: Anything Goes
Addicted to Stamps and More: Anything Goes


Oh my, Kate, you've created such a wonderful card. I love all the attention to detail and all the layers. The holographic paper must be dazzling in person. That speckled background perfectly echoes the colours you've used, too. Love the darling mouse image and, of course, the way you've coloured it. I'm glad you added the ribbon. The red picks up the red in the mouse's scarf so well. I totally agree with you about the letdown felt during the "un-decorating" process. Everything looks so bare and flat for a few days. Thanks so much for joining our Watercooler Wednesday Challenge this week.
ReplyDeleteOh, such fantastic creation. Love all those gorgeous details. Thank you for sharing your card with ATSM!
ReplyDeleteThat speckled background is perfect to show off such as sweet little mouse. Great tip on extending the die-cut. Thanks for joining us at Watercooler Wednesday.
ReplyDeleteWhat a sweetly colored mouse, it and the paper make a wonderful card! Thanks for joining us at Watercooler Wednesday Challenges!
ReplyDelete