

A bit of summer sunshine with a shake!
This has been an idea brewing in my head all week: a sun shaker with a clear front card.

Supplies


Putting It Together
I had a hair-brained idea to have a shaker with a clear card face with the shaker container sandwiched in the card. It worked, but I would likely put it together differently in the future *laugh*

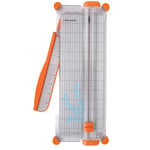
To start the card, I 'rescued' some plastic from packaging, cutting it to card shape and then bending a small flap to go between the layers of the back. A wider flap would have been a lot better, but this is as wide as the piece of plastic I rescued allowed. I used the scoring groove on my Fiskar trimmer and a bone folder to crease the bend.

Using the starburst nested die, I cut 2 each of 2 sizes of starburst in yellow with dots (Recollections) and orange with dots (Bo Bunny). Using the circle nested die, I cut a ring in the dotted yellow and more rings in plain pale yellow. I also cut holes in the starbursts.


I glued together the sun top and bottom, intended to sandwich the clear panel.

I glued the rings together and added them to the back sun. If I remember rightly, I used 4 rings of the 65lb cardstock. I wanted enough room for easy movement in the shaker but not so high of a stack that it would make the card too think since the stacked rings would be inside the card.

It was at this point I realised I needed an end cap for the shaker chamber. It was around midnight, so I can excuse the 'duh' moment *laugh* This is the sun dry fit together from the back, what will be inside the card. Die cutting and gluing before going to bed allowed more time for the glue on the shaker chamber to dry.

I cut two panels for the back of the card. I decided I wanted to have the back of the card in the pale yellow, for a bit of sunshine at the back, and white for the inside of the card so I could create a day scene.

I embossed the white panel with the Darice Clouds folder after fist rubbing it with Vintage Linen and Salty Ocean Distress Ink. This creates a nice pale blue sky with fluffy white clouds. I started dry fitting the pieces. This is when I really knew the idea was going to work. I also realised I would need grass or something for the scene.

I tried the Impression Obsession Grass Border, dry fit with a few more of the bits, and then thought about the other grass die I got but hadn't yet used, Spellbinders Flowering Field. Plus that die has flowers for a bit more life.
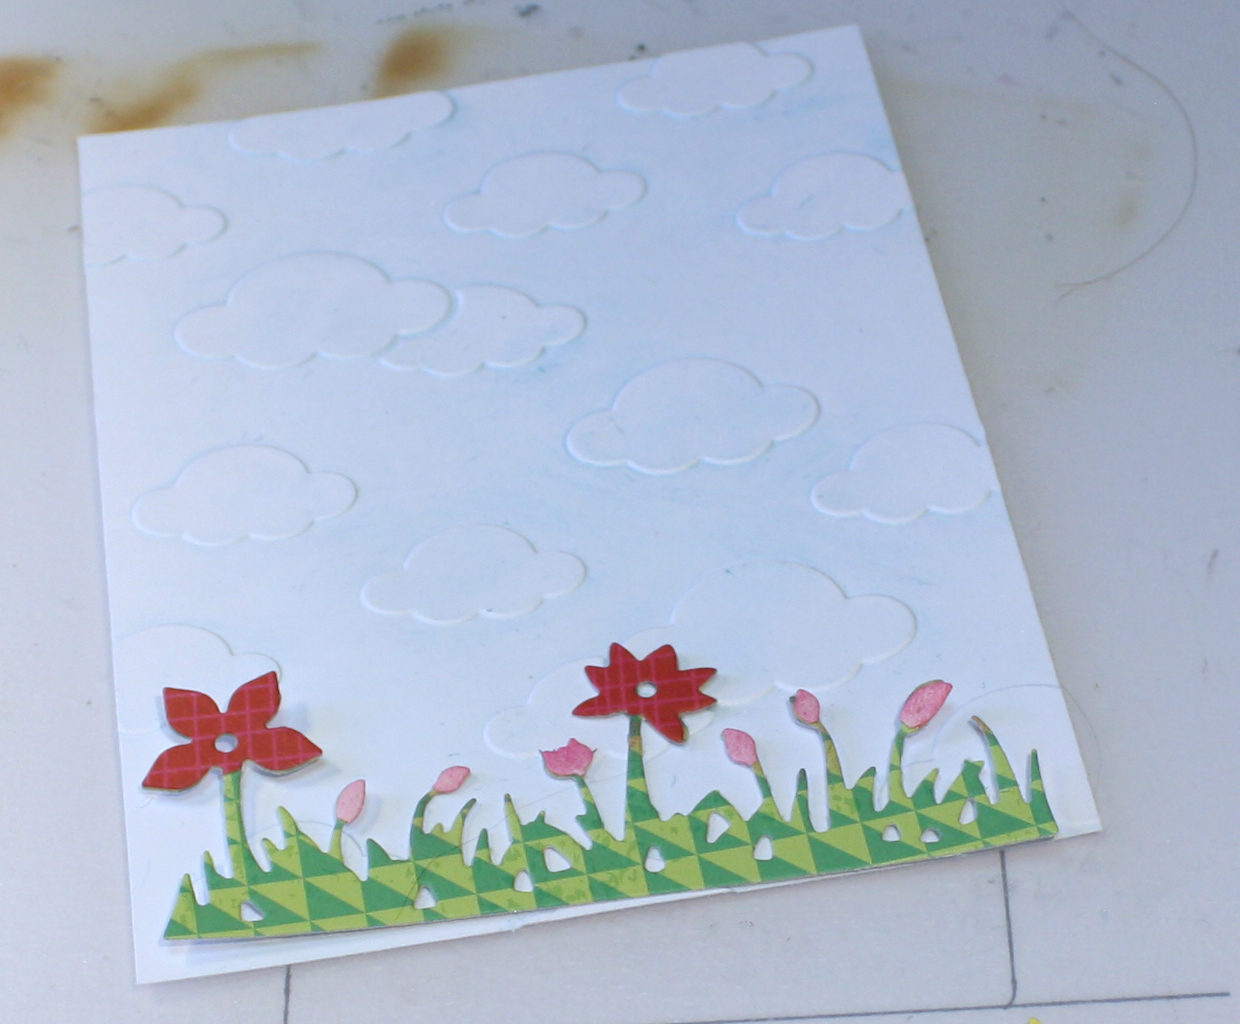
Like the grass border, I cut the flowering field from a scrap of green patterned paper. I cut the big flowers from another scrap and the small flowers from pale pink. I dabbed the little flowers with Picked Raspberry Distress Ink before gluing them to the stems. Since the big flower paper was white on the back, I also dabbed the extra pieces on the back with picked raspberry.

I dry fit the scene and decided to use both to fill it in a bit.

I shaped the extra flower bits, using a small head on the backs of the petals...

... and a large ball in the centre. I have a set of clay tools I use for my flowers and use a beading pad as my flower shaping pad. *laugh* I have actual flower shaping tools on my ever growing wishlist, but these do well enough for now.

I used a spot of Multi-Medium Matte to affix the shaped flowers.

I used a Xyron to add adhesive to all the little bits.
And then I got to the place in my making that I forget to take pictures *laugh* One of these days I'll start remembering to take pictures during the final stages.

After creating the scene on the cloud panel, I dry fit the sun panel to the cloud panel and used a left over ring to stamp the sentiment where it would be behind the sun.
I glued the flat sun to the front of the card and lined up the one with the container on the other side. For the sun beams extending over the fold, I cut the underside beams at the fold and affixed them to the back of the beams outside the card. I filled the cavity with a small amount of sequins and attached the back cap.
I used a thin strip of adhesive sheet on the back of the cloud panel to attach the clear front to the back of the card. Then I covered the back with the pale yellow panel.
At this point I couldn't help but notice the misalignment of the rings. *grumble grumble*

I cut another ring of the orange paper and decided to use its back side. This also adds more orange to the sun that the sequins alone didn't.

From the side you can see how thick the sequin chamber is inside the card.
All that was left was to add a couple enamel dots to the centres of the flowers and then done!


Challenges
Kraftin' Kimmie Stamps blog 28 May Saturday challenge: Summer
Simon Says Stamp blog 25 May Wednesday challenge: Anything GoesWhat I learned
- A larger piece of recycled plastic would allow a bigger flap for the back attachment.
- Clear plastic wants to get dirty as much as possible.
- Clear front cards are a lot of fuss but can be really pretty in the end result.
- Spread Happiness wherever you go!
Love your shaker card!! Such a great idea to make the sun the shaker. Lovely design!
ReplyDeleteThanks for joining our challenge this week with Kraftin Kimmie Stamps.
Marilyn DT
Thank you so much! It was fun to make, too.
DeleteOMG, this is just too fun!! I love it! Thank you SO much for playing along with Kraftin' Kimmie Stamps Challenge!!
ReplyDeleteThank you!
Delete