Gilded ornaments on a stencilled background are featured on my card today showcasing Kraftin' Kimmie Stamps, Cosmic Shimmer Glitter Kiss with a stencil by Simon Says Stamp, and embossing.
Putting It Together
I love stencils!
For the background of my background, I used a stencil brush to tint pearl cardstock with emerald.
I adhered my green panel to a plastic sheet with repositionable adhesive so I could stencil side to side. I anchored the stencil on one side with Purple Tape and used a silicon brush to spread the two-tone Glitter Kiss paste.
The panel looks even more amazing in person.
I then had the bright idea to use gliding flakes on the ornaments. I stamped each with glue on black heavy cardstock.
I let the glue dry to a bit tacky before I rubbed the gilding flakes on the stamped ornaments. After fully covering the stamping, I used a soft makeup brush to brush away the excess (and save it for another day. I tried to contain most of the mess in a coffee filter as I worked with the oh so light flakes. So I wouldn't blow the flakes all over, I would breathe to my side and hold my breath while I gilded.
Gilding flakes are messier than glitter but the results are gorgeous.
I fussy cut the ornaments leaving a thin black margin. On the wide ornament, after gilding, I embossed "Merry Christmas" in black. I dry fit them on the background and liked the way they look together.
I die cut ornament toppers from an ornament die set from leftover cardstock I had covered with Cosmic Shimmer for a different project and glued the toppers to the ornaments.
After playing with several possible layouts, I turned the background on the side and dry fit it with just three of the ornaments with baker's twine. I liked how this layout felt, so it won.
Since the twine is a bit chunky, I used double-sided adhesive to adhere the background to the black matte. To help with positioning, I clip the release strips and turn them sideways. This helps to keep the adhesive from instantly bonding allowing a little wiggling. Then, when everything is in place, press down between the strips, slip them out, and press down all around firmly. I used foam mounting tape under the ornaments to give them more dimension.
I then added it all to a white top-fold card base.
Inside, I stamped a sentiment and another ornament. I used masking on the ornament to add the topper and chain.
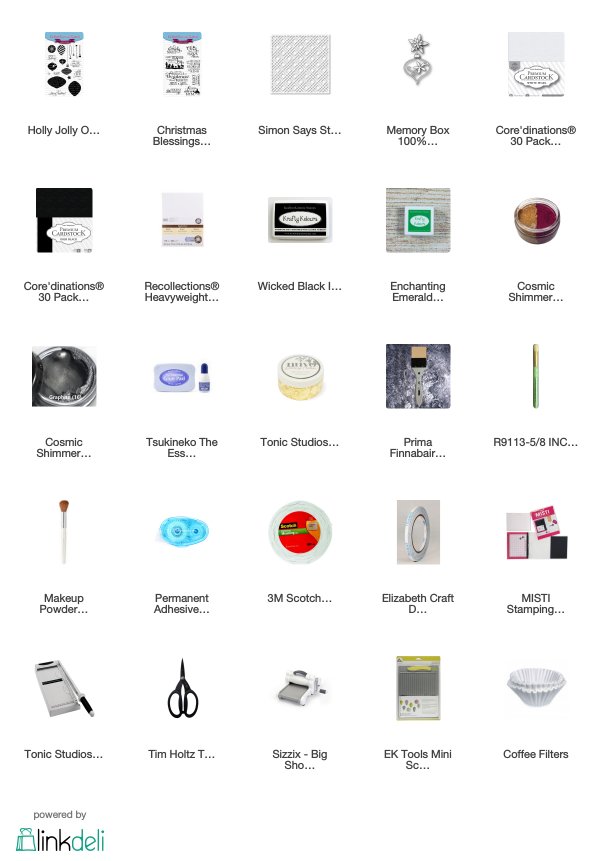
Supplies
Challenges
Kraftin' Kimmie Stamps: Stencils
Simon Says Stamp Work It Wednesday: Ho, Ho, Holiday
Watercooler Wednesday: All About Occasions
Crafty Hazelnut's Christmas: Make Your Own Background
Incy Wincy: Make Your Own Background
Simon Says Stamp: Christmas
Crafty Gals Corner: Christmas
Christmas Crafts All Year Round: Christmas
Simon Says Stamp Work It Wednesday: Ho, Ho, Holiday
Watercooler Wednesday: All About Occasions
Crafty Hazelnut's Christmas: Make Your Own Background
Incy Wincy: Make Your Own Background
Simon Says Stamp: Christmas
Crafty Gals Corner: Christmas
Christmas Crafts All Year Round: Christmas


What a beautiful card, Rijacki!!! Your stenciling really creates a gorgeous holiday background for your gilded ornaments. I have a small bag of gilding flakes I bought more than 5 years ago that I've been too timid to use,,, but you have inspired me with how great your ornaments turned out!!! Thank you for sharing your creativity with us this wee at Watercooler Wednesday Challenges! -Donna
ReplyDeleteVery pretty! I bet the card just glows in person! Your background is very creative and I love all the dimension you've used on this special card. Very nice job. Thank you for joining us at Watercooler Wednesday.
ReplyDeleteWow, Kate, that stencilling really makes a marvellous background for those beautiful gilded ornaments. What a stunning card. Thanks so much for joining our Watercooler Wednesday Challenge this week.
ReplyDeleteYou have so much amazing detail in this card, Kate! It's a shame we can't see it IRL,as it would really shimmer and shine! Love your gorgeous background! Thanks so much for joining us for our 200th Challenge over at Watercooler Wednesday this week!
ReplyDeleteAs always, another really beautiful project My Friend! Thank you so much for joining us in our challenge at Crafty Gals Corner. Looking forward to see you again next challenge.
ReplyDeleteJudy Crafty Gals Corner DT
Don't Mess With Me, I'm Scrappy {My Blog}