My project today is a frame which would be great to showcase a special Halloween costume. The frame features die cuts from Eileen Hull and Tutti Designs with a sentiment from Kraftin' Kimmie Stamps and an Echo Park stencil.
Putting It Together
Halloween is my favourite special day.
To start off, I die cut the frame using the Eileen Hull die by Sizzix and my Big Shot Plus. I used the Plus because the cut plates that came with it are the XL length and I don't have XL plates for my Big Shot. I had also been considering using an embossing folder but I didn't have any I liked for this project facing the right way or wide enough to fold over from the side.
Inside of embossing, I decided to use texture paste and a stencil. I masked off the top and bottom flaps to avoid errant paste and anchored my stencil on one side. Before anchoring it, I shifted the stencil around until I had webbing where I thought it would look best.
I was considering doing a resist using a clear matte paste, but my little clear matte is completely seized up (air got into it and dried it out). So, I used a clear gloss. I love the silicon brush when working with pastes.
I removed the stencil and saw the edges were pretty ragged.
I carefully ran the silicon brush on the edges to wipe off the excess.
Now all I needed to do is remove the masking and wait for it to dry. (and wait and wait and... I had lunch while waiting and a short nap, too. This is why I usually do paste stencilling as the last thing before going to bed.)
When the stencilling was dry (or mostly dry, like before my aforementioned nap) it looked so much better than I imagined. I decided not to add anything more to it.
The other thing I did while waiting for the stencilling to dry, I die cut the shoe from Cricut Party Foil (which is more like a plastic than a foil) and heavy black cardstock.
I stacked the shoe die cuts. The heavy black cardstock gives the shoe more stability so I can hang part of it over the edge of the frame.
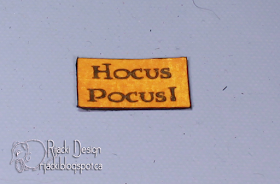
I used orange Cosmic Shimmer to colour a piece of scrap cardstock before stamping the sentiment and trimming it. I used a Memento marker to apply black to the edges.
The black gives a narrow edging.
I used washi tape on the back of the frame to anchor the ribbon.
I fussy cut a small panel of yellow to go behind the openwork on the shoe.
I added shoe and sentiment to the frame.
Inside, I added the same yellow to the back of the frame and moon phases to the back panel. To help the frame stand on its own, I added a large purple rhinestone to the back of the base flap. To add a photo to the frame, it can be adhered behind the window.
The rhinestone acts like a stop for the back flap to allow the frame to stand on its own.
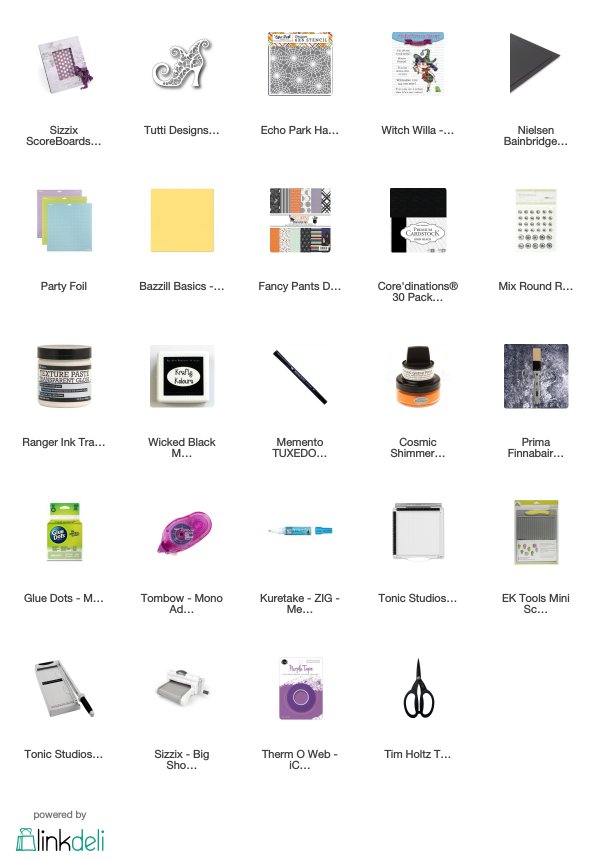
Supplies
Challenges
Outlawz Tuesday Colour: Twist: Halloween
Simon Says Stamp Wednesday: Anything But a Card
Dies R Us: Anything Fall (Sizzix and Tutti Designs)
Crafty Friends: More than one die
Creative Craft Cottage: Halloween
Simon Says Stamp Wednesday: Anything But a Card
Dies R Us: Anything Fall (Sizzix and Tutti Designs)
Crafty Friends: More than one die
Creative Craft Cottage: Halloween


WOW! This is amazing and that shoe is gorgeous! Thanks for all the deets!! Thanks so much for playing in our ‘Anything FALL’ challenge at Dies R Us. Good Luck and please come back again soon!
ReplyDeleteDarlene (DRU Blog Leader)
DIES R US CHALLENGE BLOG
DAR’S CRAFTY CREATIONS Please stop by for a visit.
Honestly, too cool for words! I love how you created a frame and embossed on it. I learnt a new thing from this post. And your work is so neat! Thank you so much for joining us on Simon Says Stamp Wednesday Challenge. xx Ankita
ReplyDeleteAwesome project! I love all the details. Thanks for joining us at Dies R Us!
ReplyDeleteBeautiful! Thank you so much for joining us at Creative Craft Cottage, good luck with your entry hope to see you again soon :)
ReplyDelete