Woodland critters along for a party, my long skinny birthday card features stamps from Kraftin' Kimmie Stamps coloured with Koh-i-Noor pencils and letter dies from Simon Says Stamp.
Putting It Together
I sometimes get hair-brained ideas and sometimes they even work out *laugh*
I've been wanting to do a long thin card for a while. I was also thinking about doing another eclipse. I had been pondering the dimensions of a long thin card and wasn't finding anyone noting the dimensions they used so I was planning 1/3 of an 8 1/2" x 11" sheet. Then, when I laid out my dies on the long side of a "short" A2 (i.e. 8 1/2" x 5 1/2" which gets folded to be 4 1/4" x 5 1/2") to see if the word 'birthday' was going to fit, I realised I could just fold and score down the long way and it would make a 5 1/2" x 2 3/4" card, long and skinny! and, bonus, it's half of an 8 1/2" x 11" sheet so I don't have an odd cut in my scraps but can use the other half as a "normal" card. Tada! I added the critter stamps and balloons to make sure they were going to fit, too.
I stamped with Totally Taupe on canvas texture cardstock and used masking to get three balloons from the two stamps.
I used Koh-i-Noor pencils to colour the critters and balloons. This is when I discovered canvas texture is not pencil friendly. I wanted texture and.. yes, I have texture. The critters are very textured by the canvas. Being super close up, it was a bit frustrating that the pencil colour wasn't getting into the bottom of the texture. However, further away, the critters do look cute. But, a wetter medium is needed with canvas texture so it can flow into the crevices.
I then covered up my colouring with masks.
I used Distress ink with a sponge blending tool with intentional splotchiness.
I used a blender stick with darker greens and a stencil to add grass.
Taking off the masks revealed everything coming together.
Now for the eclipsing. I lined up the letters using the Misti and held them in place with washi tape. A couple of the letters kept fighting to turn on me. When I removed the washi, I was horrified it picked up some of the paper in a couple spots, so I just repaired them by using the background colour on them. (If you know where they are, you'll see them, so I'm not telling where :)
After die cutting, I sandwiched the panel and pieces with Press and Seal to hold it all together.
This allowed me to flip it without losing the little bits, or at least without losing most of them.
I took off the back layer of the Press and Seal and carefully removed the letters so I could put the panel on to my scored and folded card front.
I then cut the letters from a bright green felt almost the same colour as the background. I used felt because I don't know where my foam sheets went. The felt is a little denser and less squishy but it works just fine.
I fit the felt letters into the cut spaces.
It looks so odd at this point.
I then covered each felt letter with the ones cut from the panel. I used Glitter Art Glue to adhere the felt and letters, so I piled a book and weight on top of the panel and went to bed (it was nearly midnight and I try to go to bed before 11 on weeknights).
The next day, I stamped a cake into the inside and coloured it with greens, added touches of gold Aqua Shimmer for a bit of sparkle.
For the sentiment on the front, I wanted to add just the word 'happy' but didn't have any single word sentiment stamps. More masking to the rescue. I covered the portion of the sentiment stamp I didn't want to use and inked up the stamp. The key is remembering to remove the mask before you stamp or you get a nasty mess (don't ask how I know this *laugh*).
I embossed the single word to give it a bit more weight and dimension.
To finish up the card, I added the 'happy' over the 'birthday' and gave a cheer.
Inside, I added a sentiment from the set with the critters along with the cake and a few stars.
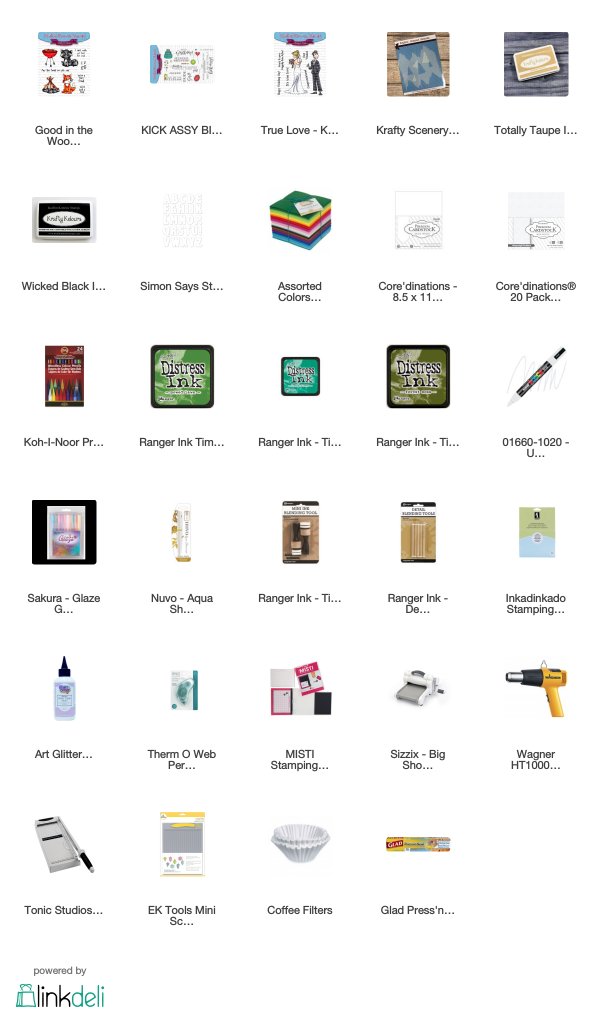
Supplies
Challenges
Kraftin' Kimmie Stamps: For the Boys
Seize the Birthday: Sentiment as Focal
Outlawz Monday Greetings: Green Reigns
Always Fun: Shades of Green


Great card and awesome technique!
ReplyDeleteThis is fantastic! So fun and cheerful. Always love this technique but have yet to try it - you're inspiring. Thanks for playing along with Seize the Birthday.
ReplyDelete