Tiles made with re-inker on wet gesso festoon my card with the lovely colours of Kraftin' Kimmie Stamps hybrid inks.
Putting It Together
Sometimes I get a 'hair-brained' notion of something to try just to see if it will work. I love experimenting with crafty things. I love it, even more, when it 'works' even if it works not quite as I was thinking it might. I had seen a youtube video of alcohol ink on wet gesso so I got to wondering how a hybrid re-inker would interact with wet gesso directly on a surface.
I started with a Bristol panel and covered it thickly with gesso using a silicone brush. I intentionally applied the gesso with lots of texture.
I dripped the re-inker directly on the wet gesso and it sat there. In the video, alcohol ink spread.
I dripped more re-inker in different colours, adding several dots, and then used a toothpick to drag through the dots and smear across through the gesso. I kept dragging with the toothpick in different directions until decided to stop. I even added a few more drops of colour.
(This picture is from a later attempt with some different colours than the one used for the rest of this project.)
And this was the result of my first experiment. So I did it again a few times.
These are a few of the finished (still wet) panels I did. Because I had applied the gesso so thickly, it took at least an hour for the panels to dry. I went out to dinner after making these so I don't know exactly how long and then I didn't do anything with any of the panels for a couple days while I was waiting for an idea to hit me.
Just a note: The gesso I have has a strong odour. Next time I do this will be with better ventilation than keeping my door closed to keep in the heat. I was glad we left for dinner which forced me out of the room for a while *laugh* So, I advise good ventilation if you want to try this.
After seeing a card with die-cut shapes, I remembered the "quilt" dies I have from Spellbinders. I bought the dies on clearance so I added them to my stash cheaply with the intent to use them later. This is the later. I used the die with 1 1/2 of the panels I made to have enough shapes.
I did a dry fit of the shapes on a black panel to figure out the placement. The die cuts hexagons, half-hexagons, and tirangles. The hexies fit together but I couldn't figure out how the triangles fit with them. The angles were wrong on the triangles which was, I'll admit, a bit disappointing and frustrating for my slightly OCD brain in a round peg, square hole kind of way. So I decided to just use the hexies and halves.
I found the centre of the panel by using a straight edge to mark a centre-ish line from each diagonal. The resulting cross is the centre point. I lined up the first half with the centre mark and tried to get the straight edge to be parallel to the card edges and added the second half of a similar colour and pattern beside it, gluing them in place with Glitter Glue.
I tiled out from the centre leaving a margin around each. I tried to keep them even but I should have used a spacer of some type like when you're tiling a bathroom or something. Still, they look pretty cool. I was random-ish with the colours and patterns but did try to find a bit of balance without too much of one type only on one side or the other.
I trimmed the excess black which made the panel a bit shorter. I added the tiled panel to a grey mat 5" x 4 1/2" for a slightly less tall A2. I also added a sentiment on a die-cut flag and added everything to a white cardbase.
Inside, I used those leftover triangles to add a colourful detail but otherwise left it blank for a personal message.
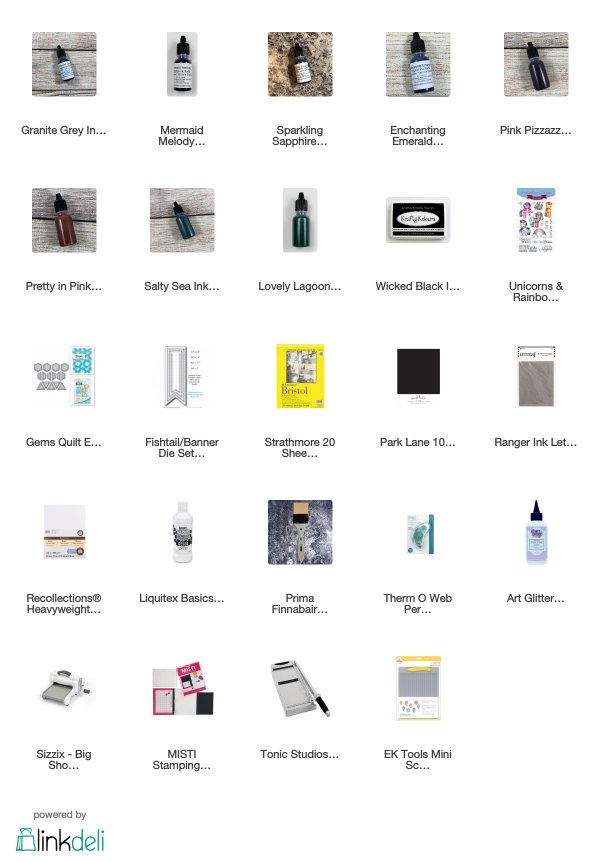
Supplies
Challenges
Kraftin' Kimmie Stamps Online Krop: Let's Get Inky
Outlawz Saturday Paper ala Mode: Things That Make You Happy
Tuesday Throwdown: Layered Die-cuts
Penny's Paper-crafty: Anything Goes
Through the Craftroom Door: Anything Goes
Simon Says Stamp Wednesday: Anything Goes
Creative Moments: Anything Goes
Creative Craft Cottage: Anything Goes
Outlawz Saturday Paper ala Mode: Things That Make You Happy
Tuesday Throwdown: Layered Die-cuts
Penny's Paper-crafty: Anything Goes
Through the Craftroom Door: Anything Goes
Simon Says Stamp Wednesday: Anything Goes
Creative Moments: Anything Goes
Creative Craft Cottage: Anything Goes


WOW! Gorgeous coloring technique. Thanks for sharing with us at Creative Moments.
ReplyDeleteFABULOUS card and great post!
ReplyDeleteLOVE your COOL inking technique and hexagonal design! I totally relate to your "wrong angles" frustration and appreciate all the handy hints you shared!
Thank you for joining us at Penny's Paper-Crafty Challenges and good luck with your entry :)
WOW fabulous technique and great design.Thank you for joining us at Creative Craft Cottage
ReplyDeleteCarol DT x