My bold birthday card features Impression Obsession dies and stamps with foiling, embossing, and Nuvo drops.
Putting It Together
I wanted to use foiling in a couple ways. I've had this foil for quite some time. I originally bought this foil years ago when I was doing more with clay and resin. It's been sitting in my stash waiting for projects to consume it.
I actually came up with the total concept after foiling the Wishes, but it's better to show the layout idea closer to the top. When I was looking through my Impression Obsession dies, the inner circle of the Geometric Cut Out looked perfect for the birthday cake cutout. I thought it would be nice to have recessed foiling and dimensional foiling.
I decided not to do heat foiling this time, and so used a Xyron 510 to add adhesive to cardstock. I got this unit at a garage sale held at a local scrapbooking store last summer. I really did only pay $5 Canadian for it along with some refills, too. It was quite the deal (even if I can't get more refills later). I have the little X Xyron and now, seeing how easy it is to put adhesive on a whole panel, I want the bigger one, too.
I die cut the Wishes from the adhesive covered cardstock making sure the adhesive side was on top. I laid the die cut on a scrap bit of cardstock so I could move it around easily.
After peeling off the release sheet, I put a cut piece of the foil over the sticky die cut. Remember, pretty side up. The side you want to see should be facing you, not on the sticky. Craft foil like this usually has a plastic top sheet to make it easier to handle.
And, if you're using a silicone mat like the Ken Oliver one that doesn't have a slick surface, careful you don't accidentally drop the foil on it. It will grab it and peel it off.
You want to make sure the whole thing is covered and you can't reposition it.
I ran the foil on adhesive die cut through my Big Shot to easily apply even pressure over the whole thing. And then I peeled off the foil sheet to reveal the pretty.
I die cut 2 more wishes from heavy black card stock to layer with the foiled one.
Layered, the die cut is very dimensional.
I wanted to have the other foiling be inset, so I cut a panel bigger than the Geometric Cutout.
And covered it with the same foil.
I die cut the panel with the Geometric Cutout and then centred the birthday cake cutout in the middle to cut it out. I also embossed the Birthday with lime green.
I added a few touches with Nuvo drops, a dot for the "i" ('cause I usually lose the die cut one), and embellishment on the cake. The flames ended up a bit darker than I intended.
Inside, for a fun detail, I used the present from the Birthday Cutouts. I foiled just the squares from the present and fit them back in.
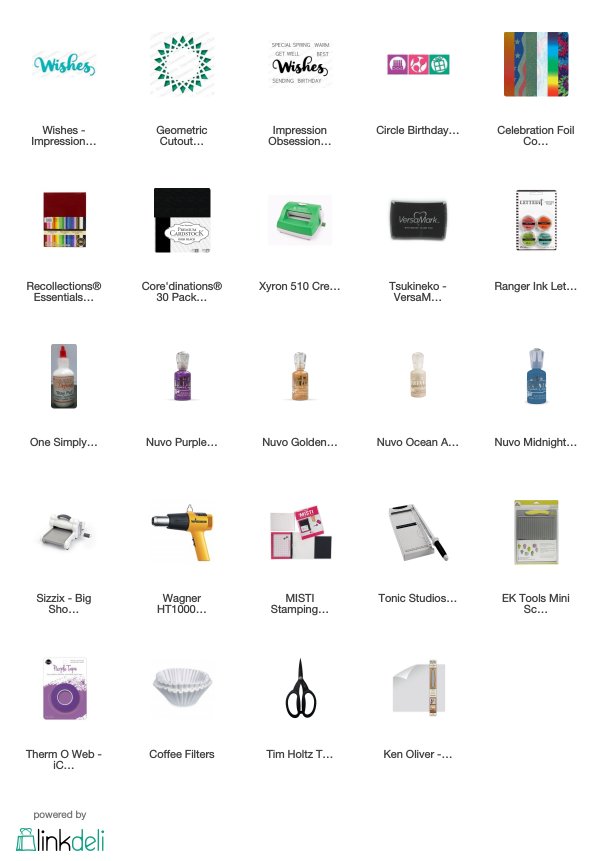
Supplies
Challenges
Impression Obsession: Birthday Wishes
Simon Says Stamp Monday: Don't be fooled be foiled
Outlawz Festive Friday: Theme - Birthday
Creative With Stamps: Birthday
Seize the Birthday: Anything Goes
Creative With Stamps: Birthday
Seize the Birthday: Anything Goes


Wow! This is a beauty! I love your foiled card! Such fun colors and design for the Birthday Wishes challenge!
ReplyDeleteWhat a beautiful card! love your clever use of foil! Thanks for joining us this week on Simon Says Stamp Monday Challenge Blog! barbara
ReplyDeleteOMGoodness this is fantastic and so vibrant. Thanks for the instructions on the foil without the use a a machine. Good to know. Thanks for joining in the fun at Seize the Birthday.
ReplyDeleteBarbara DT member
I love all the pretty foiling on your card. Wonderful design inside and out.
ReplyDeleteFun card. I have so much foiling foil I need to use it.. I love your idea. So glad you shared over at Creative with Stamps.
ReplyDeleteBillie A
Creative With Stamps
Catch The Bug
Aud Sentiments
Always Fun Challenges
Colour Crazy Challenge
Creations In Pink
Do-Al(l)Kreatives
Crafty Gals Corner
Crafty Catz
Beautiful bold foiling! Thanks for playing along at Creative with Stamps - Pam DT
ReplyDelete